Elegant wedding embroidery designs: A Quick Guide to Bridal Details
Wedding embroidery is one of the most beautiful ways to make bridal wear and keepsakes truly personal. It can turn a simple piece of fabric into a family heirloom. Think of delicate monograms hidden in a veil or intricate floral patterns cascading down a gown—these are the details that add a layer of meaning to the big day. It's a craft that lets you literally weave a couple's story into the fabric of their wedding.
Crafting Heirlooms with Thread and Needle
Welcome to the wonderful world of wedding embroidery! This is where your creativity can really shine, bringing unforgettable details to life. In today's weddings, everyone is looking for that personal touch, something that feels unique and goes beyond the latest trend. Embroidery is perfect for this. It's so much more than just decoration; it’s about storytelling.
Just imagine a bride walking down the aisle with her partner's initials subtly stitched into her gown's lace. Or a ring bearer carrying a pillow embroidered with a little symbol of where the couple first met. These are the kinds of wedding embroidery designs that make a celebration feel special, turning lovely items into treasured mementos.
Whether you've been stitching for years or are just picking up a needle for the first time, consider this guide your creative roadmap. We'll walk through the entire journey together, giving you the confidence and the practical know-how to get started.
Why Personalised Embroidery Matters
Embroidery beautifully connects old traditions with modern style. It's a craft that goes back centuries, yet it feels completely fresh and relevant right now. The real magic is in just how personal you can make it.
- Telling a Personal Story: You can stitch in symbols, dates, or even private jokes that mean the world to the couple. A classic example I love is embroidering the coordinates of their proposal spot onto a handkerchief.
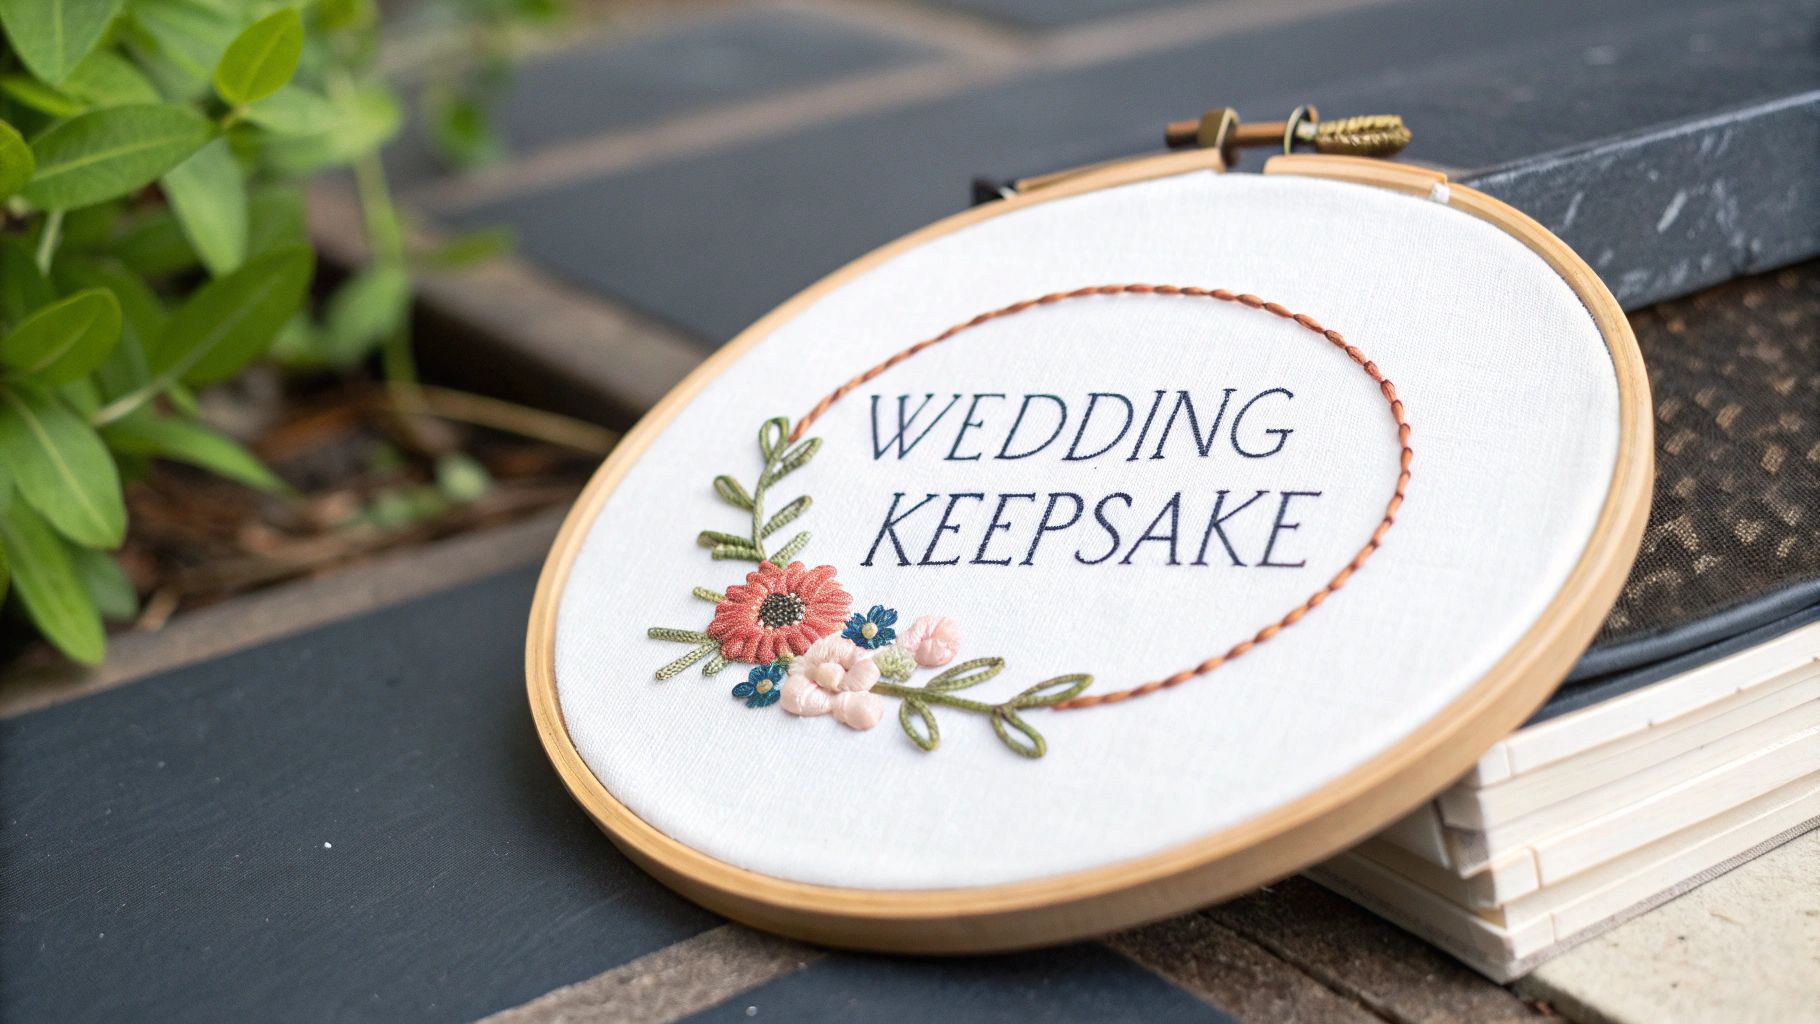
- Creating a Lasting Keepsake: Unlike the cake or the flowers, an embroidered piece is meant to last a lifetime. A beautifully stitched veil or garter can become a cherished heirloom, passed down for generations.
- Adding a Touch of Luxury: Whether done by hand or with a machine, embroidered details bring a sense of craftsmanship and elegance that feels incredibly special.
The beauty of embroidery is that it’s both an art and a memory. Each stitch holds a piece of the story, creating a tangible connection to one of life’s most important moments. It’s a quiet declaration of love, meant to be cherished long after the wedding day ends.
This guide will cover everything you need to get going, from brainstorming design ideas to adding the final finishing touches. My goal is to demystify the process and break it down into simple, manageable steps so you end up with something you're truly proud of. By the end, you'll be ready to create a beautiful heirloom that celebrates a unique love story.
Finding Inspiration for Your Wedding Motifs
Every truly memorable wedding embroidery project starts with that first creative spark. This is the best part of the process, where you get to take a couple's unique story and turn it into something they can hold and cherish forever. The right motif isn’t just a pretty picture; it’s a tiny piece of their history and their future, all woven together with thread.
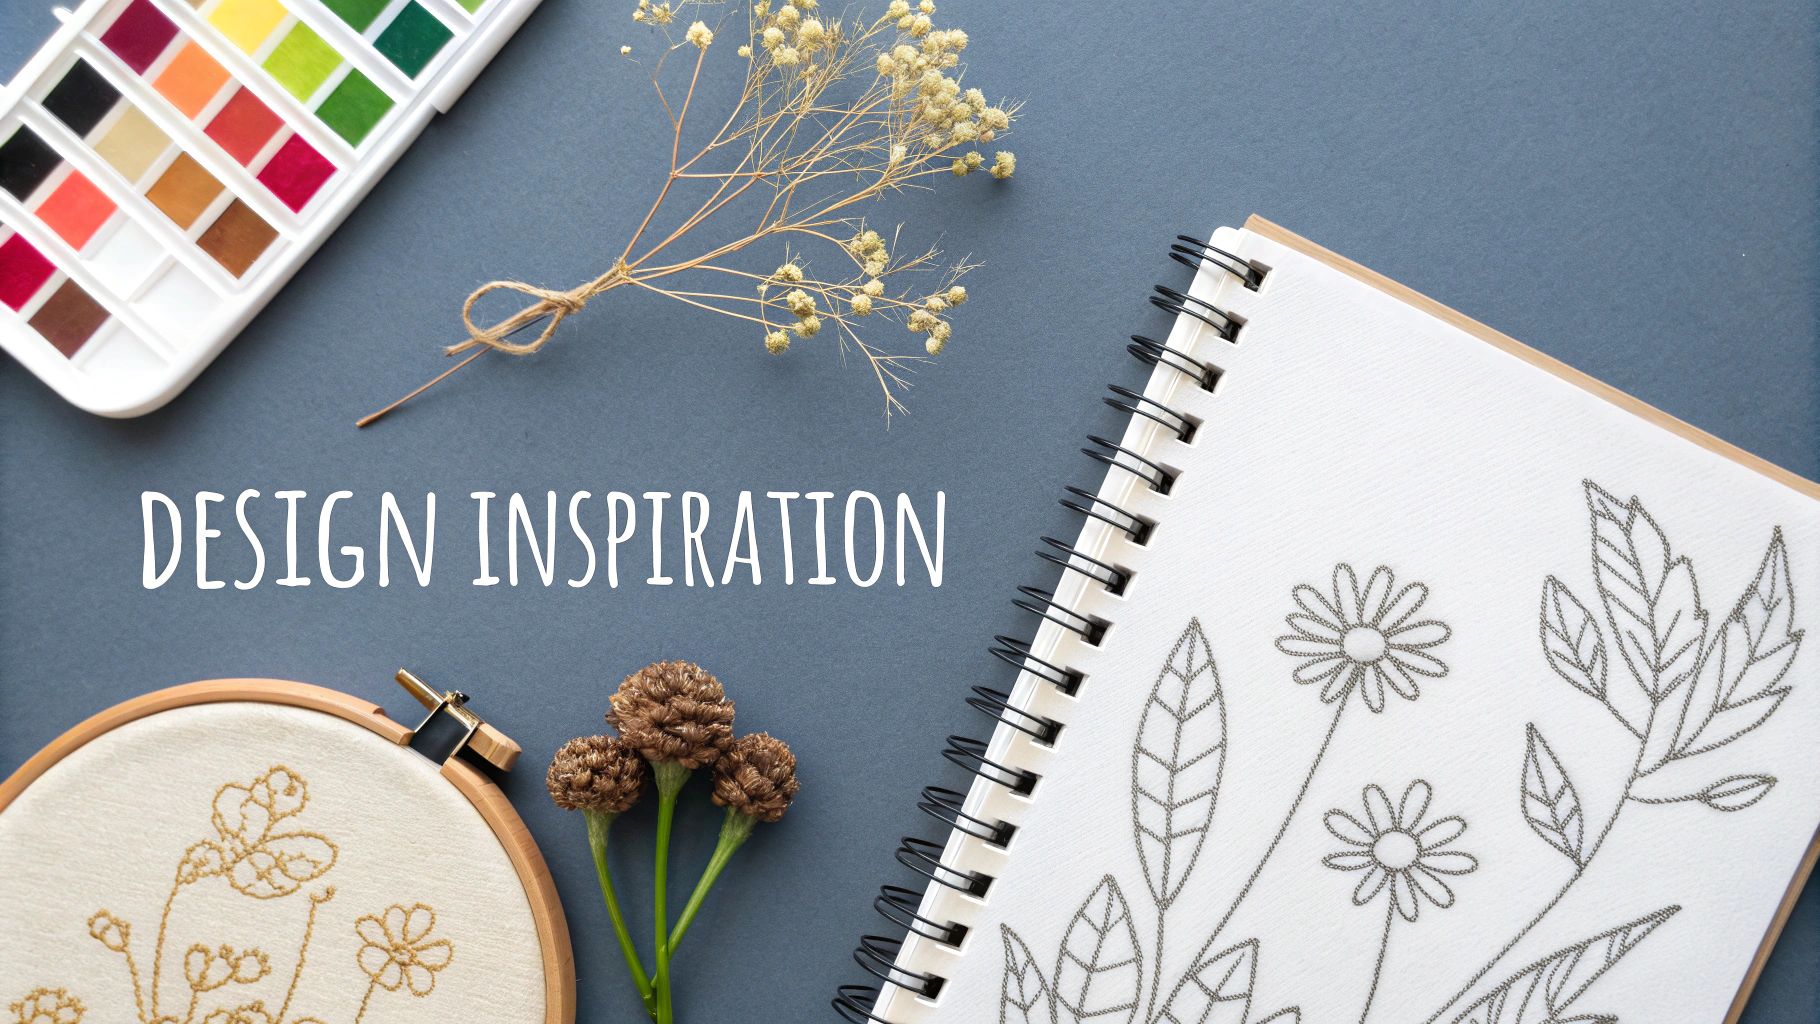
Inspiration can pop up anywhere, from classic symbols of love to a piece of modern art. My advice? Start with the couple. What makes their story theirs? You'll usually find the most beautiful ideas tucked away in the little details of their life together.
Tapping into Personal Stories
The designs that really hit home are the ones that are deeply personal. Forget the generic templates for a moment and think about what holds real sentimental value for the couple. Brainstorming a few key elements is a great way to kick things off.
- Significant Flora: Maybe they had their first date in a botanical garden, or there’s a specific flower that’s always been their flower. Embroidering a bride’s favourite bloom, like a soft peony or a delicate lily of the valley, is always a classic and beautiful choice.
- Meaningful Symbols: What are they passionate about? I've stitched a tiny mountain range for avid hikers and subtle musical notes for musicians. These little touches can be integrated so elegantly into a veil or a handkerchief.
- Geographic Coordinates: The spot where they got engaged or the location of their first home can be beautifully stitched onto a ring pillow or even hidden on the inside of a suit jacket.
This move toward personalization is a huge reason why embroidery is so sought-after right now. In Canada, the custom apparel market, which includes all these personalized bridal pieces, is really taking off. It's projected to grow from USD 70.25 million in 2024 to USD 122.16 million by 2032. This trend is especially noticeable in cities like Toronto and Vancouver, where over 60% of custom wedding orders include intricate embroidery.
For those of us working with machines from BERNINA or Ricoma, this is a fantastic opportunity to create something special, especially since 54% of Canadian brides now want embroidered details for that unique touch. You can discover more insights about the Canadian custom apparel market and see just how much it's growing.
Aligning with the Wedding Theme
Once you've got a few personal ideas brewing, the next step is making sure they fit with the overall vibe of the wedding. A design that feels cohesive looks intentional and so much more polished. Take a look at the wedding’s established theme and colour palette—let them be your guide.
A rustic barn wedding, for instance, is the perfect backdrop for designs with wildflowers, delicate vines, or a simple, hand-stitched monogram. On the other hand, a modern, minimalist wedding might be better suited to clean geometric lines or a single, sleek initial.
A well-chosen motif does more than just decorate; it enhances the entire wedding’s atmosphere. The goal is to create a piece that feels like it truly belongs, seamlessly blending personal sentiment with the event's visual style.
Considering Skill Level and Complexity
Finally, let's be realistic about what you can accomplish. It's so important to pick a design that's not only beautiful but also manageable for your skill level and the time you have. Nothing is more stressful than biting off more than you can chew before a big event.
- For Beginners: Start with simple outlines, monograms, or small floral sprigs. These designs rely on basic stitches and won't take forever to complete.
- For Intermediate Stitchers: You can start exploring more detailed botanicals, elegant script lettering, or designs that play with multiple colours and fill stitches.
- For Advanced Crafters: If you're really experienced, you might be ready to tackle complex projects like a full veil border, a detailed family crest, or even a portrait-style design.
By carefully balancing personal meaning, the wedding's theme, and what you can realistically create, you're setting yourself up for a stunning and successful wedding embroidery project. This thoughtful approach is what transforms a simple stitched piece into a cherished keepsake.
Pairing the Perfect Fabric, Stabilizer, and Thread
Think of your fabric, stabilizer, and thread as the essential ingredients in a recipe. Get the combination right, and you'll create something beautiful. Get it wrong, and the results can be disappointing. The materials you choose are truly the foundation of any stunning wedding embroidery project, directly impacting everything from stitch quality to the final drape of the garment.
The Foundation: Fabric and Stabilizer
Wedding projects bring a whole host of fabrics into play, from ethereal and delicate to sturdy and structured. You might be working with sheer tulle for a veil, slippery charmeuse for a bridal robe, or crisp linen for a ring pillow. Each one behaves differently under the needle, which is why a stabilizer is your best friend.
A stabilizer is a non-negotiable part of machine embroidery. It provides the temporary support your fabric needs to stay put, preventing puckering, stretching, and distortion as the needle does its work. It's the secret scaffolding that ensures every stitch is crisp and clean.
You'll generally come across three main types:
- Cut-Away: This is your go-to for anything with a bit of stretch, like knit jersey for bridal party robes, or for dense, high-stitch-count designs. It’s a permanent backing that you trim away after stitching, offering the most robust support.
- Tear-Away: As the name implies, you can tear this one away cleanly when you're done. It's perfect for stable, woven fabrics like cotton or linen—think custom handkerchiefs or tote bags—where the fabric itself is strong enough and doesn't need lasting support.
- Wash-Away: This is the magic wand for sheer and delicate fabrics. It dissolves completely in water, making it the only choice for embroidering on tulle or organza. It’s also fantastic for creating freestanding lace accents where you don't want any backing left behind.
My rule of thumb is simple: the more unstable or stretchy the fabric, the heavier and more permanent the stabilizer needs to be. When in doubt, always run a small test on a scrap piece of your fabric. This five-minute check can save you from a major headache later on.
Before you start your project, having a quick reference can be a lifesaver. This table breaks down some common pairings I've used over the years to get consistent, beautiful results.
Wedding Fabric and Stabilizer Pairing Guide
| Fabric Type | Best Stabilizer Type | Weight Recommendation | Pro Tip |
|---|---|---|---|
| Tulle / Organza | Wash-Away | Light to Medium | Hoop the stabilizer and use a temporary spray adhesive to "float" the delicate fabric on top. This prevents nasty hoop marks. |
| Satin / Charmeuse | Tear-Away or Cut-Away | Light | For light, airy designs, a soft tear-away works well. If your design is dense, a light no-show cut-away will prevent puckering. |
| Linen / Cotton | Tear-Away | Medium | A crisp medium-weight tear-away gives you great support and removes cleanly without distorting your stitches. |
| Knit Jersey | Cut-Away | Medium | A no-show mesh cut-away is ideal here. It gives permanent support without adding bulk, so the fabric keeps its natural drape. |
Getting this pairing right is the first major step toward professional-looking embroidery.
The Star of the Show: Thread and Needle
Now for the fun part—the thread! This is what brings your design to life with colour and texture. For machine embroidery, your main choices will be Rayon and Polyester.
Rayon thread has a gorgeous, high-sheen lustre that looks incredibly elegant, making it a classic for bridal work. It reflects light beautifully, but it's a bit more delicate than polyester.
Polyester thread, on the other hand, is a real workhorse. It’s incredibly strong, holds its colour well through washing, and still offers a vibrant sheen. I lean towards polyester for items that will be handled or laundered, like personalized napkins or handkerchiefs.
Personalized details are a huge part of the modern wedding, and embroidery is at the centre of this trend. Canada's wedding wear market, recently valued at $1.916 billion, is projected to hit $3.236 billion soon, and embroidery makes up 42% of all decorative elements in bridal wear. For local shops like All About Sewing in Barrie, Ontario, this means a steady demand for high-quality supplies. What's more, sustainability is on everyone's mind; 46% of brides now look for eco-friendly threads. You can dig into more industry data on the growth of the wedding wear market to see how these preferences are shaping what we create.
Finally, let's talk needles. It's such a small component, but it makes a massive difference. Always start a new project with a fresh needle. A standard 75/11 embroidery needle is a great all-purpose choice. But if you’re working with fine materials like silk or organza, switch to a smaller Microtex needle to prevent any snagging or pulling. It’s a simple swap that protects your delicate fabric and ensures every stitch is flawless.
Bringing Your Wedding Embroidery to Life
Alright, you’ve gathered your inspiration and picked out the perfect materials. Now comes the exciting part: stitching your beautiful wedding embroidery. This is where all the planning comes together, turning a digital file or a sketch into a treasured keepsake. Let's walk through how to get it done with the precision and care it deserves.
The journey from an idea to a finished piece usually begins at the computer. Whether you're using a design you bought online or one you've created yourself, the quality of that digital file is everything. This process is called digitizing, and it's where an artist essentially translates an image into a stitch-by-stitch map for your machine. It's truly an art form that dictates the final look and feel of the embroidery.
Getting Your Design File Ready
If you're buying a pre-digitized design, stick with reputable creators who offer details like stitch count and fabric suggestions. I've learned the hard way that a poorly digitized file can cause a world of headaches—puckering, gaps, and a messy finish—no matter how skilled you are with the machine.
Creating a custom design, like a monogram for the happy couple? Your focus needs to be on clean lines and the right stitch density. The goal is to get good coverage without packing in so many stitches that the fabric pulls or becomes stiff. Also, pay special attention to the underlay stitches. These are the foundational stitches that go down first, and they're absolutely essential for getting a smooth, professional result on delicate wedding fabrics.
A great design file is your project's blueprint. It tells the machine not just where to stitch, but how to build the design layer by layer. Investing time in getting this right is the single most effective way to ensure a beautiful outcome.
Mastering the Art of Hooping
Hooping is, without a doubt, one of the most critical steps in machine embroidery. This is especially true when you're working with the slippery, delicate fabrics common in bridal wear. You want to create a taut, drum-like surface for the machine, but without stretching or marking the material.
For tricky fabrics like satin, silk, or tulle, a technique called "floating" is a lifesaver. Instead of clamping the delicate fabric in the hoop, you hoop only the stabilizer. Then, use a light tack of temporary spray adhesive or your machine's basting stitch function to secure the fabric right on top. This completely sidesteps the dreaded "hoop burn" that can ruin your project.
This little workflow chart shows just how important it is to get your materials right from the start.
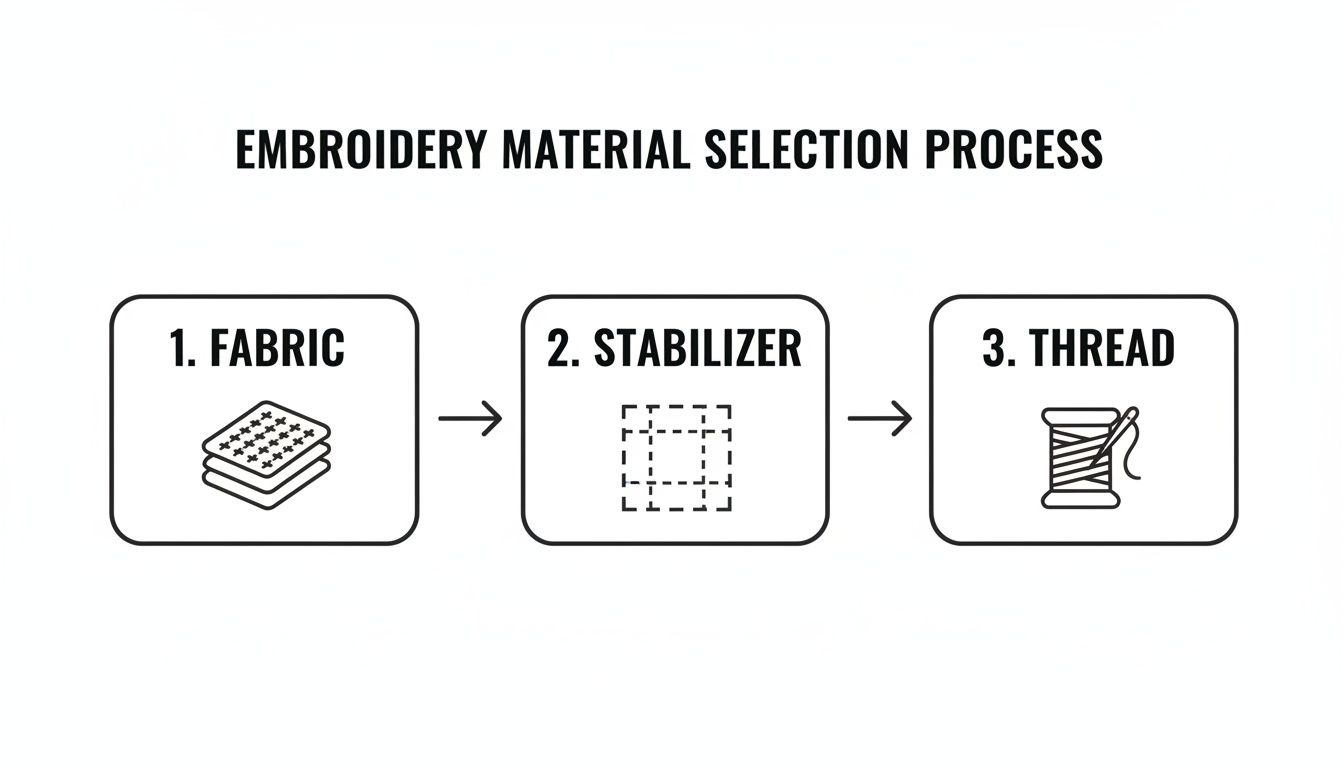
As you can see, the flow from fabric to stabilizer to thread isn't random. Each choice supports the next, creating a solid foundation for flawless stitching.
Dialing in Your Machine Settings
Before you hit that start button, a few moments spent fine-tuning your machine settings will pay off in a big way. Your machine's manual is always your best friend, but here are a few key adjustments I always check for wedding projects.
- Tension: Getting the thread tension just right is non-negotiable. If the top tension is too tight, you'll see little specks of the bobbin thread on top. Too loose, and you'll get loops. Always stitch a small test swatch on a scrap of the same fabric to make sure it's balanced.
- Speed: I know it’s tempting to run your machine at full throttle, but for intricate designs on delicate fabrics, slower is almost always better. Reducing the speed dramatically cuts down on thread breaks and needle problems, leading to a much cleaner stitch-out.
- Needle Choice: I can't say this enough: always start with a fresh, sharp needle. For most wedding projects, a size 75/11 embroidery needle is a fantastic all-rounder.
There's a real and growing demand for these skills. Canada's decorated apparel market, which is closely tied to the wedding industry, is projected to hit $122.16 million by 2032. Interestingly, while 37% of embroidery shops report a shortage of skilled labour, 57% have embraced digital machines. This opens a huge opportunity for hobbyists and small businesses to create stunning custom pieces. Considering a single hand-sewn gown can take 100-200 hours, efficient machine embroidery offers a brilliant alternative. For more on industry trends, this detailed market report offers some great insights.
Stitch Types and Sequence Matter
Finally, having a basic grasp of different stitch types helps you understand how a design comes together and makes troubleshooting easier. The digitizer sets these, but here's what you'll commonly see:
- Satin Stitch: This is a series of tight, parallel stitches that create a smooth, glossy finish. It's perfect for elegant lettering and borders.
- Fill Stitch: Used for colouring in larger areas, these stitches can be arranged in different patterns to add texture and depth to a design.
- Running Stitch: A simple, single-line stitch often used for fine details, outlines, or as an underlay to stabilize the fabric before other stitches go on top.
The order in which these stitches are laid down is also meticulously planned during digitizing. A good sequence minimizes jump stitches—those long threads that travel across an open area—and ensures background elements are stitched before the details on top, creating a clean, layered final piece. By understanding these fundamentals, you can confidently tackle any wedding embroidery project.
Where to Place Your Stitches and How to Finish Strong
You could have the most breathtaking design in the world, but if you stick it in the wrong spot, all that magic is lost. The final stages of your project—figuring out exactly where the embroidery should go and adding those professional finishing touches—are what turn a simple craft into a genuine heirloom. This is where a little bit of patience and precision really pays off, making your wedding embroidery look deliberate and absolutely flawless.
Think of it like composing a photograph. A tiny, delicate monogram will completely disappear on a massive cathedral train, while a huge, bold design will just overwhelm a dainty little handkerchief. It's all about finding that perfect balance to draw the eye right where you want it.
Strategic Placement on Key Wedding Pieces
Where you stitch is every bit as important as what you stitch. Every item is a unique canvas, and each one comes with its own set of challenges and opportunities. Before you even think about hooping your fabric, take a moment to map things out. Consider how the item will be worn, held, or displayed on the big day.
Here are a few real-world examples I've run into with popular wedding items:
- Bridal Gowns: For just a hint of personalization, I love placing a tiny design on a cuff, at the nape of the neck, or just above the hemline. If the goal is a true statement piece, you can't go wrong with the centre of the train or the bodice—both are classic choices that look stunning in photos.
- Veils: The bottom right-hand corner is the traditional spot for a monogram or a small floral detail, especially on a longer veil. On shorter, more modern veils, a delicate repeating pattern stitched along the entire edge can create an incredible bespoke look.
- Handkerchiefs: Placement here is all about practicality. You want the design to be seen when the handkerchief is folded, but not get in the way. The bottom corner is the go-to for a reason—it’s both elegant and functional.
- Ring Pillows: Symmetry is your friend here. A central design, like the wedding date or the couple's initials, creates the perfect focal point for the rings to sit on.
The best placement feels effortless and totally natural. Before you commit, grab a water-soluble fabric marker and lightly sketch the design's outline onto the fabric. Then, step back. Look at it from a few different angles and distances to make sure you absolutely love its position and scale.
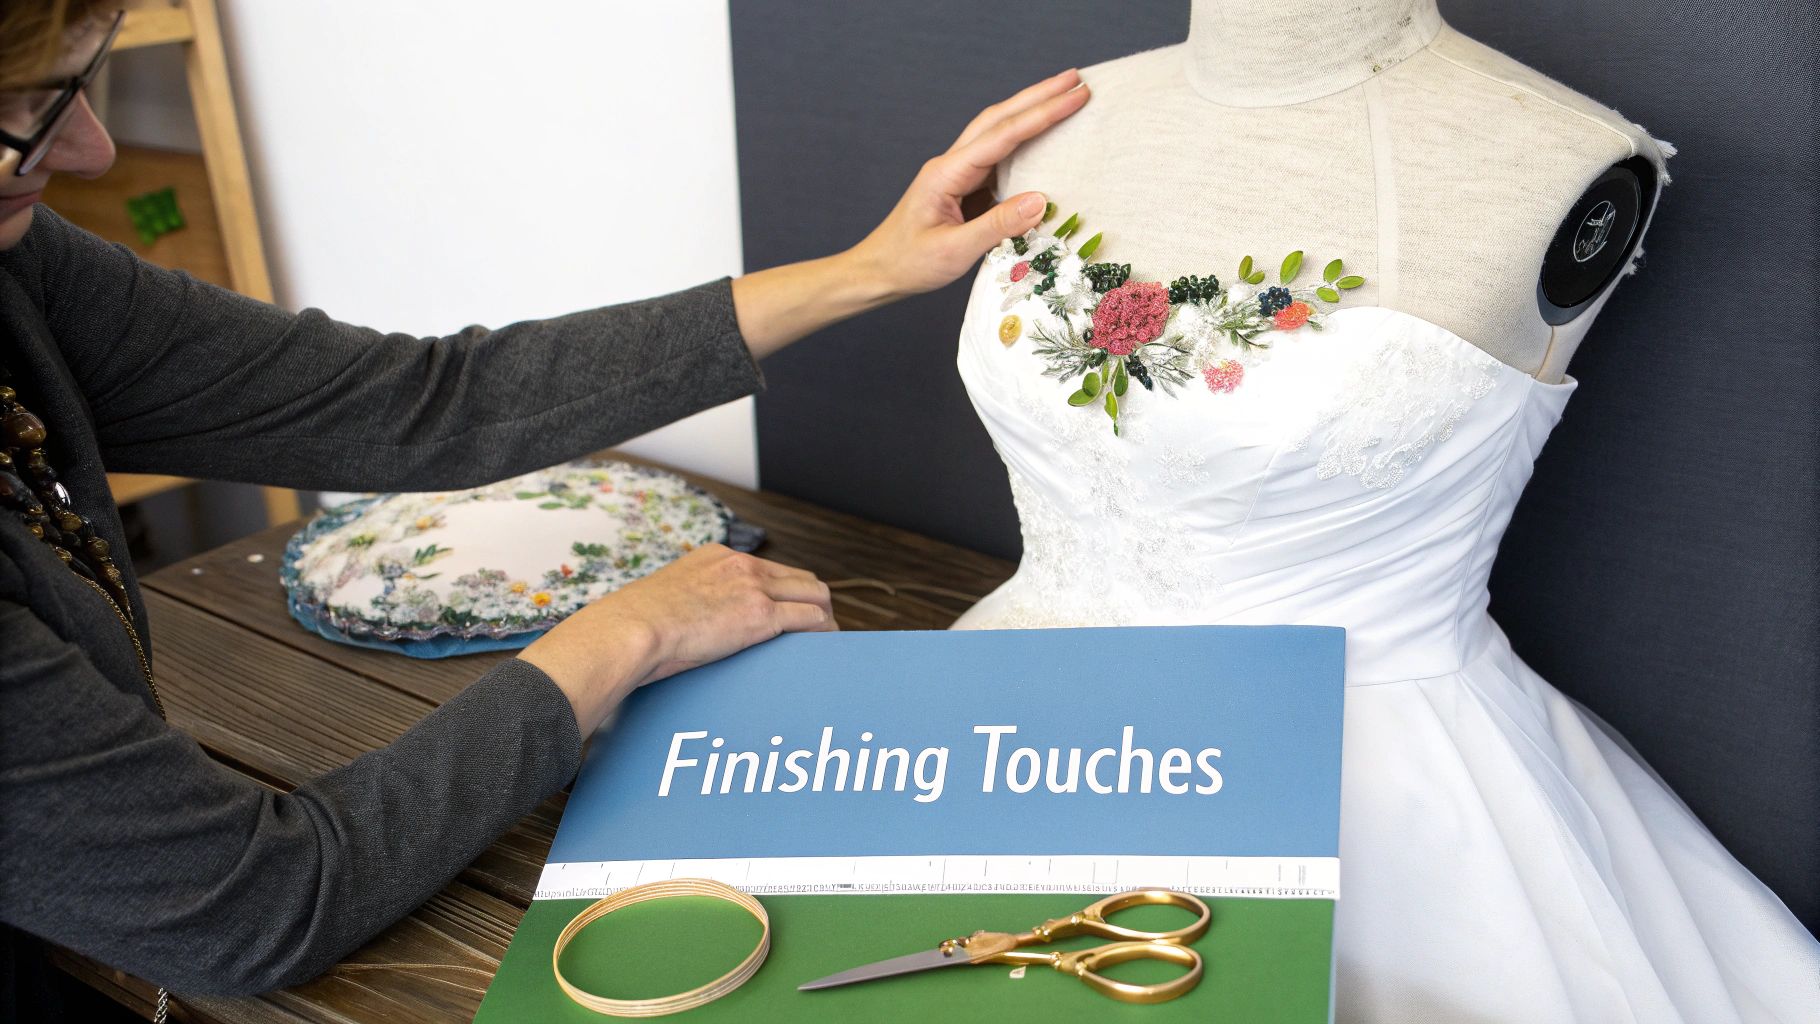
The Art of the Flawless Finish
Once your machine has made its final stitch, you're not quite done. The finishing process is what truly separates amateur work from professional-quality embroidery. Taking care with these last few steps ensures your creation is clean, crisp, and ready to be cherished for a lifetime.
If you rush this part, you risk undoing all your hard work. Just take your time and be gentle with your delicate stitches and fabric.
A Simple Finishing Workflow
- Get it Out of the Hoop: As soon as the machine finishes, carefully unhoop your project. This helps prevent permanent creases or that dreaded "hoop burn," which can be a real problem on delicate fabrics like satin or silk.
- Trim Those Jump Stitches: Flip the project over to the back. Using a small, sharp pair of embroidery scissors, carefully snip away any long jump stitches (those threads that travel across the back between different parts of the design). Trim them close, but be careful not to accidentally cut your main stitches!
- Deal with the Stabilizer: Follow the directions for the type of stabilizer you used. For tear-away, you’ll gently tear it away from the stitches. For cut-away, trim the excess, leaving about a 0.5 cm border around the design. If you used a wash-away, just submerge the piece in lukewarm water until the stabilizer completely dissolves.
- The Final Press: This is a non-negotiable step! Place your embroidered item face down on a thick, fluffy towel. Press it from the back with a warm iron. The towel is key—it protects your stitches from getting flattened and helps them keep their beautiful texture and loft. Never, ever iron directly on the front of the embroidery.
Long-Term Care and Preservation
The final gift you can give the couple is a bit of advice on how to care for their new heirloom. Provide simple, clear instructions so the embroidery stays beautiful for decades. For most items, this means gentle hand-washing in cool water with a mild detergent and letting it air-dry flat. It's also a good idea to remind them to store the piece away from direct sunlight to keep the colours from fading over time.
These finishing touches are the final act of love in your embroidery project, ensuring the happy couple receives a keepsake that is as durable as it is beautiful.
Common Questions About Wedding Embroidery
Even with the best-laid plans, you're bound to have questions pop up when you're in the middle of a special wedding embroidery project. Getting those answers quickly can be a real lifesaver, heading off potential stress before it starts. Let's walk through some of the things people ask me most often.
How Long Will This Actually Take?
This is the big one, and the answer is always, "It depends!" A simple, elegant monogram on a handkerchief? You could be done in under an hour. But a lush, detailed floral border on a cathedral-length veil? That could easily mean 20-30 hours of machine time, not including setup and finishing.
My best advice is to always overestimate your time. If you think it'll take five hours, block out seven. Intricate designs, frequent colour changes, and delicate fabrics always add time you might not have planned for.
What Is the Best Thread for Bridal Wear?
For most bridal fabrics, a 40-weight polyester or rayon thread is going to be your go-to. I love rayon for its gorgeous, high-sheen finish that just looks so luxurious on a gown. On the other hand, polyester is a workhorse—it's incredibly durable and colourfast, which is perfect for creating a keepsake that will last for generations.
If you're working on something extremely delicate, like tulle or organza, you might want to switch to a finer 60-weight thread. It helps the embroidery look like it’s floating on the fabric instead of weighing it down.
How Should I Price a Custom Piece?
Pricing your work can feel tricky, but it doesn't have to be. Your price needs to cover three things: your materials, your time, and the design's complexity.
Start by calculating your material costs (thread, stabilizer, etc.). Then, figure out an hourly rate for your labour that you're comfortable with. Remember to include the time you spend consulting with the client, digitizing the design, and running test stitch-outs.
The most important thing is confidence. Test your design on a scrap piece of fabric identical to your final material. This single step will answer most of your questions about tension, stabilizer, and final appearance before you ever touch the actual wedding item.
How Do I Embroider on Slippery Satin?
Ah, satin. It's beautiful but can be a nightmare to hoop properly. The secret is a technique called "floating."
Instead of trying to force the satin into the hoop (which almost always leaves dreaded "hoop burn" marks), you hoop only your stabilizer. Then, a light mist of temporary spray adhesive on the stabilizer gives you a tacky surface to carefully position your satin on top. This holds the fabric perfectly flat and secure without any risk of damage.
At All About Sewing, we have all the threads, stabilizers, and accessories you need to create breathtaking wedding embroidery. Explore our selection of premium embroidery supplies and get everything you need to start your next heirloom project today.


