Your Guide to the Perfect Dog Bandanas Pattern
Before you can start stitching, let’s get everything you need in one place. Trust me, having all your supplies laid out and ready to go makes the whole process so much more fun and way less frantic. Think of it as your mise en place for sewing—a little prep work now saves a ton of hassle later.
Gathering Your Supplies for the Perfect Bandana
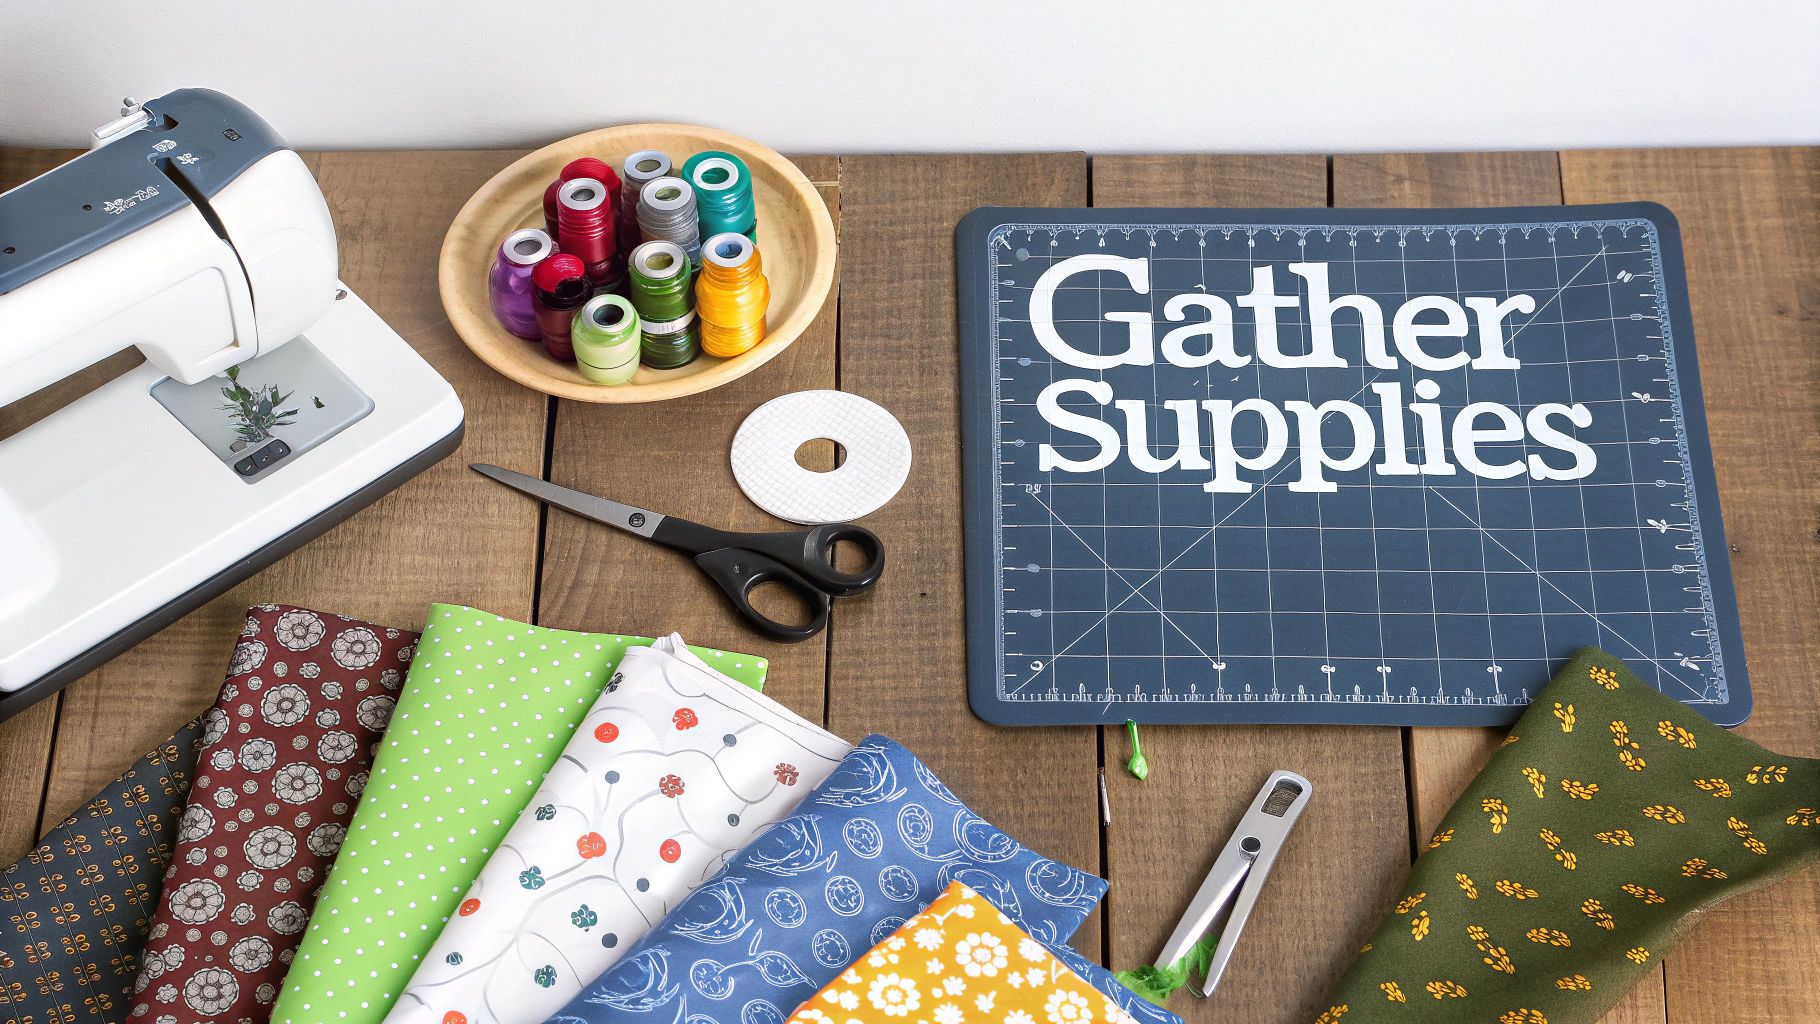
There's nothing worse than getting into your sewing groove only to realize you're missing something essential. Let's make sure that doesn't happen. A smooth project starts with a well-organized workspace, and it all begins with your materials.
Choosing the Ideal Fabric
Your fabric choice is where the real personality of the bandana comes to life. For dog bandanas, you really can't go wrong with 100% cotton. It's the gold standard for a reason: it's breathable, sturdy enough to handle a bit of roughhousing, and you can just toss it in the wash. Easy peasy.
Quilting cottons are my personal favourite for this project. The sheer variety of colours and playful prints is amazing, so you can find something that perfectly suits your pup’s style. Think about the fabric's weight, too. A light cotton lawn is great for a breezy summer look, while a cozy flannel is perfect for those crisp autumn walks.
Essential Sewing Tools
Once you've picked your fabric, it's time to raid your sewing kit. You can absolutely get by with the basics, but a few specific tools will give your bandana that sharp, professional finish.
- Rotary Cutter & Self-Healing Mat: If you don't already have this combo, it’s a total game-changer. You'll get perfectly straight cuts in a fraction of the time it takes with scissors.
- Clear Acrylic Ruler: This is the best friend of the rotary cutter, helping you measure and cut with precision.
- Quality Thread: Don't skimp on the thread! A good all-purpose polyester or cotton thread will give you strong seams that won't pop when your dog is playing.
- The Right Needle: Always start a new project with a fresh needle. A universal size 80/12 is perfect for cotton. A sharp needle means clean stitches and no fabric pulls.
Here’s a pro tip from years of experience: if you hear a thump-thump-thump sound as you sew, your needle is too dull. Swap it out! It’s such a tiny thing that makes a massive difference in your final result.
Prepping for Your Project
Okay, one last step before the real fun begins. Always, always pre-wash and iron your fabric. Cotton is notorious for shrinking, and the last thing you want is for your perfectly-sized bandana to become a necktie after one wash.
Ironing out all the creases ensures your cuts are accurate and your seams lay flat and look crisp. Taking these few extra minutes to prep your materials is the secret to making sure your finished dog bandanas pattern looks just as good as you imagined.
Getting the Perfect Fit for Your Pup
A well-fitting bandana is more than just a cute accessory; it’s a comfortable and safe one. Nailing the fit is the first real step to a great-looking final product, and it all starts with one simple measurement: your dog's neck.
Before you even think about printing a dog bandanas pattern, grab a soft measuring tape. Loop it gently around the widest part of your dog’s neck, right where their collar usually sits. The trick is to make sure you can easily slide two fingers underneath the tape. This little bit of wiggle room is crucial—it ensures the bandana won't be uncomfortably snug, letting your dog move and breathe freely.
No measuring tape? No problem. A piece of string and a ruler will do the job just as well. Just wrap the string, mark where it overlaps, and then measure it flat against your ruler. Make sure you jot that number down!
Tie-On or Through-the-Collar?
With your dog's neck size sorted, it's time to pick a style. The two most common designs have their own unique advantages, and your choice will likely come down to your dog’s lifestyle and your own personal preference.
- The Classic Tie-On: This is the timeless triangular bandana that you simply tie on. It's wonderfully adjustable, which is great for growing pups, and it often sits better on dogs with thicker, fluffier coats.
- The Through-the-Collar: This style features a neat channel sewn along the top edge. You just slide your dog’s collar right through it. It's a fantastic, super-secure option for the more boisterous dogs who love a good run and tumble at the park. You’ll never have to worry about it falling off.
Our free downloadable pattern actually includes templates for both, so you can give each a try and see which one becomes your go-to.
From Measurement to Fabric
Now that you have your dog's neck measurement, you can find the perfect size using our chart below. We've included options for everyone, from tiny Chihuahuas to majestic Great Danes, so every dog can have a bandana that looks like it was made just for them.
It's clear we love spoiling our pets! In 2022, the Canadian pet products market hit a whopping USD 8,843.5 million in revenue, and dog-related products made up a 40.62% share of that. It just goes to show how much joy we get from creating special things for our furry friends. You can discover more insights about this growing market and see how your homemade project is part of a much bigger trend.
Dog Bandana Sizing Chart
Use this chart to find the perfect bandana size based on your dog's neck measurement. We've even added some common breeds to help guide you.
| Size | Neck Measurement (inches) | Recommended Breeds | Fabric Square Size (inches) |
|---|---|---|---|
| XS | 8" - 12" | Chihuahua, Yorkie, Pomeranian | 12" x 12" |
| S | 12" - 15" | Jack Russell, Pug, Beagle | 15" x 15" |
| M | 15" - 18" | Corgi, Australian Shepherd, Border Collie | 18" x 18" |
| L | 18" - 22" | Labrador, Golden Retriever, Boxer | 22" x 22" |
| XL | 22" - 26" | Great Dane, Bernese Mountain Dog, Mastiff | 26" x 26" |
These sizes are a great starting point, but every dog is unique.
Here's a little tip from experience: When in doubt, size up! It's always a good idea to add an extra inch to your fabric square, especially for a tie-on bandana. You can easily trim a bit off if it's too big, but there's no easy fix for one that's too small.
Once you’ve printed and cut out the paper pattern piece for your chosen size, you’re ready for the fabric. Our patterns come with suggested cutting layouts to help you get the most out of your material—super handy when you’re working with that special half-metre you’ve been saving. A little planning here goes a long way to a frustration-free sewing session.
Bringing Your Dog Bandana to Life
Alright, you've prepped your fabric and cut your pattern pieces—it's time for the fun part. Let's head over to the sewing machine and turn that flat fabric into a stylish accessory for your best friend. The real secret to a great-looking bandana isn't complicated stitching; it's taking your time and, most importantly, pressing your seams as you go. Trust me on this one: a hot iron is your best friend for getting those crisp, professional-looking edges.
Before we dive into sewing, let's quickly recap the process so far. It's really just three simple stages to get you ready for the machine.
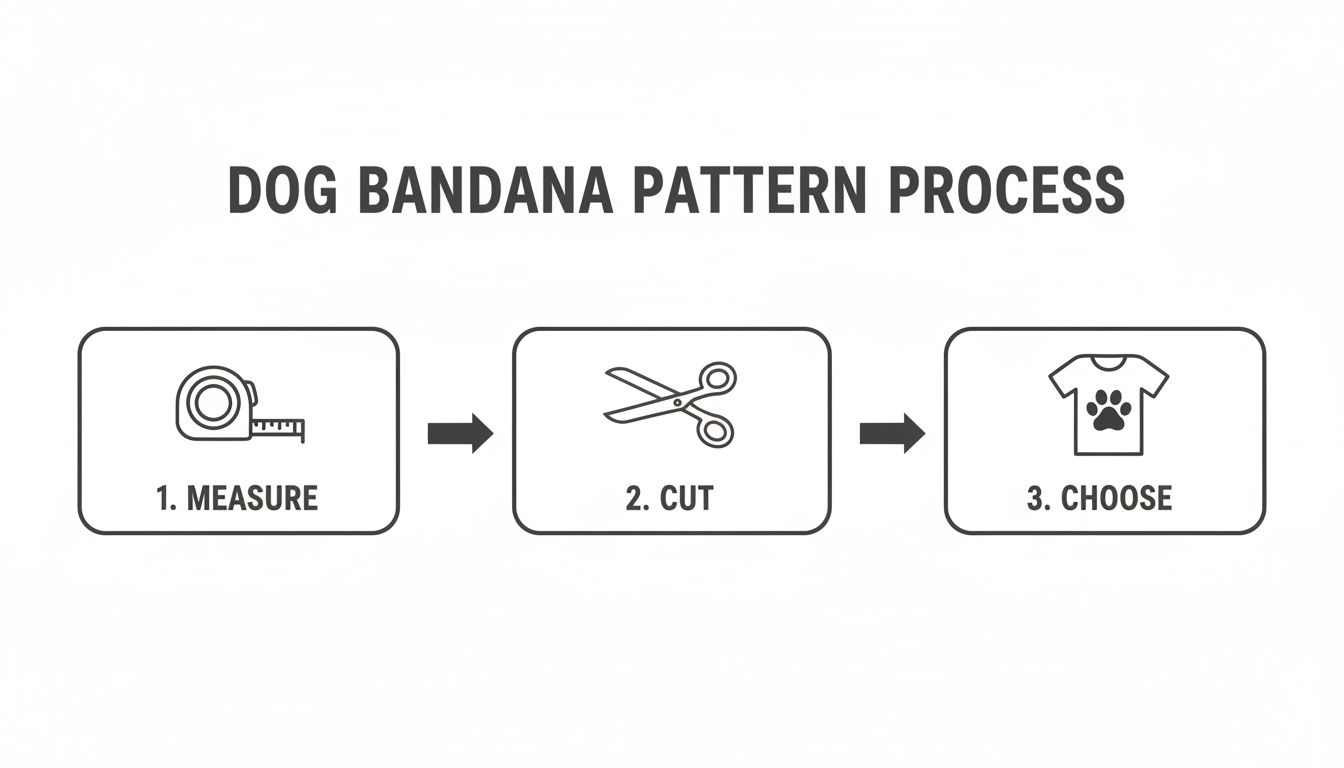
With a perfectly sized and cut piece, you're all set for the final construction. I'll walk you through my two favourite ways to finish a bandana.
The Reversible Bandana Method
This is my personal go-to. A reversible bandana gives you two looks in one, and the construction makes for a really durable, high-quality accessory. It's also a fantastic way to use up those coordinating fat quarters you've been collecting!
First, place your two fabric pieces right sides together. You want all the edges and points to line up perfectly. A few pins or sewing clips are a great help here to stop things from shifting around while you sew.
Next, using a standard straight stitch and a 1/4-inch seam allowance, you'll sew around the three sides of the triangle. On the longest, straightest edge, make sure to leave a 3-inch to 4-inch gap unsewn. This little opening is how we'll turn the bandana right side out in a bit.
Don't forget to backstitch at the beginning and end of your seam, especially right at the edges of that opening. It locks your stitches in place so they don't unravel when you start turning the fabric.
Here’s a pro tip for getting perfectly sharp points: When you get to a corner, stop with the needle down in the fabric. Lift the presser foot, pivot the fabric 90 degrees, lower the presser foot, and then keep sewing. It works like a charm every single time.
Before you turn anything, take a moment to trim the fabric at the three corner points. Just snip off the very tip, but be careful not to cut through your stitches! This gets rid of the extra bulk and helps the corners look sharp and defined when you're done.
Turning and Topstitching for a Polished Finish
Now for the magic moment! Gently pull the fabric through the opening you left, turning the whole bandana right side out. I like to use a blunt tool, like a chopstick or a proper point turner, to carefully poke out the corners until they’re nice and sharp.
Once it's turned, head back to your ironing board for the most important press of the project. Give the entire bandana a good press, paying close attention to the seams. When you get to the opening, just fold the raw edges of the fabric inward so they line up neatly with the sewn seam.
The final touch is to topstitch around the entire edge of the bandana. I suggest using a slightly longer stitch length (around 3.0 mm) and sewing about 1/8-inch in from the edge. This not only closes that little gap for good but also gives the bandana a clean, finished look and helps it hold its shape, wash after wash.
Alternative Finishes for Every Sewer
Of course, not everyone wants a lined, reversible bandana, and that's perfectly fine! A single-layer version is quicker, uses less fabric, and is a great option for lighter-weight materials.
- For Serger Owners: If you have a serger, a rolled hem is an incredibly fast and stylish way to finish a single-layer bandana. It creates a beautiful, decorative edge that also stops any fraying in its tracks. It looks particularly nice on the two shorter, angled sides of the triangle.
- Using a Standard Machine: No serger? No problem. A simple narrow hem will do the trick perfectly. For a bit more flair, you could also use a decorative zigzag stitch along the edge. This is a great chance to add a pop of colour with a contrasting thread
Adding Personality with Creative Touches

Alright, this is where the real fun begins. With the basic bandana put together, you get to let your inner artist loose and create something that truly captures your dog's unique spirit. These creative additions are what take your project from a simple handmade item to a boutique-quality piece.
The possibilities really are endless, but a few techniques are my go-to's for their style and how well they hold up. Personalizing a bandana is a fantastic way to show off your crafting skills and make something truly special.
Personalizing with Names and Shapes
Adding your dog's name is a classic touch that never gets old. If you're lucky enough to have an embroidery machine, like a Husqvarna Viking or Brother, this is the perfect time to fire it up. You can stitch their name in a beautiful script or a fun, bold font.
Don't have an embroidery machine? No worries at all! You can get a wonderful, textured look with appliqué. This just means cutting shapes—like letters, a paw print, or a heart—from a contrasting piece of fabric and stitching them onto the bandana. It’s a great way to add a pop of colour and dimension.
Before you even think about stitching on your finished bandana, always do a test on a scrap of the same fabric. This is my golden rule. It lets you check your machine's tension and make sure the thread colour is perfect, saving you from a world of frustration later.
Upgrading the Closure System
A simple tie-on bandana is classic, but sometimes a different closure is just more practical. This is especially true for really active dogs or for anyone who just wants a quick on-and-off option. That’s where snaps or Velcro come in handy.
- Plastic Snaps: I love these. They’re easy to apply with a special plier tool and come in every colour imaginable. They give a secure, clean-looking finish that won't come undone, even during a wild game of fetch.
- Velcro (Hook and Loop): This is probably the simplest and most adjustable option out there. Just sew a small piece of the scratchy "hook" side to one end and a matching piece of the soft "loop" side to the other.
A quick pro-tip: whenever you add snaps or Velcro, it’s a good idea to reinforce the fabric right where you're attaching them. Ironing a small square of fusible interfacing onto the back will prevent any tearing from all the pulling and tugging.
Adding a Touch of Flair
Beyond names and closures, there are so many other ways to add a bit of fun. Think about sewing a playful trim of ric-rac or mini pom-poms along the bottom edge before you do your final topstitching. It's these little details that can completely change the vibe of the bandana.
This DIY bandana trend is part of something much bigger. Believe it or not, North America currently holds over 38% of the global dog bandana market, which is valued at a whopping USD 320 million and is only expected to grow. This excitement fuels so much creativity, turning simple sewing projects into personalized treasures. You can learn more about the booming dog accessory market and see just how your creation fits into this exciting space.
Solving Common Sewing Frustrations
Even the most experienced among us run into a sewing snag from time to time. When it comes to getting that polished, professional look on your dog bandanas pattern, it really just comes down to a few simple tricks for handling those little annoyances that pop up at the machine.
One of the questions I hear most often is about fabric puckering along the seams. Nine times out of ten, this is caused by a dull needle or the machine's tension being a bit off for the fabric you're using. I always tell people to start every new project with a fresh needle—it’s a tiny change that makes a massive difference.
Achieving Crisp Corners and Smooth Seams
Turning sharp corners cleanly, especially on a reversible bandana, is the secret to getting that crisp, store-bought finish. Here's how: as you approach the corner, stop sewing with your needle down in the fabric. Lift the presser foot, pivot the material 90 degrees, lower the foot, and then keep on sewing. It's a simple technique that gives you a perfect, sharp point every single time.
Another headache is when the thread bunches up underneath your fabric—what we call "bird nesting." This is almost always a sign that the machine isn't threaded correctly. My advice is simple but it works: unthread the whole thing and start over from scratch. You’d be surprised how often that solves the problem in a snap.
Here’s a quick tip for reinforcing snaps: Before you attach one, iron a small square of fusible interfacing to the wrong side of the fabric right where the snap will go. This adds a bit of strength and keeps the fabric from tearing after lots of use.
Local Trends and Durable Finishes
The demand for well-made, handmade pet accessories is really taking off. For us here at All About Sewing in Barrie, Ontario, we've seen a huge interest in dog bandana patterns. It makes sense, especially when you learn that 80% of pet product sales still happen in person at local shops.
Our local sewists tend to love simple, classic patterns, like a 22x22-inch square folded into a triangle with a really durable hem—it's the perfect project for a powerful PFAFF machine. And with over 25 years of experience, our team can make sure your Brother embroidery machine is perfectly tuned for any design you can dream up, from cute floral motifs to fun holiday themes. If you're curious, you can read the full analysis on Canadian pet food trends to see just how much this market is growing.
A Few Common Questions About Making Dog Bandanas
After you've stitched up a few bandanas, you might still have some questions floating around. Let's go over a few of the most common ones we get asked, so you can feel totally confident in your creations and keep your pup safe and stylish.
What’s the Best Fabric for a Dog Bandana?
When it comes to anything your dog will wear, comfort is king. That’s why 100% cotton is my go-to recommendation. It’s lightweight and breathable, but still tough enough to handle a trip to the dog park. Best of all, it’s a breeze to throw in the wash, which is a non-negotiable for any dog owner!
Quilting cotton is a fantastic place to start since it comes in countless fun prints and colours. If you're sewing for the colder months, a soft flannel is a wonderful choice. It adds a bit of warmth and feels incredibly cozy against your dog's fur.
How Can I Make Sure the Bandana is Safe?
Safety is always the number one priority. The most important rule of thumb is getting the fit just right. You should always be able to easily slip two fingers between the bandana and your dog’s neck. This simple check ensures it’s not too tight and won't become a choking hazard.
Think carefully about any embellishments, too. As cute as beads or buttons might look, they can be a real risk if chewed off and swallowed. I always suggest sticking to decorations that are sewn flat and securely, like a simple embroidery or an appliqué patch. And, of course, it’s always a good idea to keep an eye on your dog whenever they’re sporting a new accessory.
If there's one thing to remember, it's this: always put your dog's comfort first. If they seem irritated by the bandana—scratching at it or trying to get it off—it’s best to just take it off.
Can I Make This Without a Sewing Machine?
You absolutely can! If you don't have a sewing machine or just want a super quick project, you can make a no-sew version with fusible hemming tape. Just cut your fabric square, fold the raw edges over to create a clean hem, and press it with a hot iron. The heat activates the adhesive and seals the edge.
A no-sew bandana might not stand up to as many washes as a stitched one, but it’s a brilliant way to whip up a fun accessory in minutes. It's also a great way to try out a new style before committing to a full sewing project.
Ready to gear up for your next project? All About Sewing has everything from beginner-friendly machines to professional-grade sergers, plus a huge selection of fabrics and threads. Explore our collection and find your inspiration today!


