Sew the Perfect Dog Coats Pattern for Any Breed
A good dog coats pattern is your blueprint for a coat that actually fits. Forget those one-size-fits-all templates; the secret to a comfortable, functional coat is creating a custom outline based on your dog's specific shape. This way, you get a garment that keeps them warm without getting in their way.
Drafting a Custom Pattern for a Perfect Fit
Before you even touch your good fabric, the real magic happens on paper. Drafting a custom pattern from scratch might sound a bit daunting, but it’s really just about translating your dog’s measurements into a simple shape. Getting this part right is the difference between a coat that fits like a glove and one that’s too tight across the chest or ridiculously long.
Accurate measurements are non-negotiable. Don't eyeball it—grab a soft measuring tape for the best results.
- Topline: Measure from the base of the neck (right where their collar usually sits) all the way to where their tail begins. This is your coat's main length.
- Chest Girth: This is the most important one for a comfy fit. Find the widest part of their chest, typically just behind the front legs, and measure all the way around. I always add two to three inches to this number for wiggle room and seam allowances.
- Neck Girth: Measure around the base of their neck. Just like with the chest, add an inch or two so it isn't restrictive.
From Numbers to a Paper Pattern
Got your numbers? Great. Now it’s time to sketch it out. Grab a big piece of paper—I often use the back of wrapping paper or just tape a few sheets of printer paper together.
Start by drawing a large rectangle. The length should be your dog’s topline measurement, and the width should be about half of their chest girth. This simple rectangle is the main body of the coat.
Now, you can start refining the shape. For instance, I like to curve the back corners of the pattern so it follows the line of my dog's hips better. Another trick is to add a small dart near the tail. This little tweak stops the coat from sticking up at the back and gives it a much cleaner, more professional look, especially on dogs with a bit of a slope to their hindquarters.
My Best Advice: Make a mock-up first! Before you cut into that nice fleece or waterproof canvas, do a test run with some cheap fabric like an old bedsheet. This "muslin" lets you check the fit and make any necessary tweaks. It feels like an extra step, but trust me, it can save you from a major headache later.
This simple workflow is all you need to get started.
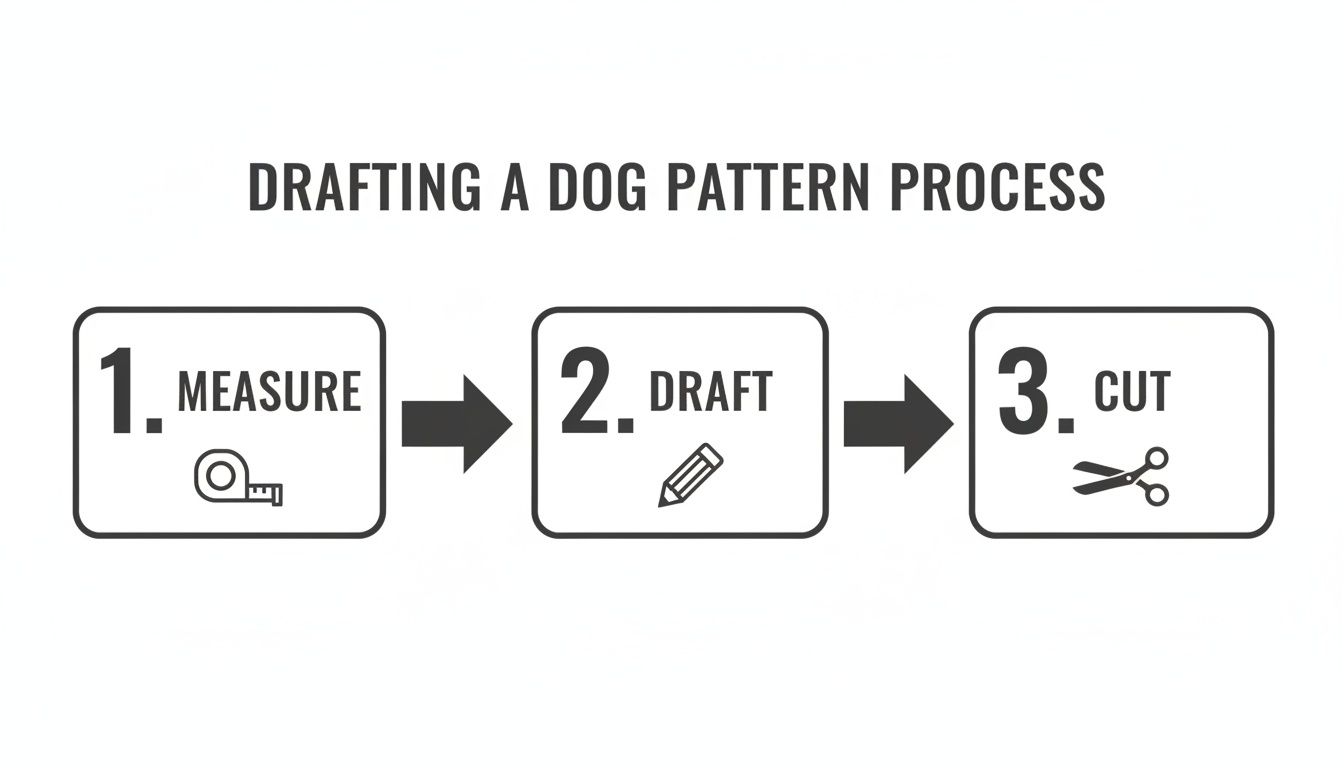
Ultimately, it all comes down to this three-part process: measure, draft, and cut. Nailing these fundamentals is the key to any successful dog coat project you take on.
Choosing Fabrics and Supplies That Actually Work
With your custom dog coats pattern drafted and ready to go, the fun part begins: picking out the materials. This is where your vision for the coat really comes to life. Are you making a light jacket for breezy autumn days or a full-on winter parka built for snowbanks?
Your dog's lifestyle and your local weather are your biggest guides. A pup in rainy Vancouver needs a waterproof shell, no question. But for a dog facing the dry, deep-freeze winters of the prairies, heavy-duty insulation is the top priority. The right fabric choice is what makes the coat practical and long-lasting.
Selecting the Outer Shell Fabric
Think of the outer layer as your dog's armour against the elements. It needs to stand up to rain, wind, and the occasional enthusiastic roll in the mud. You’re looking for something tough.
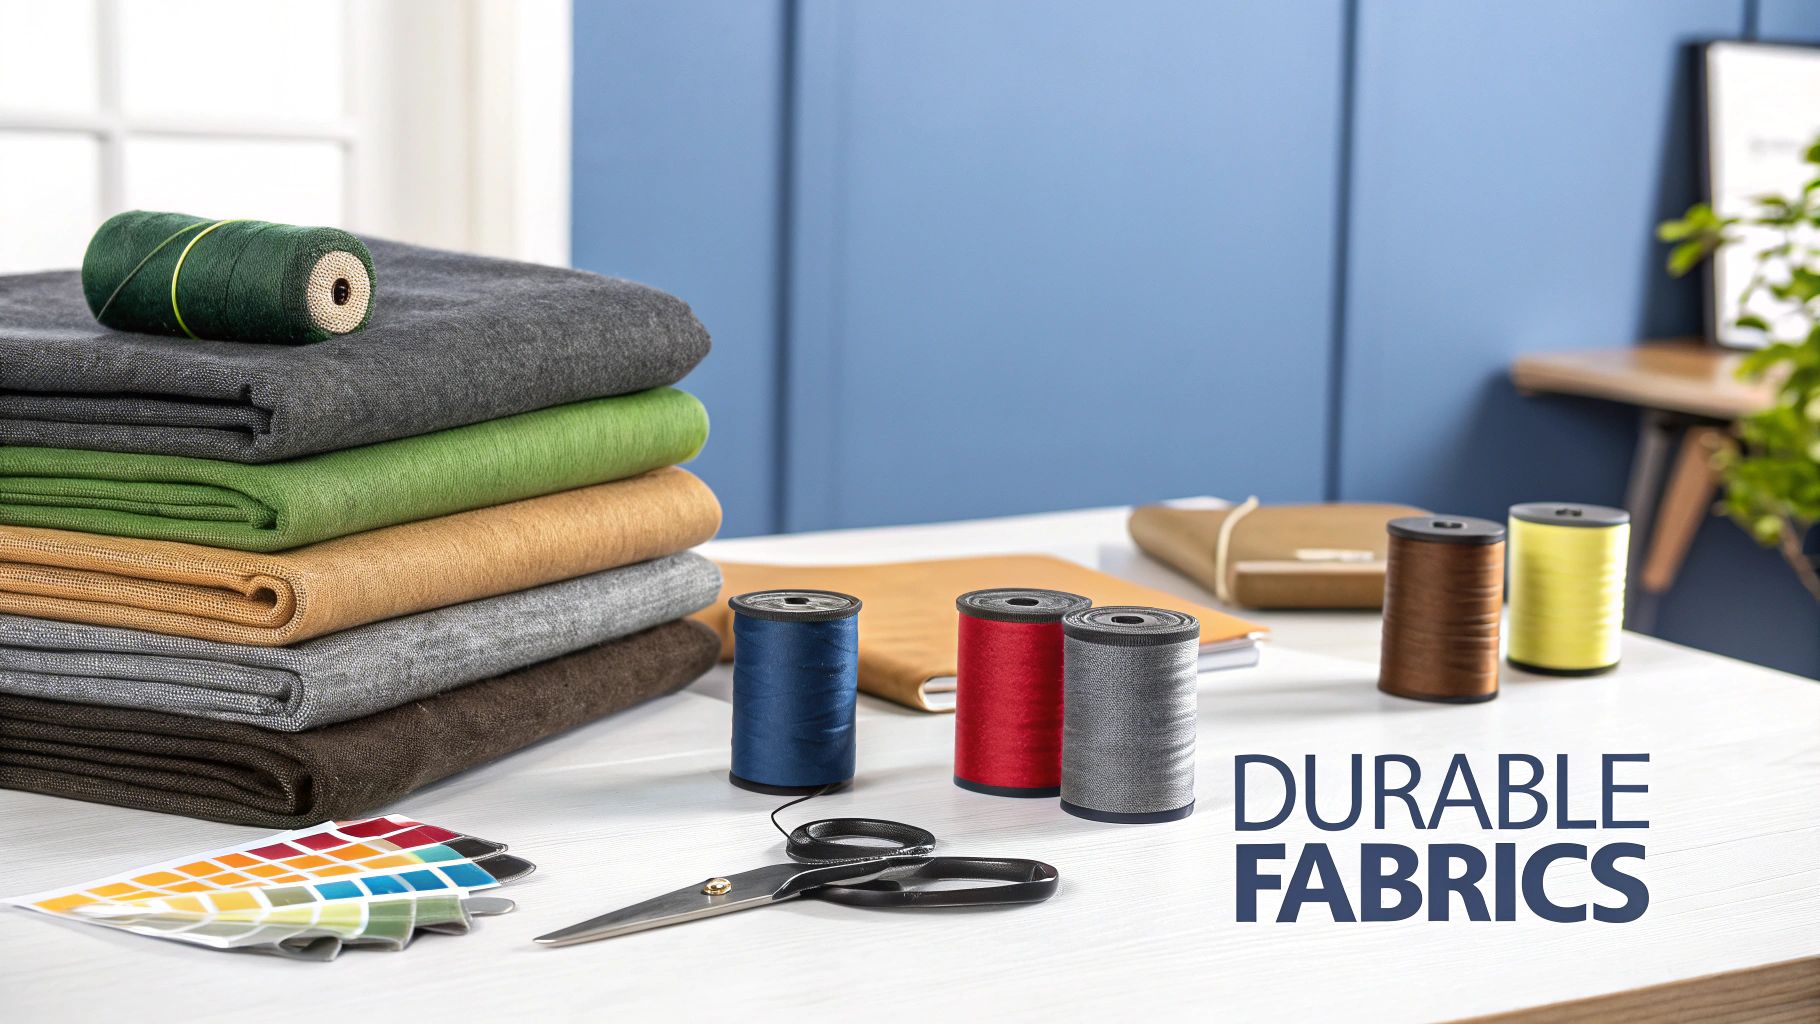
Here are a few of my tried-and-true favourites for the shell:
- Ripstop Nylon or Canvas: This stuff is fantastic. It’s incredibly durable and resists snags and tears, which is a lifesaver if your dog loves running through the bush. Many versions come with a water-resistant coating, making them an excellent all-weather choice.
- Bonded or Polartec® Fleece: For dry, cold weather, fleece is hard to beat. It's warm, soft, and lightweight. Plus, it’s a very forgiving fabric to sew, which is a huge bonus if you're just starting out.
- Wool or Denim: If you're going for a more classic look, these are great options. They aren't waterproof, but they're surprisingly warm, sturdy, and provide great insulation for those crisp, chilly walks.
It makes sense why functional outerwear is such a big deal for Canadian dog owners. Coats and jackets grab a huge 34.0% market share in our pet clothing industry, mostly because we need practical gear for our wild swings in weather. Just look at Ontario's snowy Simcoe County, where local surveys found 72% of dog owners use protective coats in the winter. You can dig deeper into these Canadian pet apparel trends if you're curious.
Choosing Linings and Essential Supplies
The lining is all about comfort. It sits right against your dog's fur, so you want something soft that won't chafe or irritate their skin.
A great lining can elevate a simple dog coat pattern. Think about comfort first. My go-to is often a soft flannel or a plush sherpa, which adds a surprising amount of insulation without much bulk.
After you've picked your main fabrics, it’s the little details that will pull the whole project together and make it last.
- Lining: Soft flannel, microfleece, or sherpa are perfect for adding warmth and a cozy feel. If you're making a lighter, three-season coat, a simple quilting cotton is a great choice.
- Thread: This is not the place to skimp! Avoid that old, brittle thread from the back of the drawer. A quality all-purpose polyester thread has the strength to handle a dog's energetic movements without snapping.
- Closures: Security is everything, especially for an active dog. Wide hook-and-loop tape (like Velcro) is fantastic because it’s so adjustable. For a truly bomb-proof option that won’t pop open during a wild run at the park, I always recommend side-release buckles.
How to Prepare and Cut Your Fabric Like a Pro
The real secret to a polished, professional-looking dog coat isn't fancy stitching—it’s meticulous prep work. I've seen it time and again: rushing the prep stage is the quickest way to end up with a coat that fits funny or warps after the first wash. Let's get this part right.
Before you do anything else, pre-wash and dry your fabrics. Seriously, don't skip this. Materials like cotton, flannel, and wool are notorious for shrinking. If you cut first, that perfectly sized coat might become a sausage-casing after its first trip through the laundry.
Once everything is washed and pressed, it's time to lay out your dog coats pattern pieces. Think of it like a puzzle where the goal is to use as little fabric as possible. Pay close attention to the grainline marked on each pattern piece and make sure it runs parallel to the fabric's grain. This is what helps the finished coat hang properly without twisting.
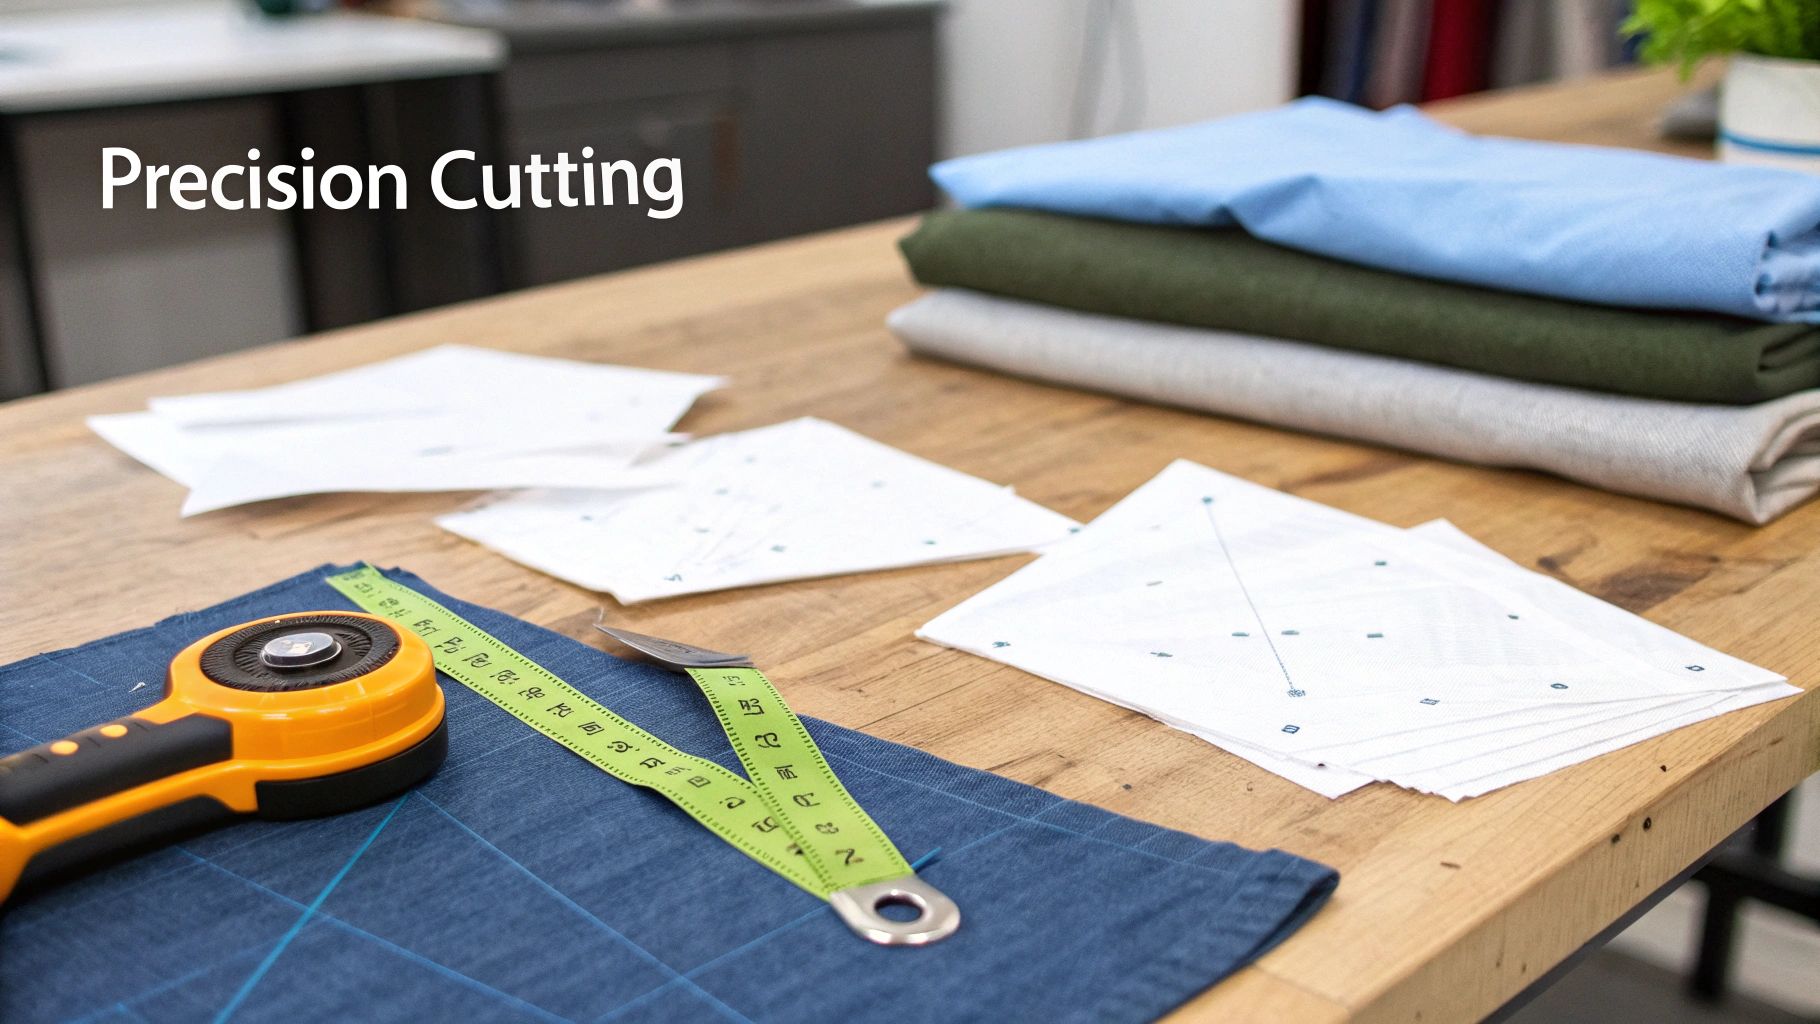
Precision Cutting for a Better Fit
When you're ready to cut, you’ve got a couple of choices. Good old-fashioned fabric shears work just fine. But if you want truly clean, crisp edges—especially with slippery nylon or bulky fleece—a rotary cutter paired with a self-healing mat is a total game-changer. The precision you get is just fantastic.
Now for the details that make all the difference: transferring the pattern markings. Be diligent about this.
- Darts: These are essential for giving the coat a nice, contoured shape around your dog's back end.
- Notches: These little triangles are your best friends for lining up pieces perfectly later on.
- Placement markings: These show you exactly where straps, pockets, or any other features go.
A simple tailor’s chalk pencil or a disappearing ink pen will do the trick. Think of these marks as your roadmap for a stress-free sewing session.
Pro Tip: When you're ready to cut the lining fabric, just flip your main pattern pieces over. This creates a perfect mirror image, which guarantees the outer shell and the lining will match up flawlessly when you sew them right-sides-together.
Seam Allowance and Final Checks
Before you slice into that beautiful fabric, do one last check: does your pattern include a seam allowance? If not, you’ll need to add it yourself. A standard 5/8" (1.6 cm) is a safe bet for most seams, but feel free to adjust if you prefer a different width.
Taking your time here is an investment. Clean cuts and accurate markings mean everything will fit together smoothly, saving you from the headache of re-cutting or wrestling with mismatched pieces down the line. This is the groundwork that leads to a beautiful, durable coat you can be proud of.
Assembling Your Dog Coat with Smart Sewing Techniques
With all your pieces cut and ready, we get to the fun part—watching your dog coats pattern come to life. The secret to a headache-free assembly is all about the order of operations. I always find it helps to think of it like building the coat from the inside out, dealing with the smaller bits before attaching them to the main body.
First up, let's sew the darts on both the outer fabric and the lining. These small, tapered folds are absolutely essential for giving the coat proper shaping around the hips, so it doesn't just hang like a stiff box. Once sewn, press the darts towards the centre on both layers to get a really clean, professional-looking finish.
Now, we'll join the main layers together. Lay your outer and lining fabrics with the wrong sides facing each other, placing any batting or interlining you're using in between them like a sandwich. To hold everything in place, baste around the edges about 1/4" (6 mm) from the edge. Trust me, a walking foot on your sewing machine is a game-changer here; it’ll stop the different layers from shifting and puckering.
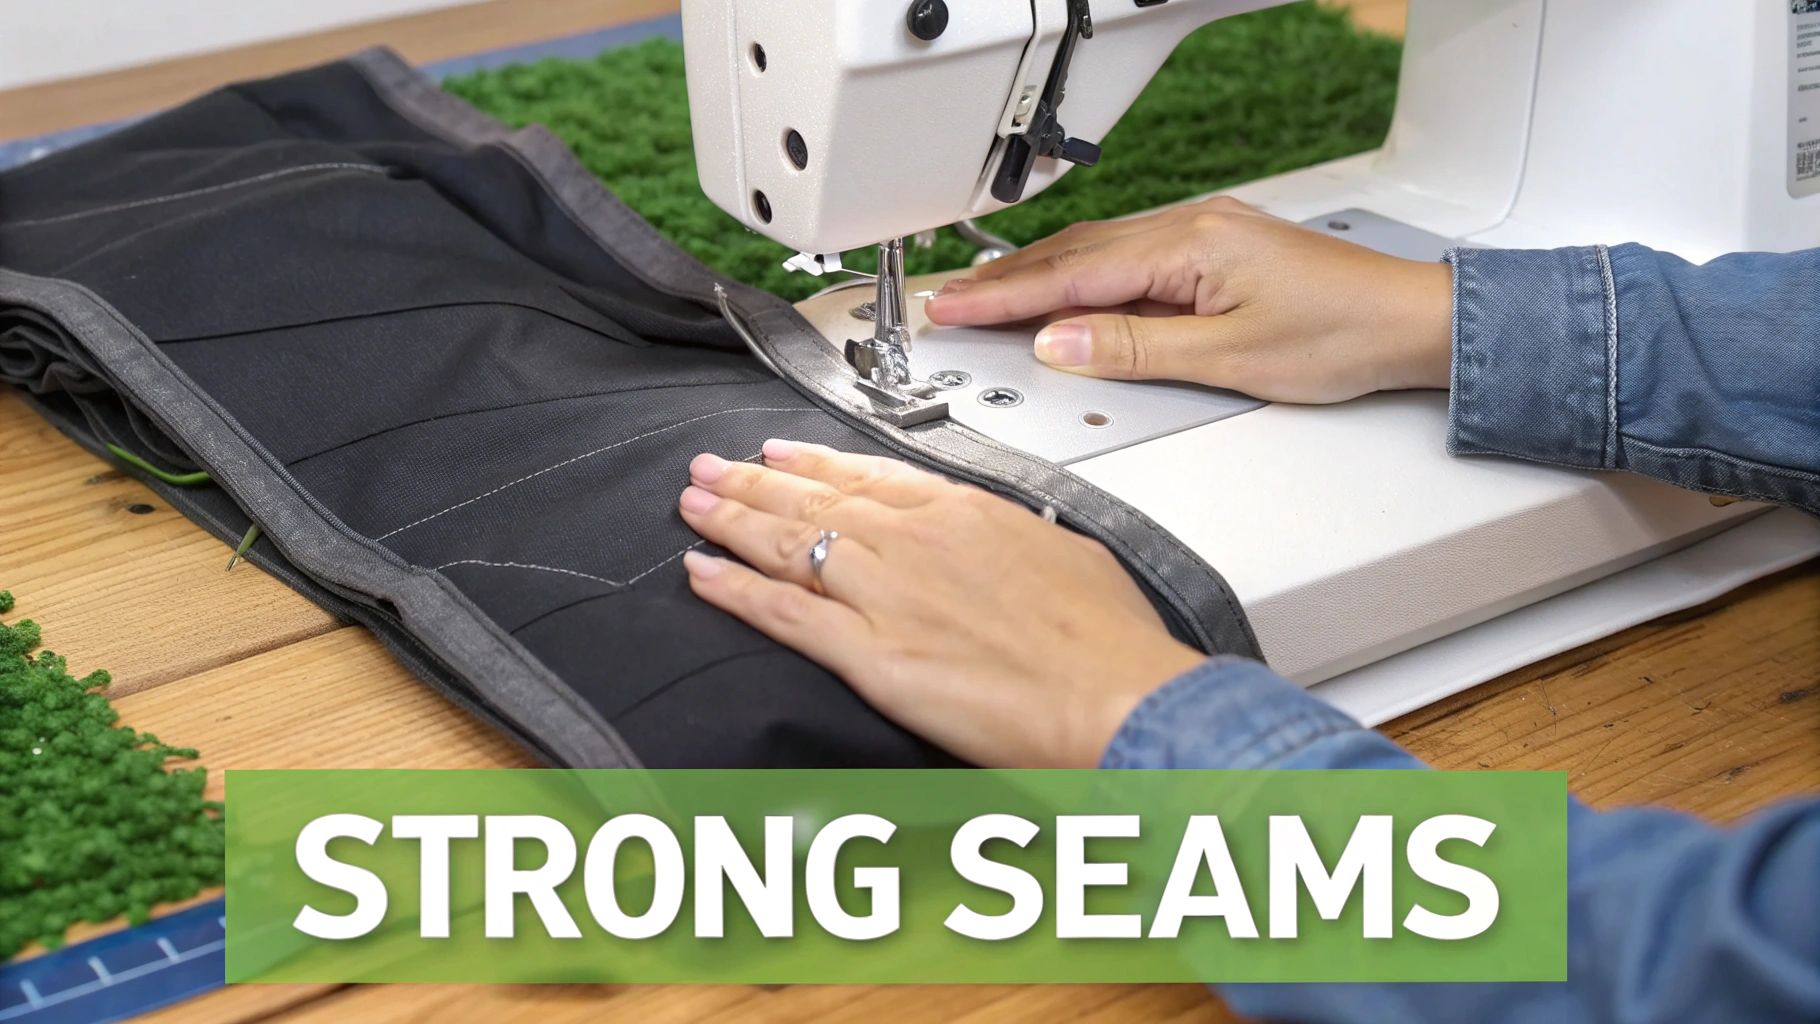
Building Strong and Lasting Seams
Let's be real—your dog is going to put this coat through its paces with all the running, jumping, and rolling. The seams have to be tough enough to handle it. I always reinforce the main construction seams, especially where the chest piece connects to the body. After sewing the initial seam, go back and topstitch along both sides.
This extra step does two things really well:
- It adds serious strength: The additional lines of stitching help distribute any stress across the seam, making it way less likely to pop when your dog takes off after a squirrel.
- It creates a polished look: Topstitching gives the coat that crisp, finished appearance you see on high-quality outdoor gear.
If you’re working with a fabric that frays easily, like canvas, it's also a good idea to finish the raw seam allowances. You can use a serger for a perfect edge, or just a simple zigzag stitch on your regular sewing machine will do the trick.
A common mistake I see is sewing the main body and lining separately, then trying to join them together like you're making a tote bag. For a dog coat, it's so much better to treat the shell and lining as a single unit from the get-go. This method stops the lining from twisting or bunching up inside the finished coat.
Creating durable, stylish gear for our dogs has become incredibly popular, especially with our Canadian weather. The demand for truly functional items has pushed the Canada pet clothing market to an impressive USD 151.8 million. With forecasts suggesting it will reach USD 204.4 million by 2030, it’s clear that owners see these coats as essential equipment, not just cute accessories. You can learn more about this trend and the rise of pet humanization in Canada in this market report.
The Best Order for Assembly
To keep things straightforward and avoid getting tangled up in your project, sticking to a logical assembly order is key. This is the sequence I've found works best.
- Prep the Straps First: Sew and finish any belly or chest straps right away. It's so much easier to handle these small pieces before they’re attached to the much bulkier main body of the coat.
- Attach the Chest Piece: Align the chest piece with the front of the main coat body, making sure the right sides are together. Pin it carefully, easing around any curves, and then stitch it in place.
- Add the Straps: Now you can sew your finished straps onto the main body. Just be sure to line them up with the placement marks you transferred from your pattern.
- Finish the Outer Edges: The very last step is to bind or hem the entire outer perimeter of the coat. This neatly encloses all the raw edges, giving you a tidy, durable, and ready-to-wear coat.
Adding Custom Details and Finishing Touches
With the main construction behind you, it's time for the best part: the finishing touches. This is where a good homemade dog coat becomes a great one. These details aren't just about looks; they add real function and comfort, turning your dog coats pattern into a piece of custom gear you'll be proud of.
Before you permanently add anything, do one last fitting. Gently drape the coat over your dog without fastening it all the way. Look closely at the key areas. How's the neckline? It should be comfortable, not restrictive. Are the belly straps in the right spot—not too far forward or back? This is your last chance to make those small tweaks that make a huge difference.
If a strap is a bit too long, go ahead and trim it now, then re-finish the edge. If the neck area feels a bit gappy, a well-placed dart or shifting the Velcro can easily snug it up.
Personalizing Your Coat for Safety and Convenience
Once you're satisfied with the overall fit, you can start adding features that are genuinely useful for your dog. These little additions can make a world of difference in daily use and are surprisingly easy to incorporate.
- Add a Harness Hole: So many dogs wear harnesses these days. To create a leash opening, put the harness on your dog first, then lay the coat on top. Grab some tailor's chalk and mark the exact spot where the D-ring pokes through. You can finish this opening with a clean, reinforced buttonhole stitch or even a small welt opening, much like you’d see on a jacket pocket.
- Improve Visibility with Reflective Tape: For those early morning or late-night walks, safety is everything. Sewing a few strips of reflective tape along the sides or back of the coat makes your dog incredibly visible to cars. It’s a simple step that offers serious peace of mind.
- Include a Treat Pocket: This is a fun and practical touch. Just stitch a small patch pocket onto the side of the coat. It’s the perfect place to stash a few treats or a spare poop bag, leaving your own pockets free.
It's these kinds of functional features that have helped make pet apparel such a massive industry. In North America, pet clothing revenue hit a 54.2% market dominance in 2023, with Canadian designers leading the charge in creating gear for our specific climate. The market is expected to grow by 4.1% CAGR to USD 2.75 billion by 2030, and coats are the fastest-growing part of that—no surprise given our variable weather! You can find more details in this North American pet clothing market report.
A Quick Tip on Closures: Before you sew your Velcro strips down for good, just pin them in place and do one final try-on. This quick check ensures the straps overlap perfectly for a secure fit, even when your dog is bounding around.
By taking a little extra time for these final details, you’re doing more than just finishing a sewing project. You're creating a high-quality, custom garment that’s perfectly suited to your dog and a true testament to your skill.
Your Dog Coat Pattern Questions, Answered
Even with the clearest instructions, you're bound to have a few questions when starting a new project. Getting them sorted out is often the difference between a coat you’re proud of and a sewing machine you want to throw out the window.
So, let's get into some of the most common questions I hear from people tackling a dog coats pattern for the first time. Think of this as your personal troubleshooting guide for everything from picking a design to making it weatherproof.
What Is the Best Dog Coats Pattern for a Beginner?
If you're just starting out, my top recommendation is to go for a simple "blanket" style coat. It’s basically a shaped rectangle that lays over your dog’s back, fastening with simple straps around the chest and belly. Honestly, it's the perfect first project.
This design lets you sidestep the fiddly parts, like setting in sleeves or sewing tricky curves for leg holes. You're mostly dealing with straight seams, so you can really nail the basics. I always suggest using a stable fabric like fleece for your first go; it’s incredibly forgiving, doesn't fray, and you’ll end up with a cozy, useful coat while building some confidence.
The goal of a first project is a happy finish, not a complex masterpiece. A simple blanket coat delivers a fantastic result with a much lower learning curve, which keeps the whole process fun.
How Do I Alter a Pattern for a Dog with Unusual Proportions?
Adapting a pattern really just comes down to trusting your tape measure. Every dog is unique, and a standard pattern almost always needs a few tweaks for that perfect, custom fit.
Take a long-bodied dog like a Dachshund, for example. You’ll need to add length to the main pattern piece, slicing it somewhere between the front and back leg areas and adding a few inches. For a deep-chested breed like a Greyhound or Whippet, it’s a different game. You’ll probably need to add width and a bit of a curve to the chest panel to accommodate their build without making it too tight.
The absolute best way to get these adjustments right is to make a "muslin"—a quick test version using cheap fabric. This shows you exactly how the coat fits and where you need to make changes before you cut into your nice material. It’s an extra step that saves a world of frustration.
What's the Best Way to Make a Dog Coat Waterproof?
The most straightforward approach is to choose a waterproof outer fabric right from the get-go. Materials like PUL (Polyurethane Laminate) or a good-quality ripstop nylon act as a built-in barrier against rain and snow.
When sewing with these fabrics, always start with a sharp, new needle in your machine. A fresh needle makes clean, small punctures instead of tearing the material, which is key to maintaining its water resistance. If you want to go all-out for a true rain slicker, you can apply a seam sealant—it’s an adhesive you paint over your stitch lines on the inside of the coat. This seals up the tiny needle holes, ensuring no water can sneak through the seams.
What Closures Are Safest and Most Secure for an Active Dog?
For a dog that lives to run, jump, and zoom through the woods, the coat’s closures need to be bomb-proof. Your number one priority here is security.
Here are a few solid options:
- Wide Hook-and-Loop: High-quality Velcro strips are a fantastic, adjustable choice. Just make sure you use wide pieces to get a really strong grip.
- Side-Release Buckles: You just can't beat the buckles you see on backpacks or collars for pure security. They click shut and are not coming undone, no matter how wild the playtime gets.
I always tell people to steer clear of regular buttons, which can become a serious choking hazard if your dog decides to chew one off. Small metal hooks can also be a problem, easily snagging on branches during an off-leash adventure. Always opt for security and your own peace of mind.
At All About Sewing, we have all the durable fabrics, strong threads, and secure hardware you need to bring your custom dog coat pattern to life. Explore our shop today for project-perfect supplies and expert advice.


