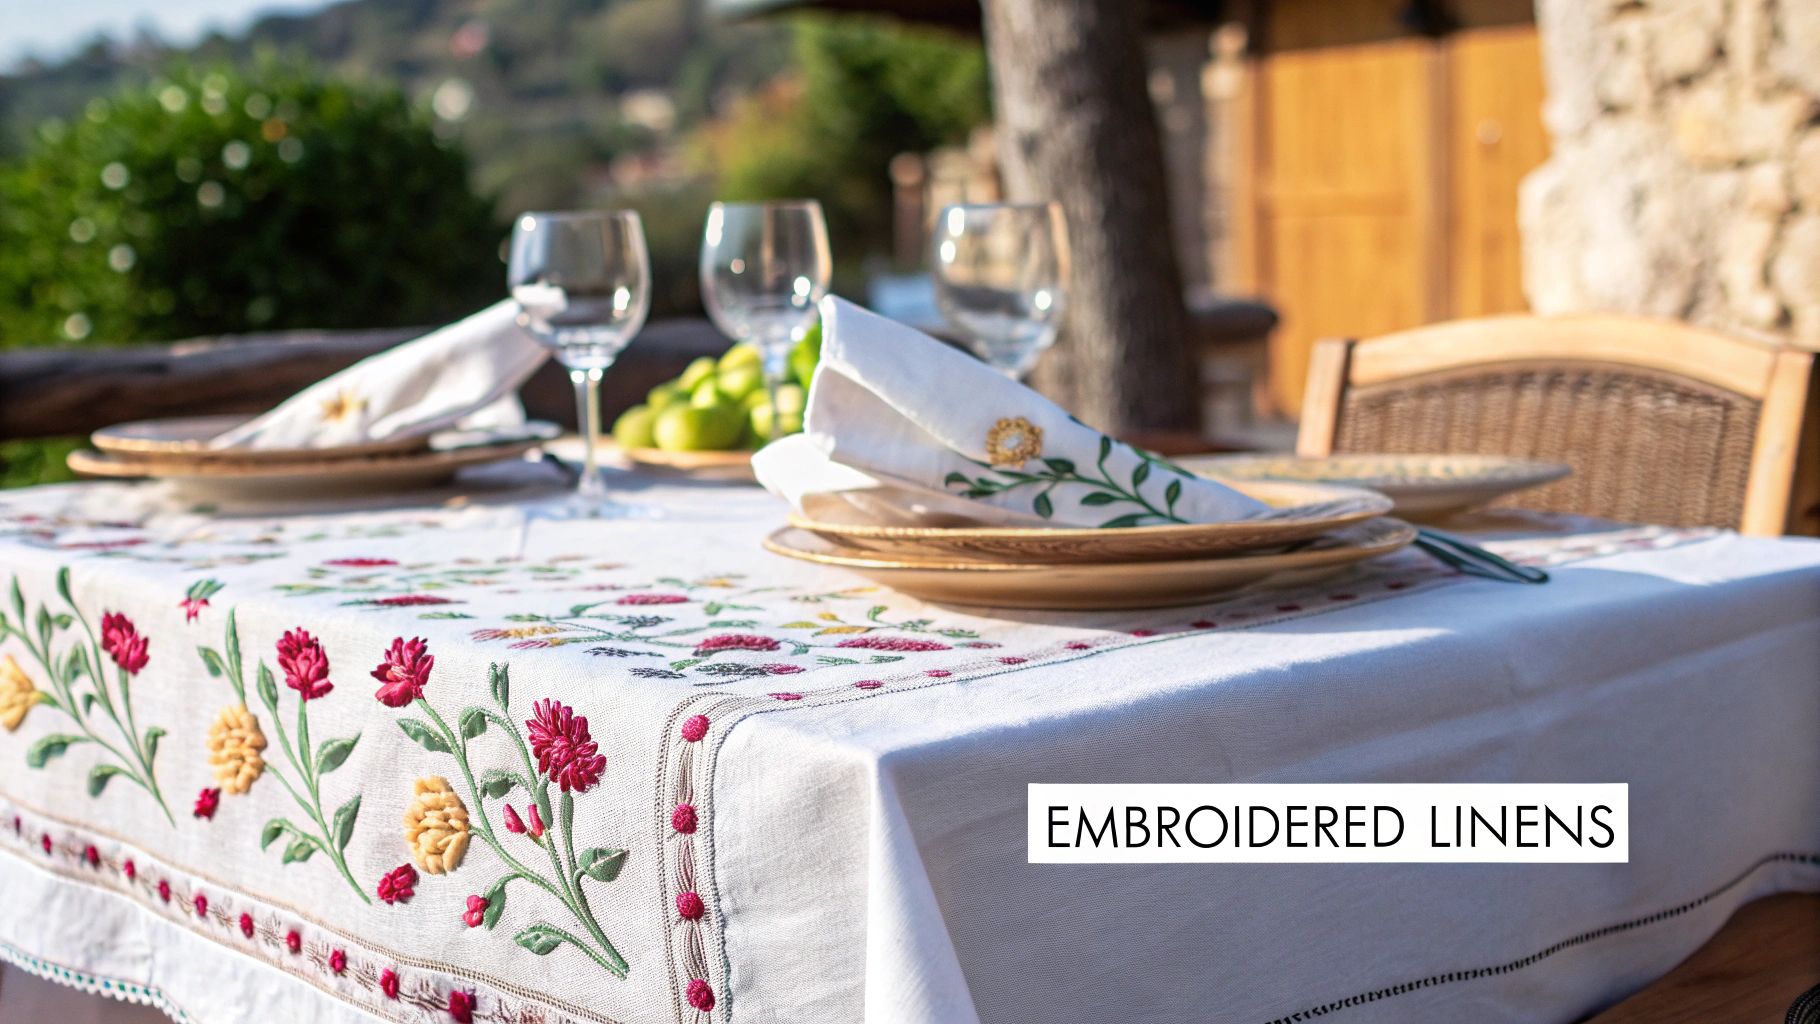
Craft Stunning Embroidered Table Linens at Home
Embroidered table linens are so much more than just fabric for your dining table. They're textiles brought to life with stitched designs that infuse personality, colour, and texture into your space. These pieces—whether napkins, runners, or full tablecloths—are a canvas for your creativity, turning a simple meal into something truly special. They beautifully mix practicality with artistry, creating heirlooms that can be loved for years.
Why Embroidered Linens Elevate Your Home
Think of embroidered linens as the jewellery for your table—that perfect finishing touch that pulls the whole room together. Every stitched motif, from a clean, simple monogram to a complex floral design, tells a story. It adds a layer of warmth and sophistication that you just don't get from printed fabrics.
This timeless craft is enjoying a huge comeback, drawing in everyone from seasoned sewing pros to curious DIY beginners. There's something deeply satisfying about creating something beautiful and functional with your own two hands. It's a chance to step away from mass-produced items and embrace a more personal, meaningful approach to decorating your home.
A Reflection of Personal Style
One of the best things about embroidering your own table linens is the freedom to make them uniquely yours. You aren't stuck with what’s on the store shelves; you can pick the exact colours, patterns, and themes that fit your personal taste and home décor.
This personalization goes far beyond just making things look pretty. It opens up a world of possibilities:
- Celebrating Special Occasions: Imagine creating custom napkins for a wedding, a festive runner for a holiday feast, or cheerful placemats for a birthday dinner.
- Creating Family Heirlooms: A beautifully embroidered tablecloth can be passed down through generations, becoming a cherished centrepiece of family traditions.
- Gift-Giving: A set of monogrammed napkins or a thoughtfully designed table runner makes for a wonderful gift that shows you really care.
The beauty of embroidery is that it connects us to a rich history of craftsmanship while allowing for complete modern expression. A single stitched line can carry immense personal meaning, transforming a simple piece of cloth into a cherished memory.
The Growing Appeal of Quality Home Goods
The desire for well-made, beautiful things for our homes has never been stronger. Here in Canada, the table linen market reached a value of USD 600.59 million, which really shows how much people value these décor essentials. This is part of a larger North American market that accounts for over 40% of global revenue.
With a projected growth rate of 5.6%, the trend toward creating elevated dining experiences at home is clearly here to stay. This makes skills like embroidery more valuable and rewarding than ever. You can learn more about these market trends over at Cognitive Market Research.
Ultimately, learning to create embroidered table linens gives you a skill that adds beauty and personal meaning to your home. Whether you're making your very first set of napkins or tackling a full-sized tablecloth, you're taking part in a timeless craft that brings a little extra joy to every meal.
Choosing the Best Fabric for Table Linens
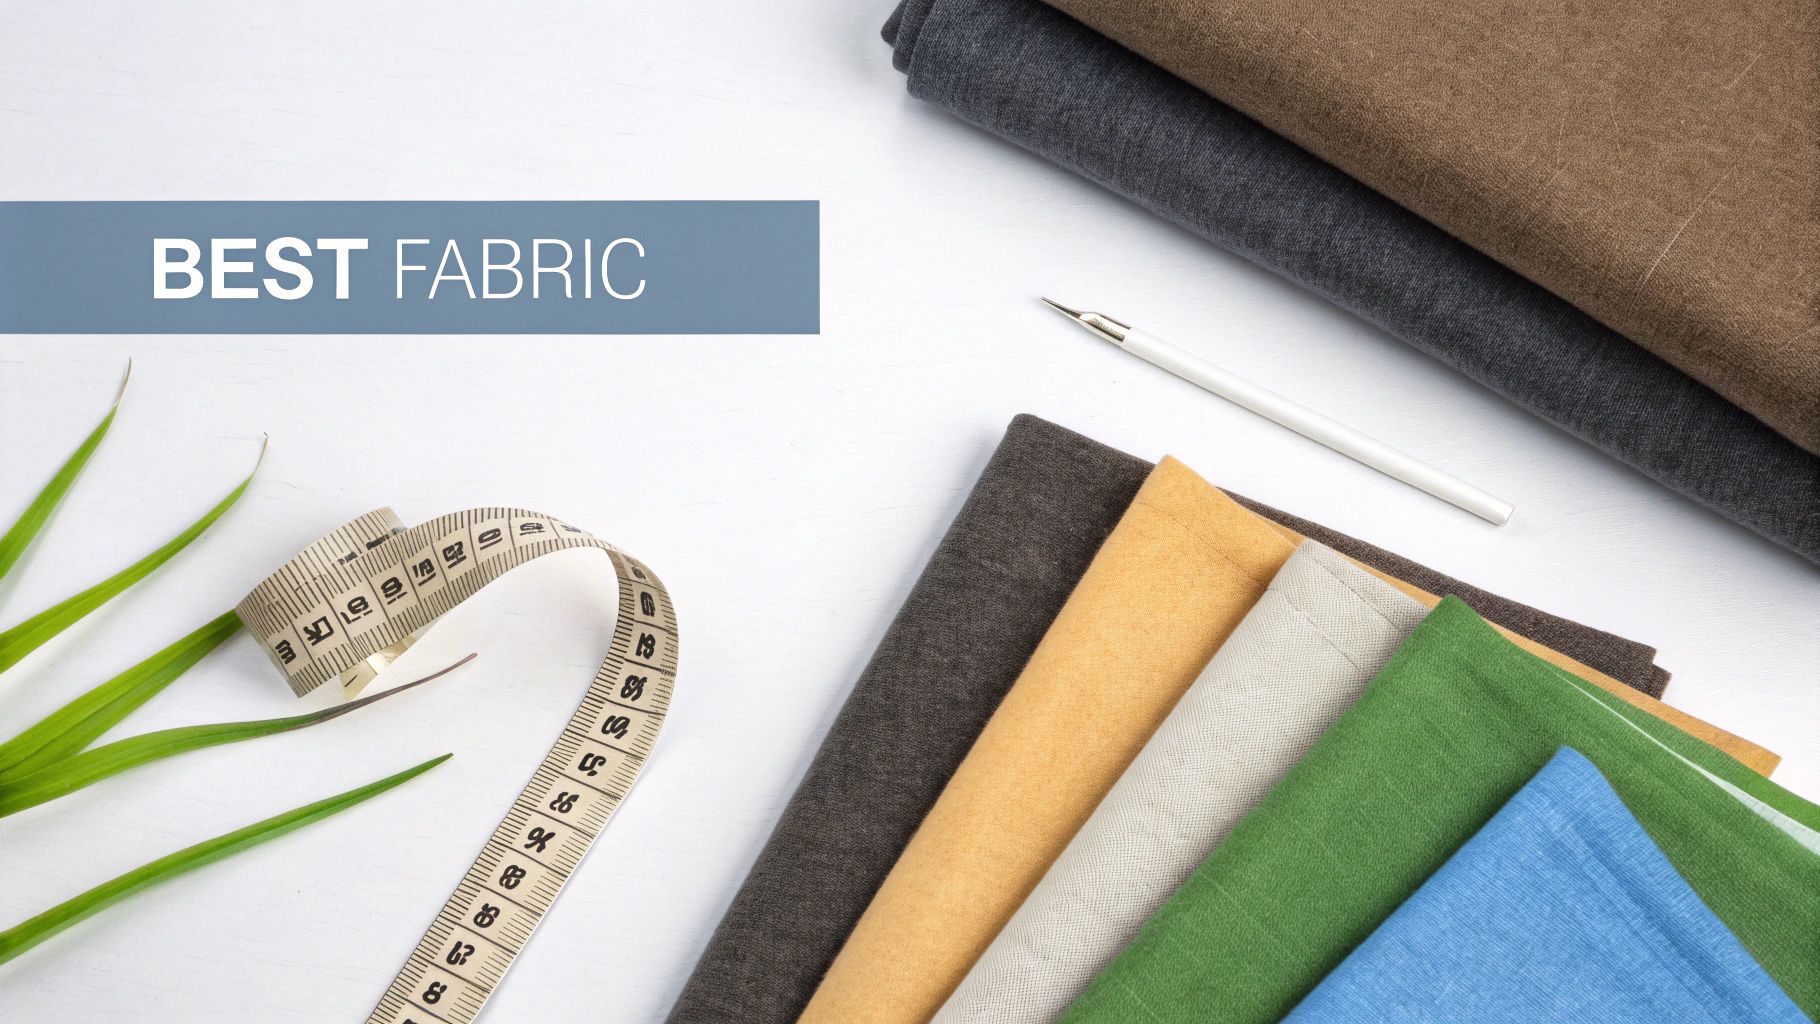
Think of your fabric as the canvas for your embroidery. Just as a painter wouldn't grab watercolour paper for an oil painting, the right material is everything when it comes to stitching on table linens. The perfect fabric gives you a stable, durable base that not only complements your design but can also handle regular use and washing.
Choosing wisely means your stitches will lie flat, your designs will stay crisp, and the finished piece will drape beautifully over your table. The wrong choice can lead to a mess of puckering, distortion, and a final product that just doesn't live up to what you envisioned. So, let’s look at the best options to get you started on the right foot.
Natural Fibres Reign Supreme
When it comes to table linens, natural fibres like linen and cotton are the undisputed champions. They bring the perfect mix of strength, absorbency, and a classic look that never goes out of style. Plus, their natural texture gives embroidery threads something to grip onto, making for neater stitches.
Linen, which comes from the flax plant, is prized for its incredible durability and elegant, slightly rustic feel. It actually gets softer and more beautiful with every wash, which is why it's a top choice for heirloom-quality pieces. Cotton is another fantastic option, loved for its softness, versatility, and how easy it is to care for.
Think of a fabric's weave as the foundation of a house for your stitches. A tight, even weave provides a strong, stable grid for the thread to lock into, preventing puckering and ensuring your design looks crisp and professional for years to come.
Understanding Weave and Weight
Beyond the fibre itself, how the fabric is constructed makes a huge difference. The two things you really need to pay attention to are weave tightness and fabric weight. A tightly woven fabric has less space between the threads, which creates a smooth, solid surface that stops your stitches from sinking in or shifting around.
Fabric weight, often measured in grams per square metre (GSM), tells you about its thickness and drape. For most embroidered table linens, a medium-weight fabric is your best bet. It’s sturdy enough to hold up to dense embroidery but isn't so stiff that it won't hang nicely.
- Lightweight fabrics (below 150 GSM): These can be too delicate for heavy embroidery and often need extra stabilizer to keep them from puckering.
- Medium-weight fabrics (150-250 GSM): This is the sweet spot for most napkins, runners, and tablecloths. They offer a great balance of durability and drape.
- Heavyweight fabrics (above 250 GSM): Perfect for sturdy placemats that need to lie flat, these can handle very dense designs but might be too bulky for an elegant tablecloth.
Comparing Your Fabric Options
Deciding between linen, cotton, or a blend really comes down to what you're making, your budget, and the look and feel you're going for. Each one has its own personality and works better for different kinds of projects.
To help you decide, here’s a quick rundown of the most common choices.
Fabric Comparison for Embroidered Table Linens
| Fabric Type | Best For | Embroidery Feel | Durability & Care | Pro Tip |
|---|---|---|---|---|
| 100% Linen | Heirloom tablecloths, formal napkins, and elegant runners. | Stitches sit beautifully on its textured surface, creating a classic, organic look. | Extremely durable and gets softer with washing. Prone to wrinkling; iron while damp. | Pre-wash your linen two to three times to manage its natural shrinkage before you start stitching. |
| Cotton Duck/Canvas | Sturdy placemats, everyday runners, and projects with very dense embroidery. | Provides a very stable, firm base that prevents any puckering, even with heavy designs. | Very tough and easy to machine wash. Can feel stiff initially but softens over time. | Use a sharp, strong needle (size 80/12 or 90/14) to easily penetrate the tight weave. |
| Cotton-Linen Blends | The best of both worlds for napkins, tablecloths, and versatile projects. | Offers a smooth yet slightly textured surface that is very easy to stitch on. | Combines linen's strength with cotton's softness and wrinkle resistance. Easy to care for. | This is an excellent, forgiving choice for beginners new to embroidering table linens. |
At the end of the day, the best fabric is one that can support your creative vision while standing up to life's little messes. By thinking about the fibre, weave, and weight, you'll be able to choose a base that makes your embroidered table linens something to be proud of for many meals to come.
Essential Tools for Embroidery Projects
Much like a chef needs their favourite set of knives, an embroiderer needs the right tools to bring a design to life. Having your supplies ready to go not only makes the whole process run smoothly but also has a huge impact on how your finished table linens turn out. Taking the time to gather your toolkit beforehand saves you from those frustrating mid-project interruptions and helps you create clean, professional-looking stitches.
Think of these tools as your creative team. A great machine, the perfect thread, and a solid hoop all play their part in turning a digital file into a gorgeous piece of textile art. Let's walk through the essential gear you’ll want to have in your sewing space.
The Heart of the Operation: Your Embroidery Machine
First things first: your embroidery machine is the most important piece of equipment you'll own. Today’s machines from brands like Brother, PFAFF, and Husqvarna Viking are incredibly precise and surprisingly user-friendly. They do the heavy lifting—the complex stitching—so you can focus on the fun, creative side of the project.
When you're looking at machines, pay close attention to the hoop size. This dictates the biggest design you can stitch in one go. For projects like tablecloths and runners, a larger hoop is a game-changer, letting you create substantial designs without the hassle of re-hooping your fabric.
Threads and Needles: The Details That Matter
The thread and needle you pick are just as important as the machine itself. These are the elements that make direct contact with your fabric, and the wrong choice can lead to shredded thread, skipped stitches, or even damaged material.
- Embroidery Thread: You'll mostly find two types: polyester and rayon. Polyester thread is a workhorse—it's strong, holds its colour well, and is a fantastic choice for things that will see a lot of washing, like napkins. Rayon offers a beautiful, high-sheen finish that gives your work a touch of luxury, though it can be a bit more delicate.
- Embroidery Needles: These aren't your average sewing needles. They have a special shape with a slightly rounded point and a unique groove (or scarf) designed to stop thread from shredding and fabric from snagging. A size 75/11 or 80/12 is a great all-rounder to start with for most linen and cotton fabrics.
A common pitfall is using a dull or incorrect needle. Think of a fresh needle as your best line of defence against puckering and annoying thread breaks. For an average design of around 10,000 stitches, it's smart to pop in a new needle before you start.
Stabilizers and Hoops: The Foundation for Success
You simply can't get beautiful machine embroidery without a stable foundation. This is where stabilizers and hoops become your best friends. They are the unsung heroes that stop your fabric from stretching, shifting, or puckering while the needle is flying.
Stabilizers are special backing materials you place behind your fabric to give it some temporary muscle. The right one depends on your fabric's weight and how dense your design is.
- Tear-Away Stabilizer: This is perfect for sturdy, woven fabrics like linen blends or cotton duck, especially with lighter designs. When you're done stitching, you can just gently tear the excess away.
- Cut-Away Stabilizer: Your go-to for less stable fabrics or designs with a lot of heavy, dense stitching. It provides permanent support and helps the embroidery keep its shape through countless washes. You simply trim the excess from around the design's edges once you're finished.
- Wash-Away Stabilizer: This type dissolves completely in water. It's often used as a topper for fabrics with a pile (like terry cloth) to keep stitches from sinking in, but it can also be a primary stabilizer for delicate, sheer fabrics.
Embroidery Hoops are the frames that hold your fabric and stabilizer tight like a drum. That tension is absolutely crucial for clean, crisp embroidery. Make sure your fabric is hooped smoothly and securely, with no wrinkles or sags. A perfectly hooped project is your best guarantee for a pucker-free result.
With these essential tools in your corner, you're all set for a fun and successful creative journey, ready to produce some truly stunning embroidered table linens.
Here is the rewritten section, designed to sound completely human-written and natural.
Designing Your Table Linen Embroidery
This is where the magic really begins. Designing your project is all about translating that creative spark in your head into a beautiful, tangible piece of art for your table. It's the stage where you make the key decisions that will ensure your finished linens look balanced, intentional, and truly special.
Think of it like being an interior designer for your fabric. You wouldn't just throw furniture into a room without a plan; you'd think about scale, balance, and how everything works together. The same goes for embroidery. A perfectly placed monogram or a gracefully scaled floral design can turn a plain napkin into an heirloom. On the other hand, a design that's too big or sits awkwardly can make the whole thing feel a bit 'off'.
Selecting the Perfect Motif
The motif is the heart and soul of your project—it’s the pattern you'll be stitching. This choice sets the entire mood. Are you aiming for classic and formal, or something more whimsical and fun? The options are virtually endless, so it helps to think about the occasion and your own personal taste to narrow things down.
Need a little inspiration? Here are a few popular styles to get you started:
- Monograms and Initials: You can never go wrong with these. A single initial offers a touch of understated elegance, while a classic three-letter monogram instantly feels more formal and sophisticated. They're perfect for personalizing napkins and tablecloths.
- Botanical and Floral Designs: Who doesn't love a bit of nature at the table? From tiny wildflowers scattered along a runner's border to a bold bouquet right in the centre of a tablecloth, florals bring an organic beauty to any setting.
- Seasonal and Holiday Patterns: This is a wonderful way to make your table festive. Think sprigs of holly for Christmas, little pumpkins for an autumn dinner, or bright, cheerful blossoms for a spring brunch.
- Geometric and Abstract Shapes: If you lean towards a more modern aesthetic, simple lines, repeating patterns, or even abstract motifs can look incredibly chic and add a contemporary feel to your dining decor.
A little pro tip: pay attention to the stitch density of your chosen design. A really thick, complex pattern can be too heavy for a lightweight linen, causing it to pucker and pull. For those more delicate fabrics, you're better off with lighter, more open designs that let the material drape the way it's meant to.
Mastering Placement and Sizing
Once you've fallen in love with a motif, you need to decide exactly where it's going to live and how big it should be. This is what separates a good project from a great one. Getting the placement and scale right creates a sense of visual harmony. A design that’s too large can easily overwhelm the item, while one that’s too small might just get lost.
To take the guesswork out of it, here are some tried-and-true guidelines for the most common table linens.
Standard Placement Rules for Linens
- Napkins: The classic spot is in one corner, positioned on a diagonal. I usually aim for about 5 to 8 cm in from the corner tip and the hemmed edges. This way, the design is perfectly visible when the napkin is folded at a place setting.
- Placemats: You'll want the embroidery to be seen, not hidden under a plate! The upper left or right corner is usually the best spot. A small, repeating border along one or more edges also looks fantastic and frames the setting beautifully.
- Table Runners: You’ve got a couple of great options here. You can place a larger, statement design at each end of the runner, about 15 to 25 cm from the edge. Or, for a more detailed look, you could stitch a continuous border design all the way down the long sides.
- Tablecloths: For a very formal look, a large central medallion is absolutely stunning. If it's more for everyday use, embroidering a border that goes all the way around the perimeter is lovely, as is scattering smaller, coordinating motifs across the fabric that drapes over the sides of the table.
Always, always measure your linens and mark the centre of your design placement with a water-soluble or air-erasable pen before you even think about hooping. This one simple step will save you from so much frustration and guarantee your embroidery ends up exactly where you want it. With these simple layout rules in your back pocket, you can confidently bring your ideas to life.
Your Step-By-Step Machine Embroidery Guide
Alright, you’ve picked your design and gathered your tools. Now for the fun part: bringing it all to life. This is where your careful prep work really shines, turning a plain piece of fabric into something special. Think of it like following a recipe—each step builds on the last, and if you follow them closely, you'll get a beautiful result.
We'll walk through the whole process together, from getting your fabric ready to the very last stitch. Stick with these steps, and you'll sidestep common frustrations like puckering or broken threads, leaving you with a finish you can be proud of.
Preparing Your Foundation
This first stage is everything. Seriously. Just like a painter preps a canvas, you need to set up your fabric for success. Getting this part right is 90% of the battle and the real secret to crisp, clean embroidery.
First things first: pre-wash and dry your fabric. This is a non-negotiable step that pre-shrinks the material, so your gorgeous embroidery doesn't get warped or distorted the first time it's laundered. Once it’s dry, press it well with a hot iron to get rid of every single wrinkle. You want a perfectly smooth surface to work with.
Next up is the stabilizer. Cut a piece of your chosen stabilizer that's a bit larger than your embroidery hoop. Lay your pressed fabric on top, making sure the grain is nice and straight.
Think of stabilizer as a temporary support system. It gives the fabric the backbone it needs to handle thousands of needle punches without stretching or shifting, kind of like scaffolding on a building. This support is the key to preventing puckered, distorted stitches.
With the fabric and stabilizer layered, it's time to hoop them up. Your goal is a taut, drum-like surface. The fabric should be smooth and tight, but be careful not to stretch it out of shape. A perfectly hooped project is your best defence against wonky stitches and puckers.
Setting Up Your Machine
Now, let's get your machine ready to roll. Before you even think about touching your actual table linen, it's always a good idea to do a quick test run. Grab a scrap piece of the very same fabric and stabilizer you're using for your project.
Stitch out a small section of your design to check a few key things:
- Thread Tension: Make sure the top and bobbin threads are linking up nicely, with no loopy bits on either side of the fabric.
- Needle Condition: A sharp, clean needle is a must. If you notice any snagging or hear a popping sound as it stitches, change it immediately.
- Design Integrity: Just confirm that the design file is loading and stitching out the way it's supposed to.
This little test only takes a couple of minutes, but it can save you from a massive headache down the line. It lets you tweak any settings before you commit to your final piece. Once you’re happy with the test, you can move forward with confidence.
The Embroidery Process
With everything prepped and tested, the actual stitching is often the easiest part. Start by loading your embroidery design file onto your machine. Carefully slide the hoop into the machine's embroidery arm until it clicks securely into place.
Use your machine’s controls to position the needle right over the centre mark you made on your fabric. This ensures your design is placed exactly where you want it. Once you’re happy with the alignment, you're ready to hit start.
This diagram breaks down the core workflow, from choosing a motif to locking in its size and placement before you start stitching.
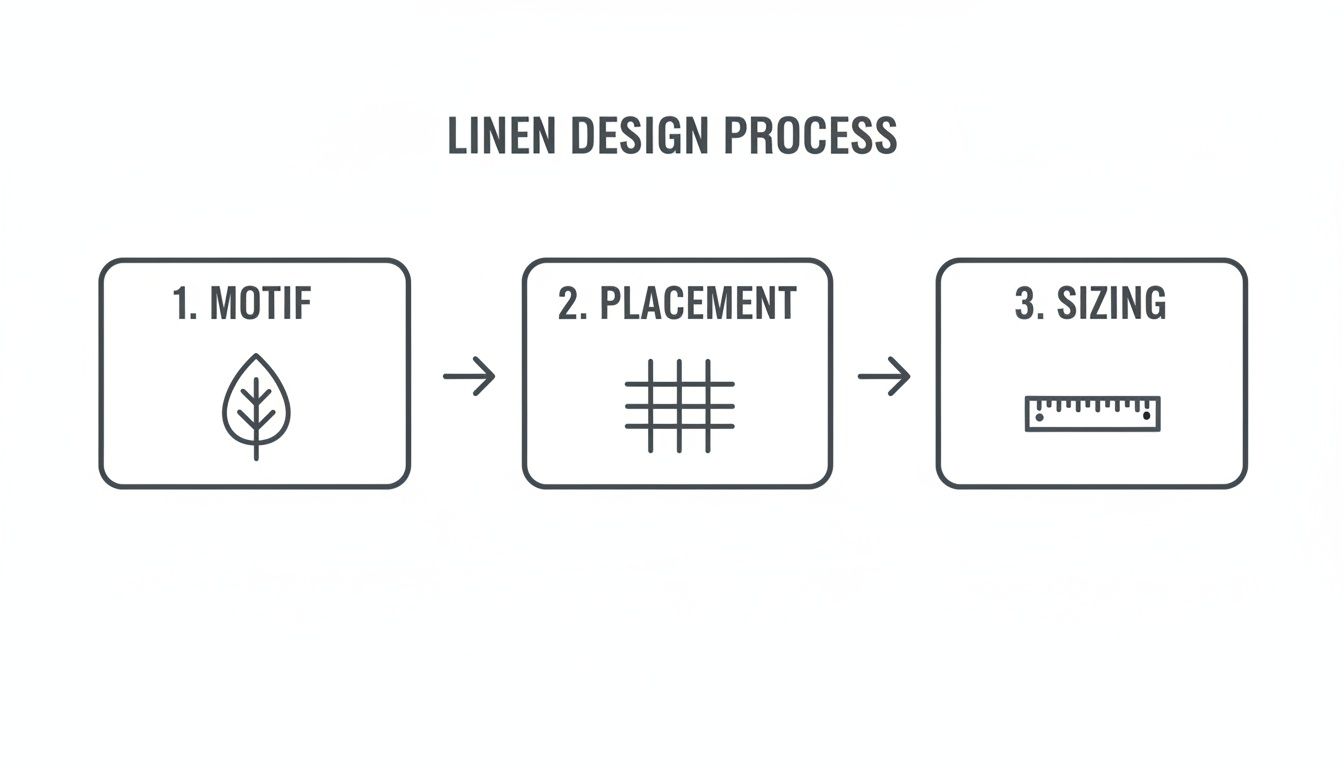
This just goes to show that great embroidery starts long before the machine does—it begins with thoughtful decisions about the design, its placement, and its final size.
Even though the machine is doing the work, don't just walk away! Keep an eye on it. Watch for any early signs of trouble, like the thread shredding or the fabric starting to pucker. If your design has multiple colours, the machine will pause and tell you when to swap the thread. As you go, use a small, sharp pair of scissors to trim the connecting "jump stitches" between colour sections. This keeps the back of your work looking tidy and professional. Following these simple steps will help you create flawless embroidered linens every single time.
Caring for Embroidered Table Linens
You’ve finished the last stitch, and your embroidery looks fantastic. But hold on—the project isn't quite done yet. How you clean and care for your table linens from this point on is what turns a beautiful project into a lasting family treasure. Getting these final steps right protects the delicate threads and the fabric itself, keeping your linens looking brilliant for every occasion.
Think of it like putting the final varnish on a painting. A little care right now ensures your hard work remains the star of the show. With just a few simple habits, you can keep your custom linens looking fresh and beautiful through countless meals and celebrations for years to come.
Finishing Your Embroidered Piece
Before your linens are ready for their debut, a bit of tidying up is in order. First, you'll need to deal with the stabilizer. If you used a tear-away type, just gently tear the excess away from the edges of your design. For cut-away stabilizers, you’ll want to grab a small, sharp pair of scissors and carefully trim the backing as close to the stitches as you can without snipping them.
Next, have a good look at your work for any "jump stitches." These are the small threads your machine leaves behind when it hops from one part of the design to another. Snip these off carefully with embroidery scissors to get a clean, polished look on both the front and back. Lastly, give the piece a gentle press from the reverse side. I always recommend placing a pressing cloth or even a fluffy towel between the iron and your embroidery to stop the threads from getting flattened.
A great rule of thumb is to never iron directly on the front of your embroidery. Always press from the back, and use a soft surface like a towel underneath. This lets the stitches sink into the towel a bit, helping them keep their lovely texture and loft.
Washing and Stain Treatment
When it's time for a wash, gentle is the name of the game. The absolute safest bet is to hand-wash your linens in cool water using a mild, pH-neutral soap. If you need to use a machine, pop them into a mesh laundry bag first and choose the delicate cycle with cold water for both the wash and rinse.
Spills are bound to happen, but a stain doesn't have to spell disaster.
- Act Fast: Blot the spill immediately with a clean, damp cloth to soak up as much as possible.
- Use a Gentle Touch: Dab a mild stain remover on the spot, but be sure to test it on a hidden corner first.
- Steer Clear of Harsh Bleach: Chlorine bleach is a no-go. It can wreck and discolour embroidery threads, especially if you've used rayon or other specialty types.
After washing, resist the urge to wring out the fabric, as this can twist and distort the stitches. Instead, just gently squeeze the excess water out or roll the linen up in a clean towel to absorb the moisture.
Drying and Storing Your Linens
Air-drying is your best friend here. You can hang them on a line (out of direct sunlight to prevent fading) or simply lay them flat on a clean, dry surface. If you're in a pinch and need to use a dryer, use the absolute lowest heat setting and pull the linens out while they’re still a touch damp. This helps prevent deep-set wrinkles and protects the thread from the high heat.
Proper storage is the final piece of the puzzle. Instead of folding, which can put permanent creases right through your beautiful embroidery, try rolling your linens around a cardboard tube. For extra protection, you can wrap the tube in acid-free tissue paper first. This simple trick prevents the raised threads from getting crushed. Just find a cool, dry, and dark spot to store them, and they'll be safe from moisture and light damage.
Your Top Questions About Embroidered Table Linens, Answered
Jumping into the world of embroidered table linens is exciting, but it's natural to have a few questions along the way. I've gathered some of the most common ones I hear from beginners to help you get beautiful, professional-looking results right from the start.
Can I Just Use Any Cotton Fabric for Table Linens?
While you'd think any cotton would do, they aren't all created equal when it comes to embroidery. For the best outcome, you'll want a medium-weight, tightly woven fabric. Think quilting cotton, broadcloth, or a good cotton-linen blend. These give you a sturdy, stable base that won't pucker easily and can handle repeated washing.
I'd suggest steering clear of anything too thin or loosely woven. Those fabrics tend to stretch and distort under the tension of the embroidery machine, which can ruin your design. And a crucial tip: always, always pre-wash your fabric to get any shrinkage out of the way before you start stitching.
What's the Biggest Mistake Beginners Make?
Hands down, the most common pitfall I see is improper stabilization. It’s so easy to do! Using the wrong type of stabilizer for your design or not getting the fabric and stabilizer hooped tightly enough is a surefire recipe for puckering and misaligned stitches.
Think of stabilization as the foundation of your embroidery. If the foundation isn't solid, the entire structure will be flawed. A drum-tight hoop and the correct stabilizer are non-negotiable for crisp, professional results.
To avoid this, always match your stabilizer to the density of your design. Make sure everything is hooped nice and taut, and do a quick test stitch on a scrap piece of the same fabric before you commit to your main project.
How Do I Pick the Right Needle?
Choosing the right needle can honestly make or break your project. For most cottons and linens, a size 75/11 or 80/12 embroidery needle is your best bet. These are specifically designed with a special scarf and a slightly rounded point to stop thread from shredding and keep the fabric from snagging.
Now, if you're tackling a really dense design or working with tricky metallic threads, you might want to size up to a 90/14. You could even switch to a specialty metallic needle. This will cut down on friction and save you the headache of constant thread breaks.
Feeling inspired to start your next masterpiece? At All About Sewing, we have everything you need, from top-brand embroidery machines to the perfect threads and stabilizers for your projects. Explore our collection and get expert advice at All About Sewing.


