How to Use a Bias Tape Maker: how to use a bias tape maker for perfect seams
If you've ever found yourself frustrated by the limited colour selection and stiff feel of store-bought bias tape, learning to make your own is a total game-changer. At its heart, using a bias tape maker is a simple idea: you feed a fabric strip cut on the bias into the wide end, and as you pull it through, the tool perfectly folds the edges. The trick is to follow it closely with a hot iron, pressing the folds into place as they emerge. It’s a beautifully simple gadget that delivers professional, consistent results every time.
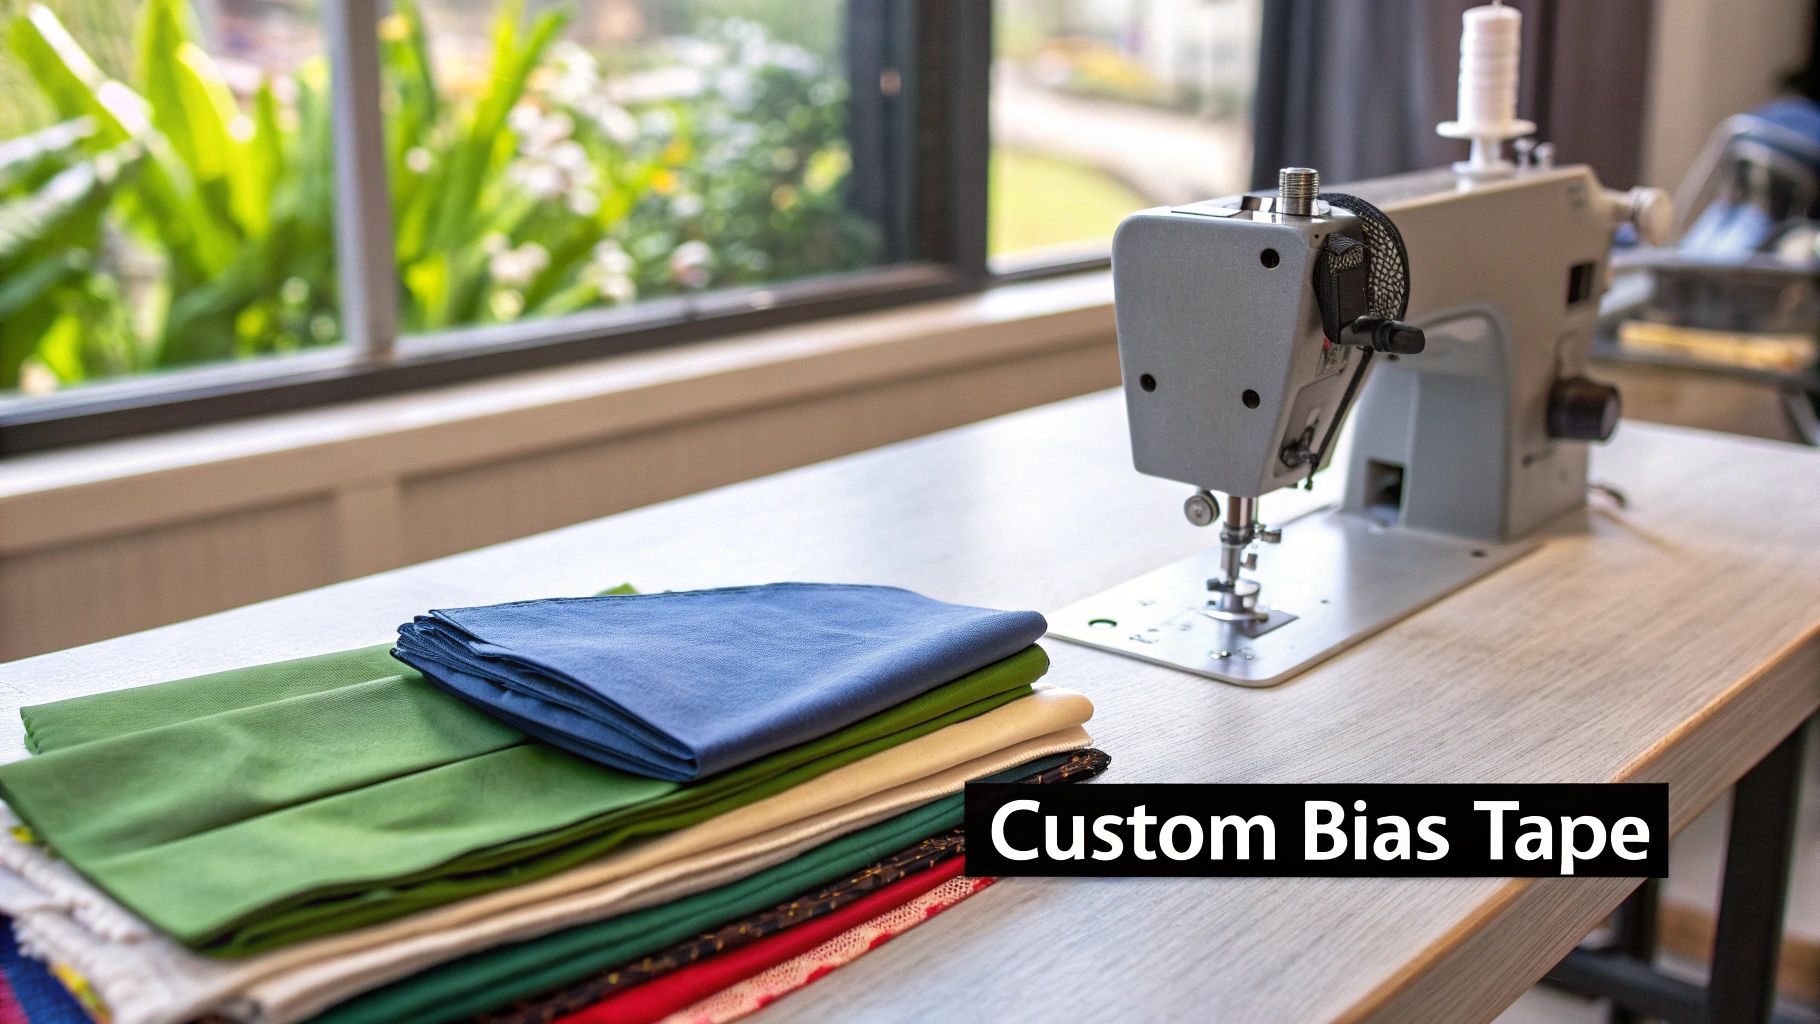
Your Guide to Flawless Custom Bias Tape
A bias tape maker is one of those small, inexpensive tools that can truly elevate your sewing. It takes your projects from looking simply homemade to having a polished, handmade finish. What used to be a fussy and time-consuming task—painstakingly folding and pressing tiny fabric edges by hand—becomes quick, easy, and incredibly precise.
The real magic, though, is in the customisation. Think about all those beautiful fabric scraps you've saved! You can turn them into gorgeous, functional trims. This is not only a fantastic way to reduce waste, but it also means every single detail of your project, from a quilt binding to a garment's neckline, can be perfectly coordinated.
Why Make Your Own Bias Tape?
Making your own bias tape puts you in complete creative control. You'll never have to settle for a "close enough" colour match again. This is especially true for those special heirloom projects, custom clothing, and home decor items where the little details really do make all the difference. The process is surprisingly straightforward, but the impact it has on your finished piece is huge.
The ability to create bias tape from any lightweight woven fabric, such as cotton or silk, opens up a world of design possibilities. It allows you to use up scraps and ensures the final trim has the same drape and feel as your main project fabric.
With a bias tape maker in your sewing kit, you'll consistently produce tape that is:
- Perfectly Matched: Use the exact same fabric as your project for a seamless, high-end look that's impossible to buy off the shelf.
- Uniformly Folded: The tool creates crisp, even folds that are a real struggle to replicate accurately by hand.
- Cost-Effective: Turn those small remnants of fabric you already own into valuable trim. It saves money and makes your materials go so much further.
Getting Your Fabric Ready for Perfect Bias Tape
Let's be honest: the secret to beautiful, professional-looking bias tape isn't the fancy tool. It all comes down to how you prep your fabric. A little bit of care at the beginning makes a world of difference and saves you from a ton of frustration later on.
It all starts with the "bias cut." What does that even mean? Simply put, you're cutting your fabric at a 45-degree angle to the selvage (the tightly woven edge). While the straight grain of the fabric has almost no stretch, the bias has a natural, forgiving flexibility. This is the magic that lets your tape glide around curves on a neckline or the edge of a quilt without any weird puckers or stiff corners. It's a non-negotiable step.
How to Find and Cut on the True Bias
Finding that perfect 45-degree angle is easier than you think. Take a square or rectangular piece of fabric and fold one corner over diagonally, lining up the cut edge with the selvage edge. That diagonal fold you just made? That's your true bias.
Give that fold a quick press with your iron to mark the line. Now, unfold the fabric. Using that crease as your guide, start cutting your strips with a rotary cutter and a quilting ruler. Trust me on this—a rotary cutter is your best friend here. It gives you a much cleaner and more precise edge than scissors, which is exactly what you need for the fabric to feed smoothly into the maker.
Figuring Out Your Strip Width
The size of your bias tape maker dictates the width of the fabric strips you need to cut. Each tool is engineered to take a specific width and fold it perfectly. If your strips are too narrow, you’ll get gaps in your finished tape. Too wide, and the fabric will bunch up and jam the tool. It's a bit of a Goldilocks situation.
To take the guesswork out of it, I've put together a handy chart for the most common sizes you'll find.
Fabric Strip Widths for Common Bias Tape Makers
Use this chart to find the correct fabric strip width for the most common single-fold and double-fold bias tape maker sizes.
| Finished Single-Fold Tape Width | Finished Double-Fold Tape Width | Bias Tape Maker Size (mm) | Required Fabric Strip Width (inches) |
|---|---|---|---|
| 1/4" | 1/8" | 6 mm | 1/2" |
| 1/2" | 1/4" | 12 mm | 1" |
| 3/4" | 3/8" | 18 mm | 1 1/2" |
| 1" | 1/2" | 25 mm | 2" |
This table covers the basics, but it's always a good idea to double-check the instructions that came with your specific tool, as some brands can have slight variations.
My Two Cents: Before you commit to cutting up all your fabric, cut a single test strip and run it through your maker. It’s a quick way to confirm your measurements are spot on and that your fabric is cooperating.
Making One Long, Continuous Strip
For a big project like binding a quilt, you’re going to need a lot of bias tape. The trick is to join your shorter strips together before you feed them into the maker. Now, don't just sew them end-to-end with a straight seam! That creates a bulky lump that will absolutely get stuck.
Here’s the pro method for a join that’s practically invisible:
- Lay two of your strips with the right sides together, forming a 90-degree angle. The ends will overlap.
- Sew diagonally across the corner where the two strips intersect.
- Trim the excess fabric about 1/4 inch away from your new seam.
- Press that seam open.
This diagonal seam distributes the bulk, allowing the join to glide through the bias tape maker just as smoothly as the rest of the fabric. Just keep repeating the process, and you can create a single, continuous strip long enough for any project you can dream up.
Using the Bias Tape Maker Tool
Alright, your fabric strips are cut and joined, and now for the really satisfying part. This is where that simple little tool—just a piece of metal or plastic—magically turns your fabric into beautiful, professional-looking binding. The process itself isn't complicated, but a few little tricks I've picked up over the years will help you get a perfect result every time.
First things first, let's get that fabric strip ready to feed into the maker. Don't try to shove a blunt, straight edge into the tool; you'll just end up frustrated. Instead, just snip the starting end of your strip into a sharp point. This one tiny cut makes a world of difference and lets you thread the fabric through effortlessly.
Feeding the Fabric Strip
With your pointed end ready, gently guide it into the wider opening of the bias tape maker. I find a sewing awl or even a long pin works wonders here. Just use your tool to carefully nudge the fabric along the channel until the tip pops out the narrow end.
The key here is to be gentle. You're guiding the fabric, not forcing it. If you pull too hard, you risk stretching the bias, which can leave you with tape that's narrower than you wanted and not nearly as stable.
The steps leading up to this point are just as important, as this visual guide shows.
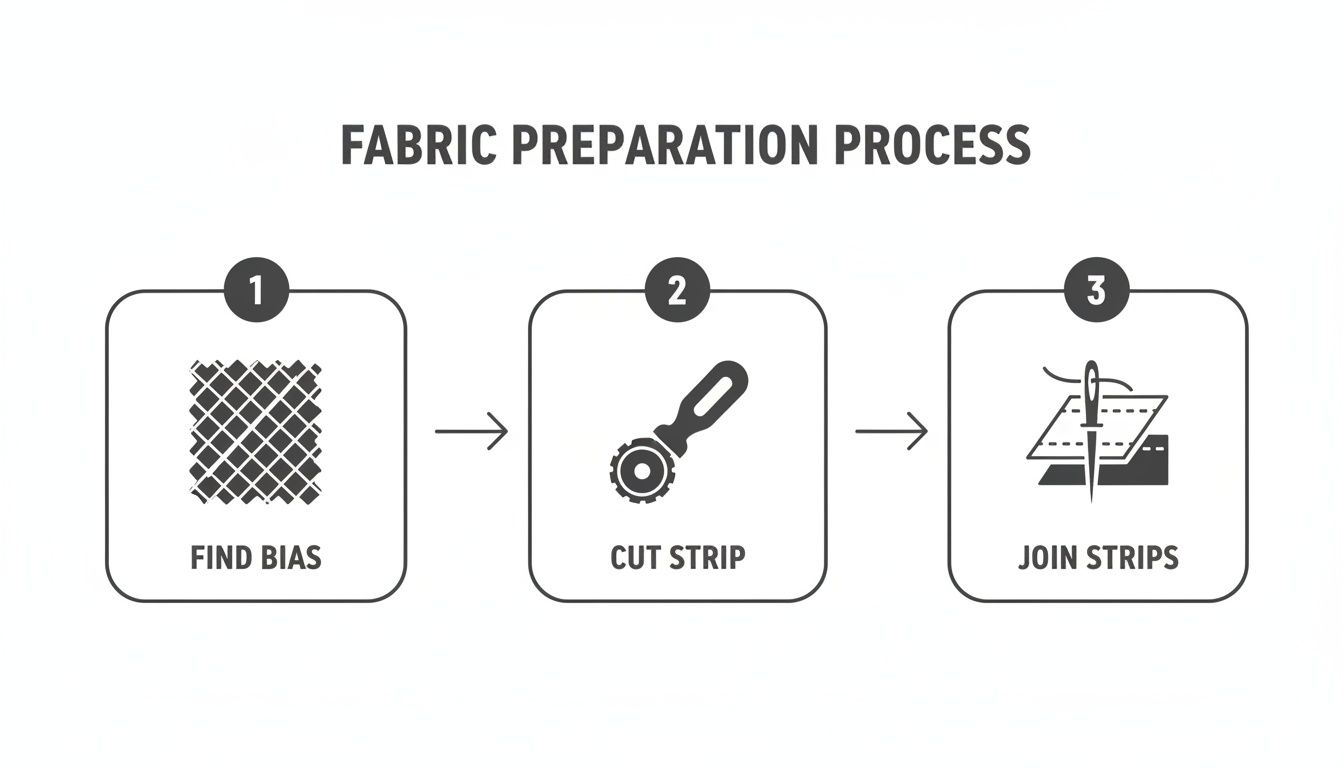
As you can see, properly finding the bias, cutting your strips accurately, and joining them cleanly are the foundations for getting a great result with the tool itself.
Once the tip is through, grab it and gently pull a few inches of tape out of the maker. You'll see the magic happen—the edges are already folded in perfectly, just waiting to be pressed. This is where your iron steps in.
Pressing for Perfect Folds
Honestly, pressing is probably the most crucial part of this whole process. It's what sets those folds permanently and gives you the crisp, clean finish we're all after. If you skimp on the pressing, the folds will be soft and won't hold their shape when you go to sew.
- Set Your Iron: For most cottons, I use a medium-high setting with plenty of steam. The heat and moisture work together to create really sharp, lasting creases.
- Get Positioned: Place the tip of your iron right on the folded tape as it comes out of the tool. You’ll be holding the bias tape maker in one hand and the iron in the other, ready to work in tandem.
- The Pull-and-Press Move: This is the rhythm you want to get into. Slowly pull the bias tape maker away from the iron, and at the same time, glide the iron forward over the tape that's just been formed. Keep the motion slow and steady. A common mistake is to pull out a long length of tape and then try to press it all at once—you'll get much better, crisper folds by pressing it the moment it's made.
Think of it as a little dance: the bias tape maker leads by forming the folds, and the iron follows right behind to finish the job. Rushing this step will only give you wobbly, uneven edges.
The real beauty of knowing how to use a bias tape maker is the incredible consistency you can achieve. It's a game-changer for Canadian quilters and sewists who want that custom, high-end finish. For a standard 1/2-inch double-fold tape, for example, a 1 7/8-inch wide strip is the perfect starting point. When you feed that into a popular tool like the Clover 12mm model, you just pull and press. It's not uncommon for sewists to achieve 95% uniformity in their tape width, something that's nearly impossible by hand. You can find more on these precise techniques widely adopted by Canadian hobbyists.
Solving Common Bias Tape Problems
Even with the best gadgets on your sewing table, sometimes things just go a bit sideways. Getting the hang of a bias tape maker is usually a breeze, but if you hit a snag, don't worry. The fix is almost always surprisingly simple. Let’s walk through the most common frustrations and get your project back on track.
One of the biggest culprits I see is the fabric strip twisting or jamming inside the tool. This almost always happens when the strip gets pulled too aggressively or at a weird angle. Remember, your job is to gently guide the fabric, not wrestle it through the machine.
Another classic problem is getting uneven folds. You pull the tape out and notice one folded edge is wider than the other, which is a real pain when you go to apply it. This usually points back to how the strip was cut in the first place. If your strip wasn't a consistent width to begin with, the maker can't magically fix it. This is why a rotary cutter and a good quilting ruler are your best friends—they guarantee perfectly uniform strips every single time.
Fixing Uneven or Wavy Folds
What if your strips are cut perfectly, but the folds still look wavy or just aren't crisp? The problem likely lies with your iron or the fabric itself. Flimsy materials like rayon or some lightweight cottons have a nasty habit of stretching and distorting as they're pulled through the maker.
Thankfully, there's a simple trick: treat your fabric strips with a light coating of spray starch before you start.
Here’s how to tackle this one head-on:
- Bring in the Starch: Give your fabric strips a quick press with some spray starch. This adds just enough temporary body and stability to help the material feed through smoothly without stretching out of shape.
- Check Your Iron's Heat: An iron that's too cool won't set the creases firmly, leaving you with soft, floppy tape. But an iron that's too hot can scorch your fabric or even melt the starch, making it sticky. Always do a quick test on a scrap piece first.
- Take It Slow: Rushing the pressing stage is a surefire way to get soft, uneven folds. You want to maintain a slow, steady pace, letting the iron glide just behind the tool. Let the heat and steam do their job to lock in a sharp, lasting crease.
When you're making yards of bias tape for a big project, consistency is everything. Taking a moment to fix a small problem early saves you the headache of redoing a whole batch of wonky tape later.
Handling Fabric That Won't Feed Smoothly
Every now and then, the fabric just refuses to cooperate and gets stuck right at the entrance of the maker. I find this happens most often with thicker fabrics or when a bulky diagonal seam hits the opening.
The easiest fix is to snip the starting end of your fabric strip into a sharp point. Think of it like threading a needle—it helps you guide the fabric into the channel with no fuss. If a stubborn seam is the issue, make sure you've pressed it open really well to reduce as much bulk as you can before it enters the tool. Sometimes, a pin or an awl used from behind to gently nudge the fabric along is all it takes to get things moving smoothly again.
Creative Ways to Use Your Custom Bias Tape
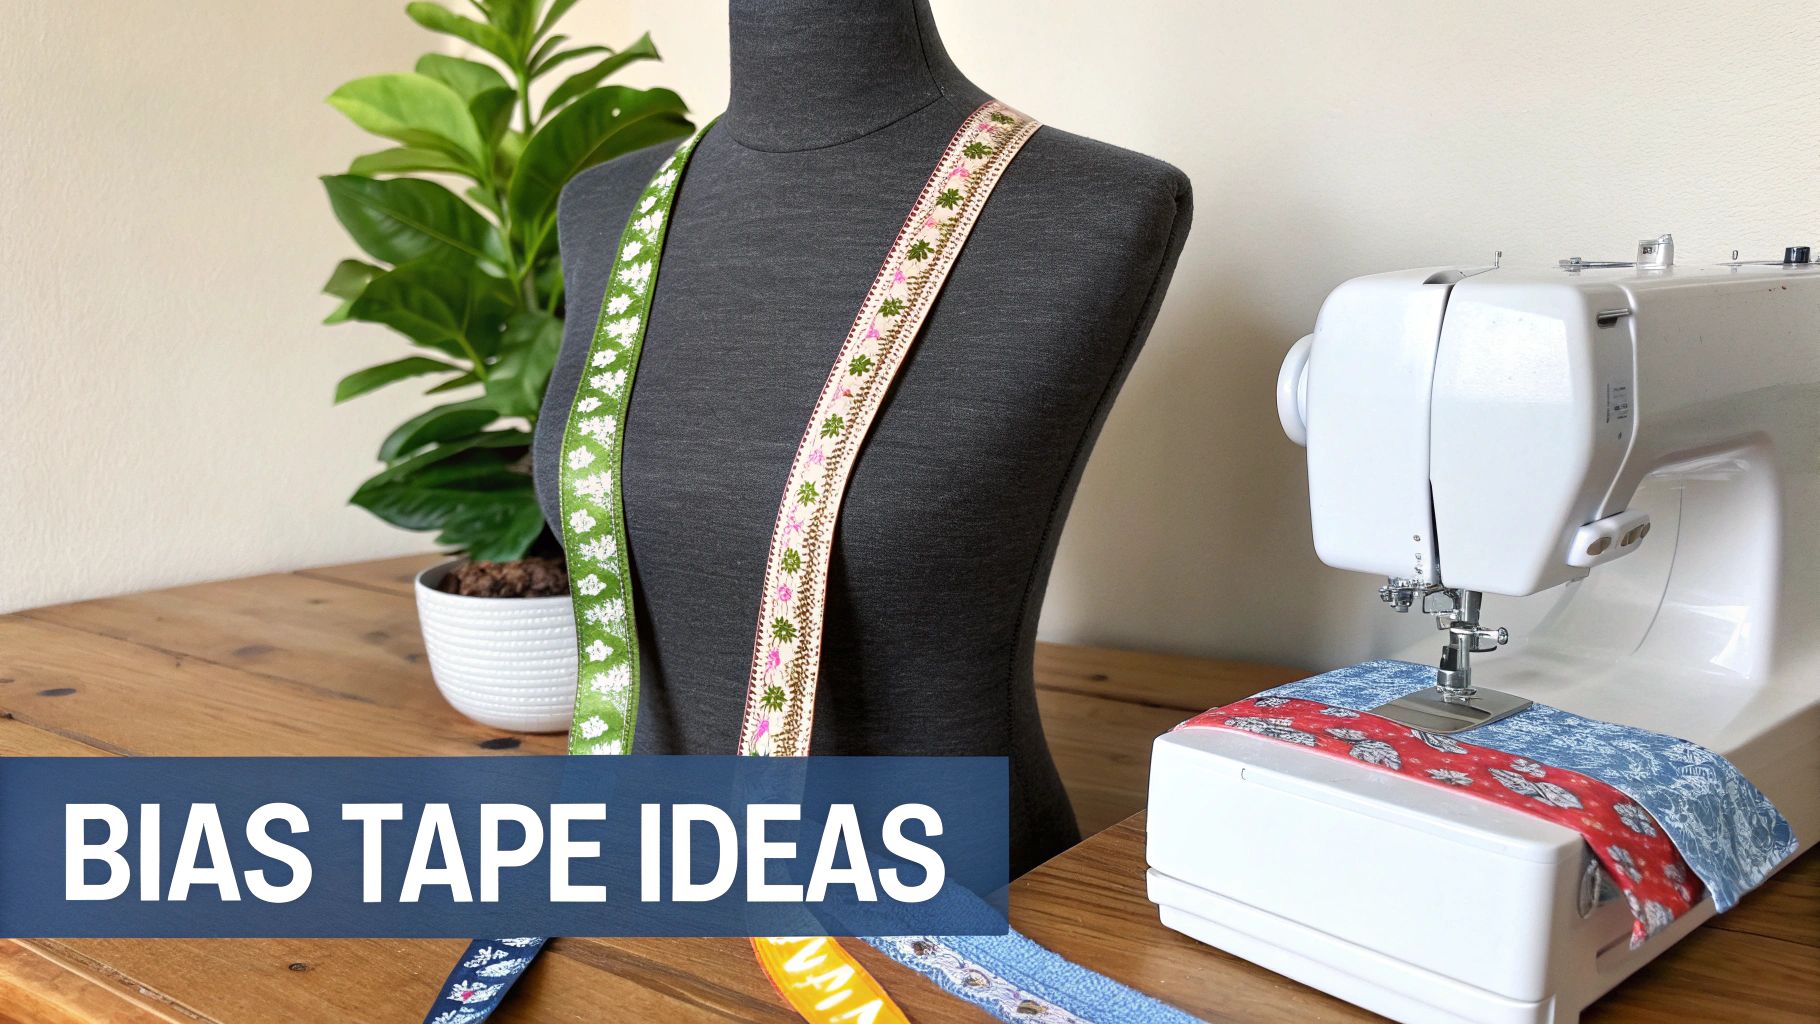
Alright, now that you've gotten the hang of making bias tape, this is where the real fun begins. Being able to create custom tape from any fabric scrap you have lying around opens up a world of detail and polish that can truly elevate your projects. It’s the difference between a homemade item and a handmade one.
Forget seeing bias tape as just a way to finish an edge. Think of it as a design element in its own right. A simple tote bag can suddenly become a statement piece with a bold, contrasting floral bias tape along the top and straps. You could even make a set of placemats for your dining table, each outlined in a different coordinating print.
Finishing Garments with Finesse
One of the best uses for custom bias tape, in my experience, is finishing curved edges on clothing. Store-bought tape is often stiff and fights you every step of the way around necklines and armholes, leaving you with puckers and a clumsy-looking finish. Your homemade tape, however, is cut on the true bias, giving it just the right amount of natural stretch to hug those curves perfectly.
For a delicate blouse or a piece of children's clothing, a narrow 1/4-inch double-fold tape made from something soft like a cotton lawn gives an incredibly clean, comfortable edge. This technique, often called a bias-bound or Hong Kong finish, neatly encases the raw fabric, creating a durable and high-end look both inside and out.
The recent surge in sewing as a hobby shows just how much people appreciate these professional touches. In Ontario alone, the embroidery community grew by 37% between 2021 and 2025. In fact, a recent survey found that 24% of these crafters named bias tape makers as their favourite new tool for getting clean finishes on tricky projects. The secret always starts with good prep: cutting 45-degree strips at 2 inches wide will give you a perfect 1/2-inch double-fold tape for binding larger projects. If you're looking for more inspiration, you can find great info on the best tools for your sewing projects.
Decorative Details and Functional Features
Don't just stop at finishing edges! Your custom bias tape can be both beautiful and practical. It’s not just a utility player; it’s a creative opportunity waiting to happen.
Think of your bias tape as a versatile fabric "ribbon." You can use it to create sturdy ties for an apron, functional hanging loops for tea towels, or delicate straps for a summer sundress. The possibilities are endless when the colour and pattern are perfectly matched to your project.
Here are a few more ideas to get the wheels turning:
- Create Faux Piping: Lay a contrasting bias tape along the seam lines of a throw pillow to mimic the look of piping. It’s a simple way to add a pop of colour and definition.
- Design Graphic Accents: Apply tape in geometric patterns onto a quilt top or a plain tote bag for a modern, appliqué-style design.
- Make Reusable Banners: Sew fabric flags onto a long strip of double-fold bias tape to create a custom birthday or holiday banner. It’s a wonderful way to start a family tradition.
Common Questions About Bias Tape Makers
Getting a new tool for your sewing room is always exciting, but it often comes with a few questions. Let's walk through some of the common things people ask when they start using a bias tape maker, so you can get great results from your very first try.
What’s the Best Fabric to Use?
This is probably the number one question I get. While you could try a lot of different woven fabrics, your best bet is almost always a lightweight cotton. Think quilting cottons, poplin, or a crisp cotton lawn. These fabrics have enough body to feed through the tool smoothly and they press into a beautiful, sharp crease.
On the other hand, stay away from anything too heavy, like canvas or denim. They're just too bulky and will get jammed inside the maker. Very slippery fabrics like silk or rayon can also be a headache because they want to shift and stretch out of shape. If you’re set on using a delicate fabric, a light misting of spray starch can give it just enough crispness to cooperate.
Can I Make Straight-Grain Tape with This Tool?
Absolutely! You can feed a straight-grain strip through a bias tape maker and it will fold it just as perfectly. The key difference, of course, is that the finished tape will have no stretch. This is exactly what you want for things like sturdy bag straps, apron ties, or reinforcing a straight seam that needs to stay stable.
Just be sure you're using it in the right places:
- It won’t bend nicely around a curved neckline.
- It will pucker and fight you on a rounded corner.
- It’s really meant for straight lines and decorative trim on flat projects.
Here's the thing to remember: The magic of bias tape is its stretch, which lets it hug curves. Straight-grain tape is all about stability. Pick the right one for the job, and you’ll save yourself a lot of frustration.
Why Is My Fabric Getting Jammed?
If your fabric strip is bunching up and refusing to pull through, the problem is almost always one of two things: width or a bulky seam. Go back and double-check the width of your strips. Even a single millimetre too wide can cause a traffic jam inside the tool.
Precision right from the cutting mat is your best friend here. For that tiny 1/4-inch tape often used in delicate embroidery work, your starting strips need to be exactly 3/4-inch wide. You'll feed the angled end into the maker's slot, then gently pull it through while pressing the folds flat as it comes out. This method creates a tape that’s 98% stretchier on the bias than on the straight grain—a must-have for getting a flawless finish on curves. This popular tutorial for Canadian crafters breaks it down beautifully.


