

Solving Sewing Machine Tension Problems for Perfect Stitches
If your stitches have suddenly gone haywire—looping, puckering, or breaking—don't panic. The culprit is almost always a simple imbalance, not a broken machine. I know how frustrating sewing machine tension problems can be, but here's the good news: they are entirely fixable.
The secret is understanding that a perfect stitch is a delicate dance between the top thread and the bobbin thread. They need to work in harmony, meeting perfectly in the middle of your fabric.
Why Your Stitches Suddenly Look Wrong
Think of a perfect stitch as a tiny, balanced tug-of-war. The top thread pulls down, the bobbin thread pulls up, and they lock together right in the centre of the fabric layers. When that balance gets thrown off, your stitches will tell you immediately. This guide will walk you through how to read those signs and solve the problem, turning that frustration into a sense of accomplishment.
Most of us have a knee-jerk reaction to start cranking the tension dial, but that’s rarely the right first move. In my experience, most tension issues stem from something much more basic.
The Real Culprits Behind Bad Stitches
Before you touch a single setting, let's look at what's likely causing the trouble. The problem is often hiding in plain sight, and a quick check can save you hours of guesswork. It’s like a pilot’s pre-flight checklist for your sewing machine.
So, what are the most common sources of tension trouble?
- Incorrect Threading: Honestly, this is the big one. Even a single missed guide can throw the entire system out of whack.
- A Worn-Out Needle: A dull, bent, or simply incorrect type of needle is a frequent cause of skipped stitches and poor tension.
- Lint and Debris: Tiny bits of fluff caught in the tension discs or bobbin area are notorious for preventing thread from moving smoothly.
- Mismatched Threads: Using a heavy thread on top and a lightweight one in the bobbin (or vice-versa) creates an unwinnable battle for your machine.
You'd be surprised how common this is. Across the Canadian sewing community, particularly with home sewists and quilters here in Ontario, tension problems account for roughly 60-70% of all common sewing machine issues we see at service centres. It’s a statistic that shows just how often perfect stitches turn into a tangled mess over something simple. For instance, here at All About Sewing, our technicians will tell you that the vast majority of machines brought in for "repairs" are just suffering from these very manageable tension woes. You can learn more about the intricacies of machine tension from our trusted industry sources.
Your Quick Diagnostic Guide
To get you started right away, I've put together a simple table. Find the problem that matches what your stitches look like, and it will point you to the most likely cause and the exact section in this guide that will walk you through the fix.
Quick Guide to Diagnosing Your Stitch Problem
| Symptom (What Your Stitches Look Like) | Common Cause | Where to Find the Fix |
|---|---|---|
| Loops on the bottom of the fabric | Upper thread tension is too loose. | How to Adjust Your Upper Tension Dial |
| Loops on the top of the fabric | Bobbin thread tension is too loose (or top is too tight). | When and How to Adjust Bobbin Tension |
| Puckered or gathered fabric | Both top and bobbin tension are too tight. | How to Adjust Your Upper Tension Dial Correctly |
| Skipped or uneven stitches | Often a needle issue, but can be threading. | Check Your Needle, Thread, and Presser Foot |
| Thread breaking repeatedly | Upper thread tension is too tight or there's a snag. | The Single Most Effective Fix: Rethreading Your Machine |
This little cheat sheet is your first step. Once you’ve identified the likely culprit, you can jump straight to the solution and get back to happy, even stitches.
The Single Most Effective Fix: Rethreading Your Machine
Before you even think about touching a single tension dial, let's try the one thing that fixes the vast majority of sewing machine tension problems. It’s quick, simple, and honestly, it should be the first thing you do whenever your stitches look a bit off. We're going to completely unthread and rethread your machine from scratch.
I know, it sounds almost too basic. But you would be amazed how often a thread has just slipped out of a tiny guide or wasn't seated properly in the tension discs to begin with. Even those of us who have been sewing for decades can miss a step when we're in the zone. A full reset is like a clean slate for your machine.
The Most Overlooked Detail: The Presser Foot
Here’s the part that makes all the difference, the one detail people almost always forget. Before you do anything else, lift your presser foot up.
Why is this so critical? When that presser foot is raised, it opens up the tension discs inside your machine. Picture them as a tiny, spring-loaded clamp. If you try to thread with the foot down, that clamp is shut tight, and the thread just glides over the outside of the discs instead of slipping correctly between them.
This tiny mistake is the root cause of so many tension headaches. The machine can't apply the right amount of tension, and that's when you get those frustrating loops on the bottom of your fabric. Simply lifting the foot ensures the entire thread path is open and ready to go.
This little flowchart gives you a good visual of the whole troubleshooting process, starting with just looking at your stitches.
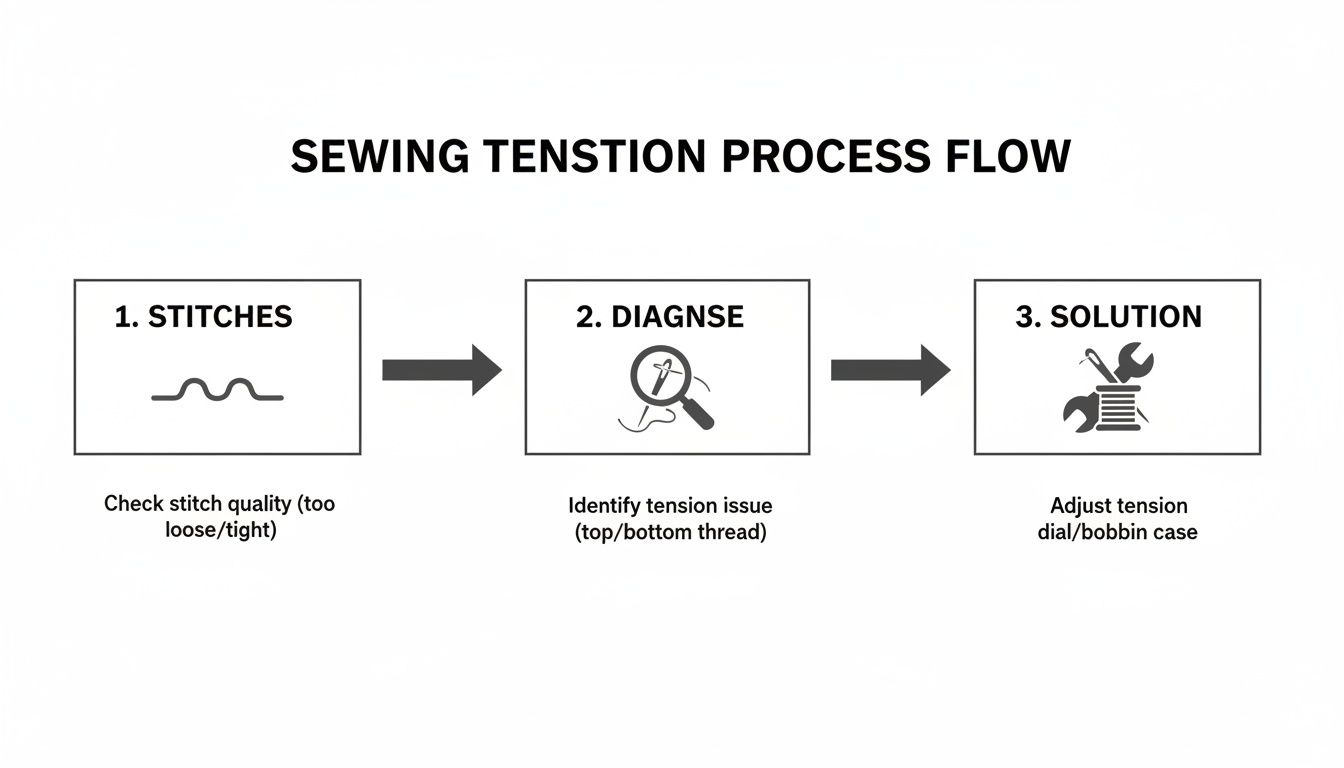
As you can see, the simplest fixes—like a proper rethread—are always your first port of call.
A Universal Guide to Rethreading
While every machine is a little different, the basic journey your thread takes is almost always the same. Let's walk through it.
Your Top Thread
- Lift the Presser Foot! I can't say it enough. This is your non-negotiable first step.
- Remove the old thread. Snip the thread near the spool and pull it out through the needle. This is a great habit to get into because it stops you from dragging lint and dust backward through the guts of your machine.
- Follow the numbers. Pop your new spool on the pin and follow the numbered guides printed right on your machine. You're looking for that little "click" or "pop" when the thread seats into the take-up lever—that's the metal arm that bobs up and down.
- Thread the needle. Go from front to back (or however your manual specifies) and leave a tail of about four to six inches.
The Bobbin
- Take the bobbin out and give it a look. Is the thread wound on there smoothly? A messy, unevenly wound bobbin can cause all sorts of trouble.
- Pop it back into its case, making sure the thread is coming off in the correct direction. Your machine should have a little diagram for this.
- For drop-in bobbins, you'll feel the thread click into a little tension notch. If you have a front-loading case, you'll need to pull the thread through a small slit and under the tension spring.
Key Takeaway: Always, always, always rethread your machine with the presser foot in the 'up' position. This single habit opens the tension discs and allows the thread to seat correctly, solving most tension issues before they even begin.
This isn't just a hunch. Here at our shop in Barrie, and from talking with other service techs across Ontario, we see that incorrect threading causes over 70% of issues that look like bad tension, especially on popular machines like Husqvarna Viking and Singer models. It's the first thing we check. If you want to dive deeper, the folks at Threads Magazine have a great article on how thread tension really works.
Once you've got both the top and bobbin threads sorted, lower the presser foot. Now, turn the handwheel toward you one full rotation to draw the bobbin thread up through the needle plate. Pull both thread tails to the back, and you're ready to test your stitch on a scrap of fabric. Nine times out of ten, that's all it takes.
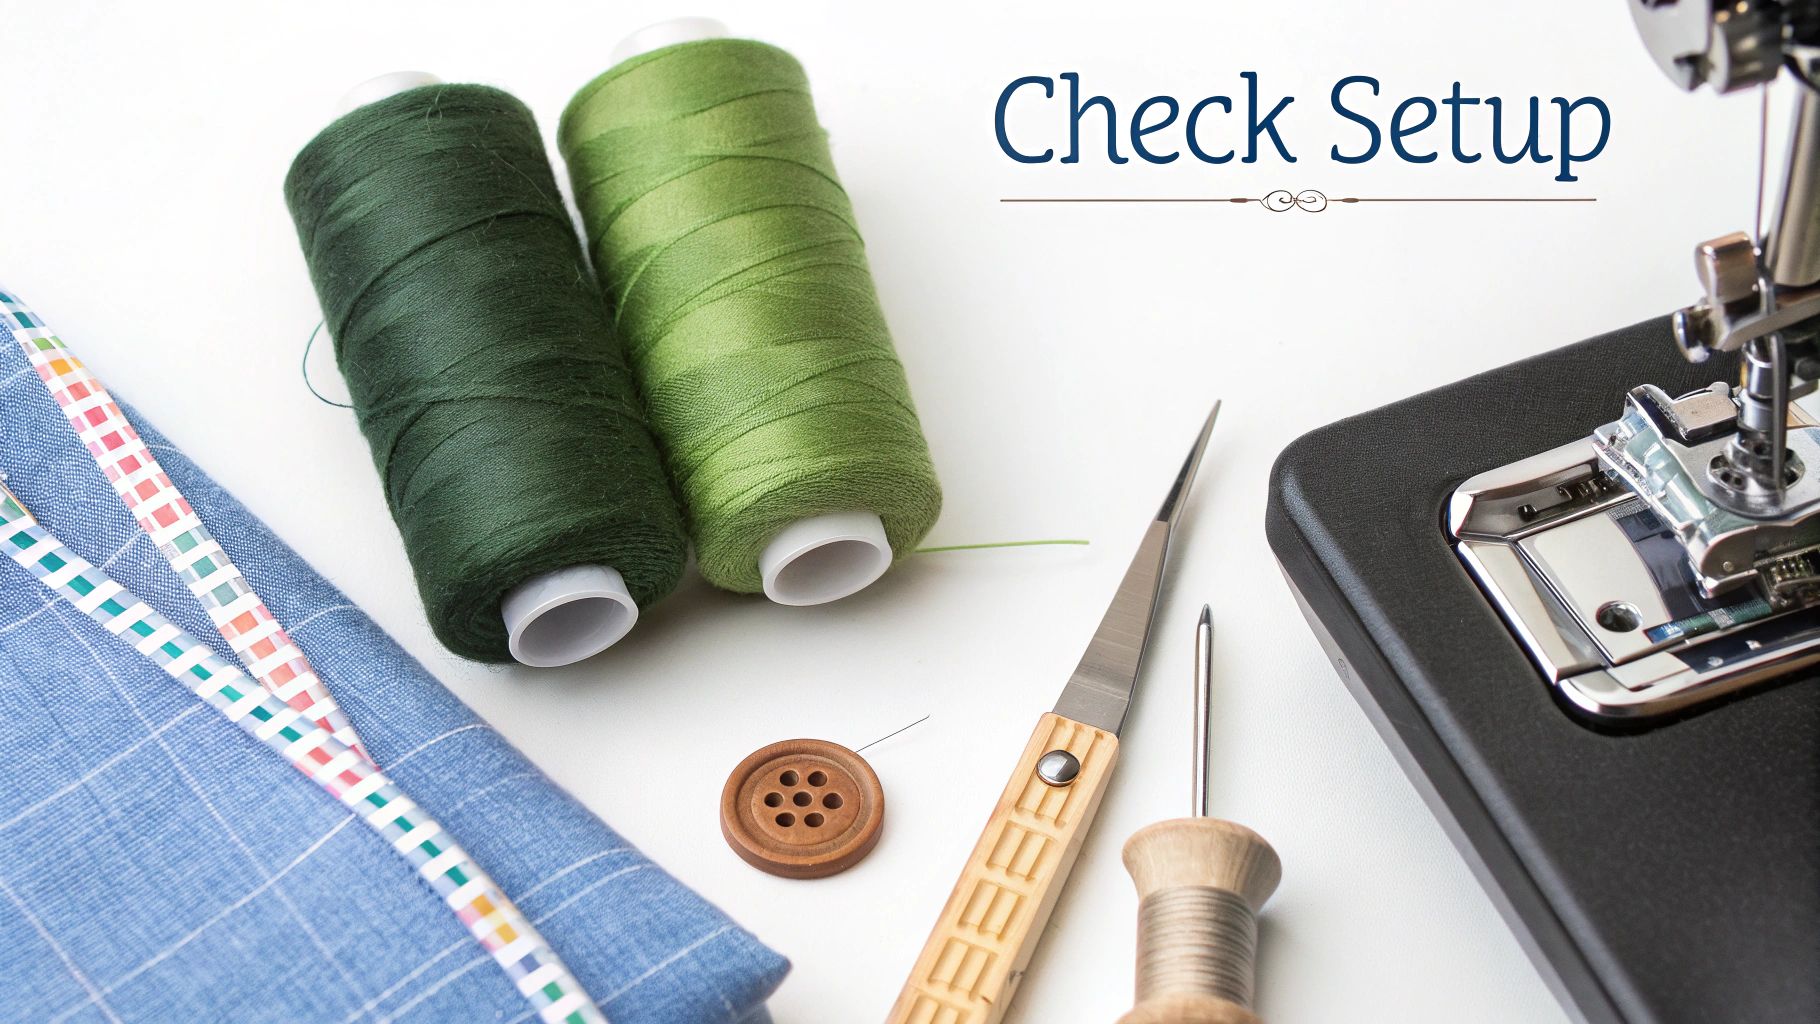
Check Your Needle, Thread, and Presser Foot
So, you’ve rethreaded your machine—maybe even a few times—and the stitches are still a mess. Before you even think about touching that tension dial, let's take a step back. More often than not, what looks like a tricky tension problem is actually something much simpler. We need to look at the three workhorses of your setup: the needle, the thread, and the presser foot.
Think of it like trying to solve a tricky recipe. If your cake is flat, you don't automatically blame the oven temperature. First, you double-check if you used the right ingredients. It's the same logic with sewing; we have to rule out the basic stuff before diving into complex adjustments.
Is Your Needle the Real Culprit?
It’s easy to forget about that tiny needle, but it does an incredible amount of work. A needle that's dull, slightly bent, or just the wrong type for your fabric is a one-way ticket to skipped stitches, shredded thread, and just plain ugly seams.
Here’s something that surprises a lot of sewers: a needle should be changed after every 8 to 10 hours of sewing time. That means for most of us, it’s a good idea to start every big project with a fresh one. A worn-out needle doesn't glide through the fabric; it punches its way through. This can snag fibres and, more importantly, prevents it from forming a clean loop for the hook to catch, leading directly to skipped stitches.
- Dull Needles: These are a common cause of skipped stitches. You might even hear a distinct "thumping" sound as the needle forces its way through the fabric.
- Bent Needles: You often can't even see the bend, but it's enough to make the needle hit the throat plate. This can cause broken needles, snapped thread, and can even throw off your machine's timing.
- Wrong Needle Type: Using a standard "universal" needle on heavy denim is asking for trouble. Same goes for using a sharp needle on a delicate knit.
Always match the needle to your fabric. A delicate chiffon needs a tiny microtex needle (like a 60/8), while that heavy-duty denim project needs a tough, sharp jeans needle (size 100/16 or even 110/18). Making this one small change is often the magic fix for those frustrating stitch problems.
The Unwinnable Tug-of-War Between Threads
Another classic mistake is using different kinds or weights of thread in the top spool and the bobbin. Sure, it can work for some decorative stitches, but for regular seams, it almost always creates an imbalance that no amount of tension tweaking can truly fix.
Picture a tug-of-war. If one team is way stronger, they’re going to pull the flag over to their side every single time. It's the exact same principle with your stitches. If you have a thick, heavy thread on top and a fine, lightweight thread in the bobbin, the top thread will always win, yanking the weaker bobbin thread up to the top of your fabric.
Pro Tip: For strong, perfectly balanced stitches, always use the exact same thread for both your needle and your bobbin. This guarantees they have equal strength, creating a perfect lock and getting rid of one of the biggest variables when you're troubleshooting.
When both threads pull with the same force, your machine has a much easier job creating that perfect stitch right in the middle of the fabric layers.
The Presser Foot and Its Hidden Role
Finally, let’s give the presser foot a look. Its main job is to hold the fabric down against the feed dogs, but the amount of pressure it applies is critical. If the pressure is cranked up too high on a delicate fabric like silk, it can cause the material to stretch and pucker as you sew.
On the flip side, if the pressure is too light for a bulky quilt sandwich, the layers can shift around, leading to uneven, sloppy stitches. Many newer machines handle this for you, but if yours has a manual dial, it’s worth checking your manual to get it set right for your project's thickness.
Using the wrong type of foot is also a common pitfall. Trying to sew a zipper with your standard all-purpose foot will never give you a clean result; it just can't get close enough to the zipper teeth. Always switch to the right foot for the job. It makes all the difference.
Getting to Grips With Your Upper Tension Dial
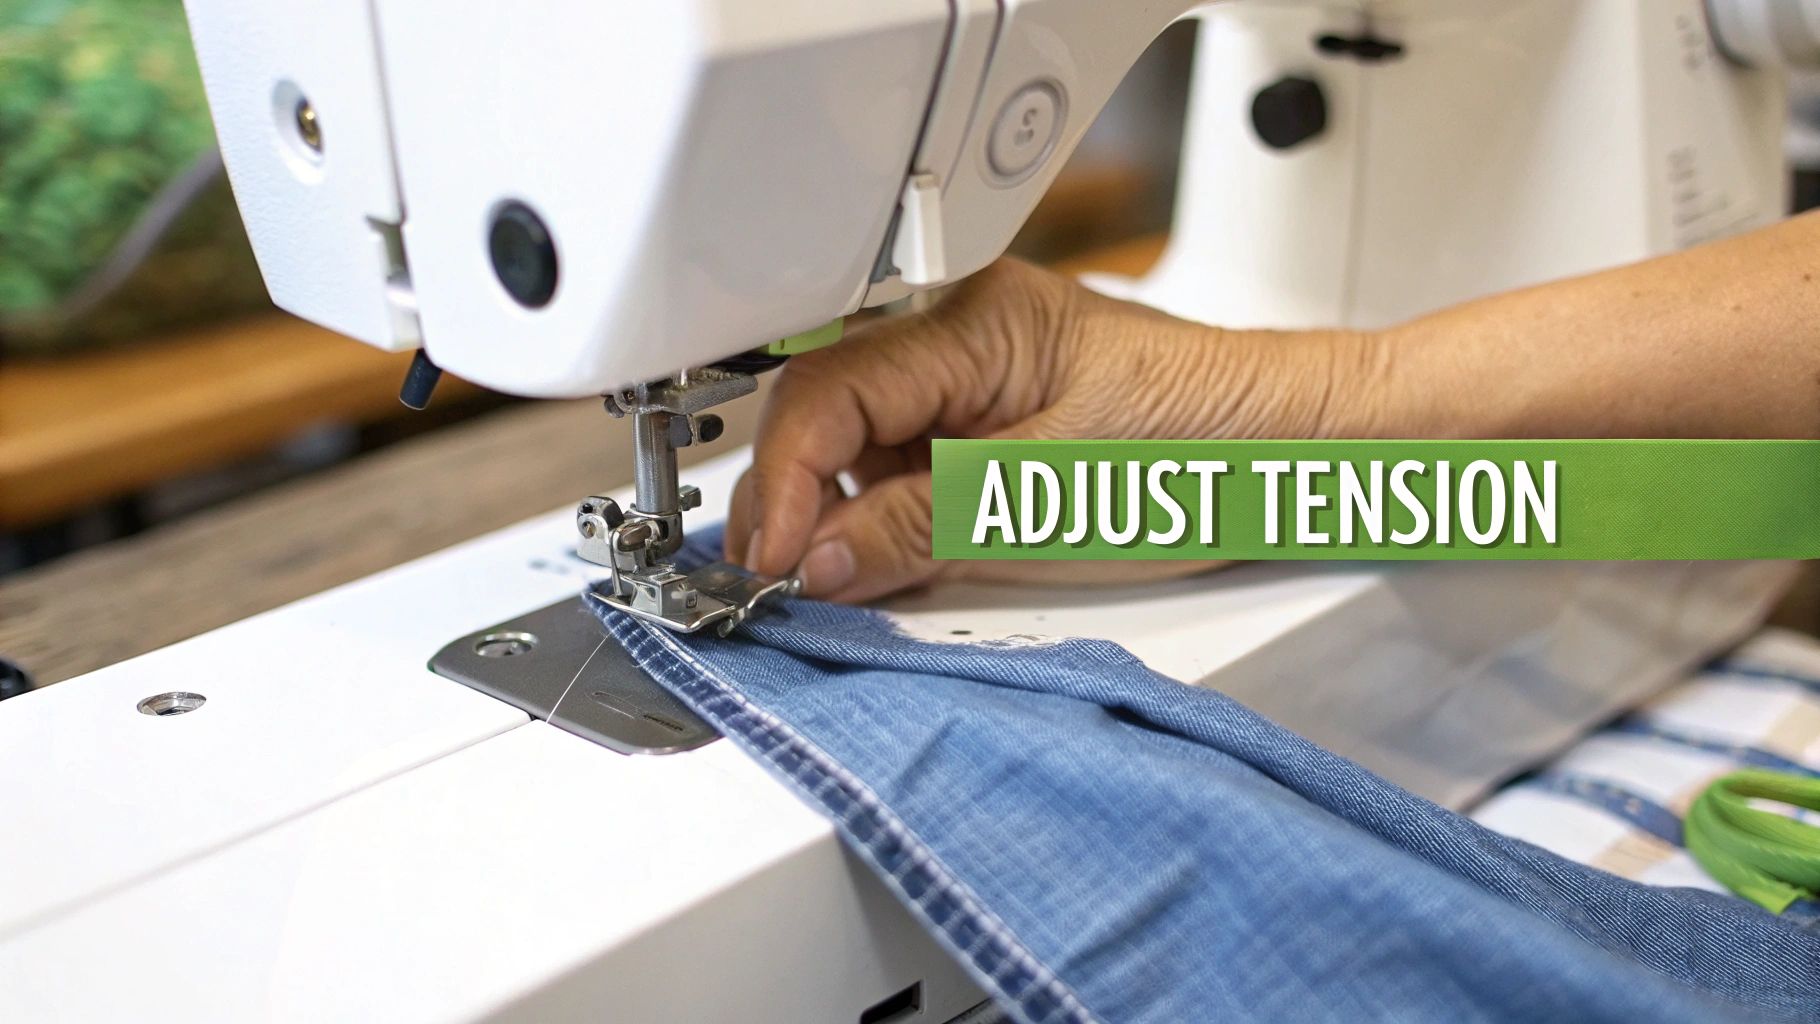
So, you’ve checked your threading, made sure you have the right needle, and confirmed your thread is happy. Now, and only now, is it time to look at that numbered dial on your machine. So many people jump straight to cranking the tension dial, but that should really be your last resort.
Adjusting tension isn't about guesswork; it's a careful process of testing and making small, deliberate changes. Think of it as fine-tuning. A tiny turn can make a world of difference, so a little patience here will save you a lot of frustration with lingering sewing machine tension problems.
What Do Those Numbers on the Dial Actually Mean?
Most tension dials are numbered from 0 to 9. Your sweet spot, or the "factory setting," is usually somewhere in the middle—around 3 to 5. For most everyday sewing on medium-weight fabrics, this setting works perfectly. It's your neutral ground, the place you always start from.
Here’s a quick breakdown of how it works:
- Going Up (e.g., 6, 7, 8): Turning to a higher number tightens the upper thread. This is what you do when you see ugly loops on the top of your fabric because it helps pull that bobbin thread upward.
- Going Down (e.g., 1, 2, 3): Turning to a lower number loosens the upper thread. This is the fix for loops on the bottom of your fabric, as it lets the bobbin thread pull the top thread down more easily.
By far, the most common issue is seeing loops on the underside of your project. This is a classic sign that your upper tension is too loose. The fix? Turn that dial up to a slightly higher number.
But before you touch that dial, there’s one simple cleaning trick that solves the problem more often than not.
The Real Culprit: A Bit of Fluff in Your Tension Discs
Tucked away inside your machine, your upper thread glides between two small metal plates called tension discs. Their job is to squeeze the thread, applying consistent tension. The problem is, they are magnets for lint and tiny thread fibres that get packed in between them over time.
When the discs get clogged with this debris, they can't close properly. No matter what number your dial is set to, the discs can't apply enough pressure, and your upper tension becomes far too loose. This is hands-down the most overlooked cause of tension troubles.
Our own service records here at All About Sewing back this up. A huge percentage of the machines that come in for tension issues are simply suffering from this buildup. It's especially common in the high-end Baby Lock and Grace quilting machines so popular with crafters across Ontario. Our technicians often find that a quick clean restores perfect stitches without ever touching the settings. You can see more about how our expert repairs solve these common issues on our channel.
To give them a clean, make sure your presser foot is up (this opens the discs). Then, simply "floss" between them with a piece of unwaxed dental floss or the stiff corner of a scrap of fabric. You might be shocked at what you pull out!
The "Turn and Test" Method: Your Secret Weapon
If a good cleaning didn't do the trick, it's finally time to adjust the dial. The golden rule is to avoid big, drastic changes. The "turn and test" technique is the most reliable way to find your perfect setting.
- Set Up Your Test: Grab a scrap of the fabric you’re actually using for your project. Don't just use any old scrap—fold it to match the number of layers you'll be sewing through in your final piece.
- Sew a Sample: Stitch a straight line a few inches long. I also recommend sewing a few zig-zags, because wonky tension loves to show up on corners and curves.
- Play Detective: Examine your test stitch on both the top and bottom. Are you seeing loops? Is the fabric puckering?
- Make One Small Change: If there are loops on the bottom, turn the dial up by one whole number (say, from a 4 to a 5). If the loops are on top, turn the dial down by one number (from a 4 to a 3).
- Test Again: Sew another line right next to your first one and compare them. Keep making these small, one-number adjustments and re-testing until the stitch looks perfect—with the knot between the threads neatly hidden inside the fabric layers.
Following this simple, methodical process takes the guesswork out of it. You'll avoid overcorrecting and making things worse, and you'll know exactly how to get beautiful, strong stitches on any project you tackle.
When and How to Adjust Bobbin Tension
Alright, let's talk about the one adjustment that most sewers are a little afraid to touch: the bobbin tension. I want to be very clear about this—messing with your bobbin tension should be the absolute last thing you try. Think of it as the final boss of tension troubleshooting.
Your sewing machine's bobbin case is precisely set at the factory. It’s calibrated to be the stable, unchanging foundation for your stitches. In nearly all cases, you'll solve your tension woes by adjusting the top thread. Honestly, in my years of experience, it's incredibly rare that the bobbin case is the real culprit behind sewing machine tension problems.
Before You Even Look for a Screwdriver
Before you even think about adjusting that tiny screw, we need to rule out a few far more common suspects. Most of the time, what looks like a bobbin tension issue is actually just a simple problem in the bobbin area. Let's do a proper check-up first.
A clean machine is a happy machine, and this is especially true for the bobbin area. Lint, dust, and little bits of thread are notorious for collecting in the bobbin housing and under the throat plate. All that gunk can easily stop the bobbin from spinning smoothly, causing your thread to feed inconsistently.
Your Pre-Adjustment Bobbin Area Checklist:
- Take everything out: Remove both the bobbin and the bobbin case from the machine.
- Give it a good clean: Use a small, stiff brush to get into all the nooks and crannies of the bobbin housing. A quick note: never use canned air! It just pushes lint deeper into your machine's mechanics, which can cause bigger problems down the road.
- Inspect the bobbin case: Look at the case itself under a good light. Do you see any scratches or burrs? Run your fingernail along the slot where the thread comes out. Even a tiny, invisible nick can snag the thread and throw your tension completely out of whack.
- Check your bobbins: This is a big one. Are you using the exact bobbins made for your machine's make and model? Popping in a generic or "close enough" bobbin is a surefire way to cause stitch issues.
If you do find a scratch or nick on the bobbin case, don’t try to fix it. Just replace it. A new case is a small price to pay to solve a ton of sewing frustration.
The Classic "Drop Test"
Once you've cleaned everything and you're sure the case is in good shape, it's time for the "drop test." This is the tried-and-true method for checking if your bobbin's baseline tension is where it should be.
First, pop a correctly wound bobbin into its case and pull a few inches of thread out through the tension spring.
Next, just let the case dangle by the thread.
Now for the test itself. Give your hand a quick, gentle downward flick, almost like you’re trying to get a yo-yo to sleep. The bobbin case should drop an inch or two and then stop itself.
If it doesn’t move at all, the tension is too tight. If it plummets toward the floor, it’s way too loose.
What you're looking for: The sweet spot is that small, controlled drop. It tells you there's enough resistance to control the thread, but not so much that it's choking it.
Making a Tiny, Precise Adjustment
If the drop test proves your tension really is off, and only if it's off, it's time to make an adjustment. You'll see a very small, flat-head screw on the side of your bobbin case. You'll need an equally tiny screwdriver that fits perfectly.
The golden rule here is to make minuscule turns. I'm talking about thinking in terms of a clock face. Don't make more than a quarter-turn adjustment at a time.
- To Tighten: Turn the screw clockwise (righty-tighty). Just a nudge, like moving from 12 o'clock to 1 o'clock.
- To Loosen: Turn the screw counter-clockwise (lefty-loosy).
After every tiny turn, do the drop test again. Keep making these small, incremental changes and re-testing until you achieve that perfect one-inch drop. Taking it slow and steady is key—it prevents you from overshooting the mark and making things worse.
Once you get it right, you can breathe easy. You probably won't have to touch that screw again for a very, very long time.
When It’s Time to Call a Professional
So, you’ve patiently worked through all the steps. You’ve rethreaded the machine (presser foot up, of course!), swapped in a new needle, given the bobbin area a good clean, and tweaked the upper tension dial until you’re blue in the face. And yet, you’re still dealing with those frustrating sewing machine tension problems.
Sometimes, the gremlin in the machine is buried a little deeper than a home tune-up can reach. It's important to know when to step back and let an expert take a look. Pushing a machine that needs service can take a small, simple fix and turn it into a major, expensive headache.
The Telltale Signs You Need Expert Help
If you've gone through every tip in this guide and your stitches are still a mess of loops and puckers, that's your machine telling you something's up. Don't feel bad about it! You’ve done all the right things. The problem is likely something internal—maybe the timing is off or a small part has worn out.
Also, just listen. Is your machine making strange new sounds? Any grinding, clunking, or unusually loud noises are a machine's cry for help. These sounds almost always point to a mechanical issue that needs a trained technician and their specialised tools to sort out properly.
A Note From Our Techs: If you've tried everything and you're still stuck, it isn't your fault. It’s simply time to pass the baton. Persistent tension issues are often just symptoms of a deeper problem that a good professional service can fix right up.
Your Sewing Partner in Barrie, Ontario
Bringing your machine in for service isn't admitting defeat; it’s a smart investment in your sewing. Here at All About Sewing, we’ve spent over 25 years working on the very machines our community in Barrie loves, with brand-specific training for BERNINA, JUKI, and PFAFF. Trust me, we’ve seen it all.
Our technicians can spot problems that go way beyond simple tension adjustments. It might be a timing issue, a tired tension spring, or it might just need a really deep, professional clean. Whatever it is, we have the tools and experience to get your machine back to its factory-best.
Think of us as your local pit crew, ready to get you back to creating beautiful things. You can drop by our sewing centre in Barrie, Ontario, or just give us a call for advice. We’re here to help you solve those sewing machine tension problems for good.
Common Questions About Sewing Machine Tension
Even after you've nailed down the basics, some tension troubles can leave you scratching your head. Let's walk through a few of the most common curveballs that can pop up mid-project and cause those dreaded sewing machine tension problems.
What if My Tension Suddenly Goes Bad?
This one is baffling. One minute you're sewing a perfect seam, and the next it's a tangled mess. When your stitches suddenly go haywire, the culprit is almost always something simple and abrupt.
Before you touch that tension dial, check if your thread has snagged on the spool pin or caught on a tiny rough spot on the edge of the spool itself. This creates a sudden tug, throwing your tension completely off balance and often leading to puckering or a snapped thread.
Another sneaky cause is a poorly wound bobbin. If the thread is loose or crisscrossed on the bobbin, it will feed unevenly, causing your stitches to alternate between tight and loose all on their own.
Do I Need to Change Tension for Different Fabrics?
Absolutely. This is one of the most frequent questions we get. Think of your tension setting as something you fine-tune for the project, not a "set it and forget it" feature.
When you're working with very fine, lightweight fabrics like chiffon or silk, you'll likely need to loosen your upper tension a bit by turning the dial to a lower number. This prevents the stitches from being too tight and causing the delicate material to pucker.
On the flip side, for heavy-duty materials like denim, canvas, or multiple layers of quilting cotton, you often have to tighten the upper tension by turning the dial to a higher number. This gives the top thread enough pull to lock the stitch properly in the centre of those thick layers.
Here's a pro tip: always test your stitches on a folded scrap of the exact fabric you're using. This quick "turn and test" is the best way to dial in the perfect tension before you touch your actual project.
Why Does the Bobbin Matter So Much?
It might seem like a small, insignificant part, but using the wrong bobbin is one of the fastest ways to ruin your stitch quality. Even if a bobbin from another machine looks like it fits, tiny differences in its height, width, or material can cause chaos.
- A bobbin that’s even a millimetre too tall or short will rattle around in the bobbin case, making a consistent thread feed impossible.
- Plastic and metal bobbins are not interchangeable. They have different weights and interact with the magnetic bobbin cases differently, so stick to what your machine’s manual recommends.
Using only the bobbins made specifically for your machine's make and model is a non-negotiable for achieving a beautiful, balanced stitch. It removes a huge variable from the equation.
If you've gone through all the checks and your machine is still giving you grief, the team at All About Sewing is ready to step in. We can help you find the right parts and accessories or get your machine professionally serviced and running like new. Find everything you need at https://all-about-sewing-canada.myshopify.com.


