
Changing Pad Cover Waterproof: Sew a Lasting, Durable Pad Cover
If you’ve ever found yourself staring at a store-bought changing pad cover, thinking "I could make something so much better," you're in the right place. Sewing your own changing pad cover waterproof style is one of the most practical and satisfying projects for a new parent. It's not just about saving a few dollars; it's about making a high-quality, safe, and frankly, much cuter cover that actually stands up to daily messes.
Why Bother Sewing Your Own Waterproof Cover?
Let's be honest, store-bought options can be a bit of a letdown. You either get a cute design that isn't waterproof or a plastic-y, crinkly cover that is. When you take matters into your own hands, you get to call all the shots—on quality, safety, and style.
The real magic is in the fabric choice. By using materials like PUL (polyurethane laminate) or laminated cotton, you're creating a truly waterproof barrier. This means those inevitable leaks and spills don't soak into the foam pad, which keeps things way more hygienic. Cleanups become a simple wipe-down affair instead of a full laundry emergency.
Plus, you know exactly what's going near your baby's skin, avoiding any questionable chemicals that might be in mass-produced items.
The Practical Perks of a DIY Cover
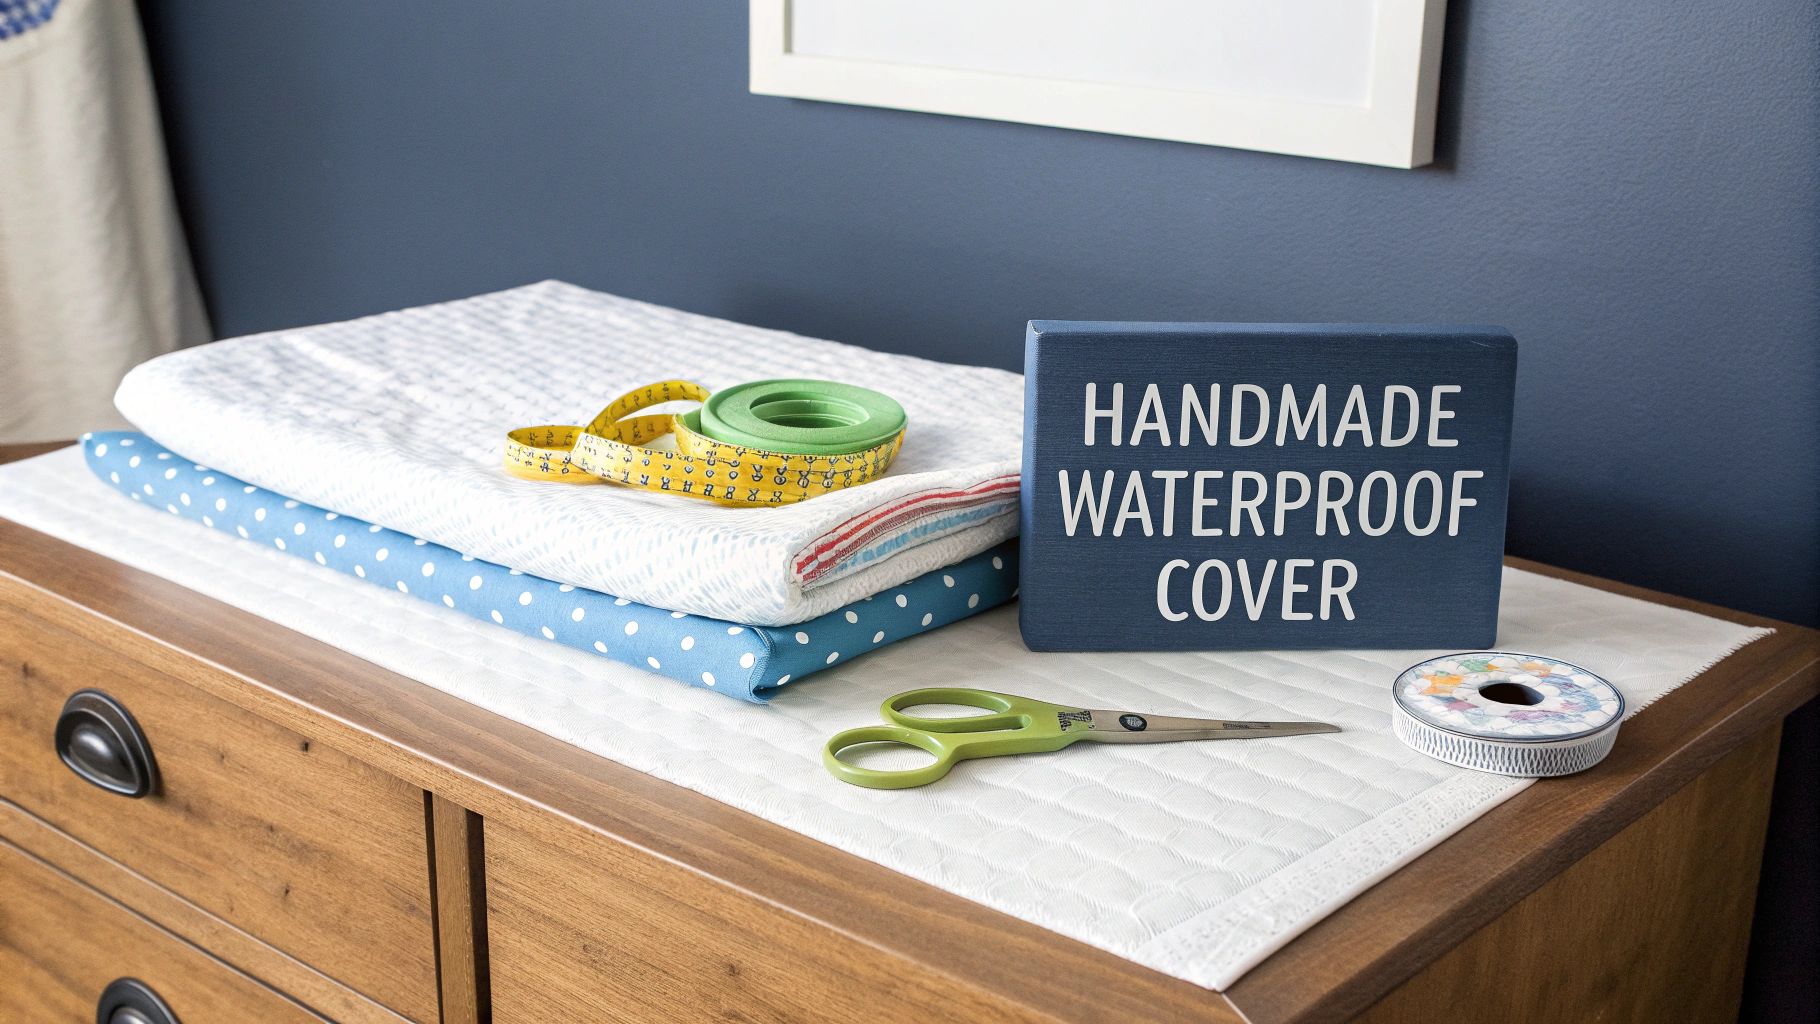
Beyond just looking good, a handmade waterproof cover brings some serious practical benefits to the changing table.
- You're the Designer: You get to pick the exact fabric that matches your nursery's vibe. No more settling for what's on the shelf.
- A Cleaner Changing Station: Because waterproof fabrics don't absorb moisture, they're much less likely to harbour bacteria or get musty.
- Built to Last: With quality fabric and your own careful stitching, you can make a cover that will survive countless washes and still look great.
When you consider why purchase a changing pad for its convenience around the house, having a few reliable, easy-to-clean covers is a must.
This isn't just a niche craft, either. In Canada, parents are overwhelmingly choosing practicality. Recent retail data from Canadian online stores shows that waterproof pad covers are outselling their non-waterproof counterparts by a whopping 45%. Busy parents, especially in cities, are looking for things that make life easier, and a wipeable cover is a perfect example. Making your own lets you get that premium, practical solution you’re looking for.
There's a special kind of pride that comes from making something both beautiful and useful for your baby. A handmade changing pad cover is more than just a sewing project; it’s a little piece of love that you'll use every single day.
Picking Your Fabric and Sewing Supplies
Before you even think about threading your machine, let's talk materials. Getting this part right is probably the most important step in making a changing pad cover that's actually waterproof and will stand up to daily use. The right fabric and tools will save you a ton of headaches and ensure your finished cover doesn't leak.
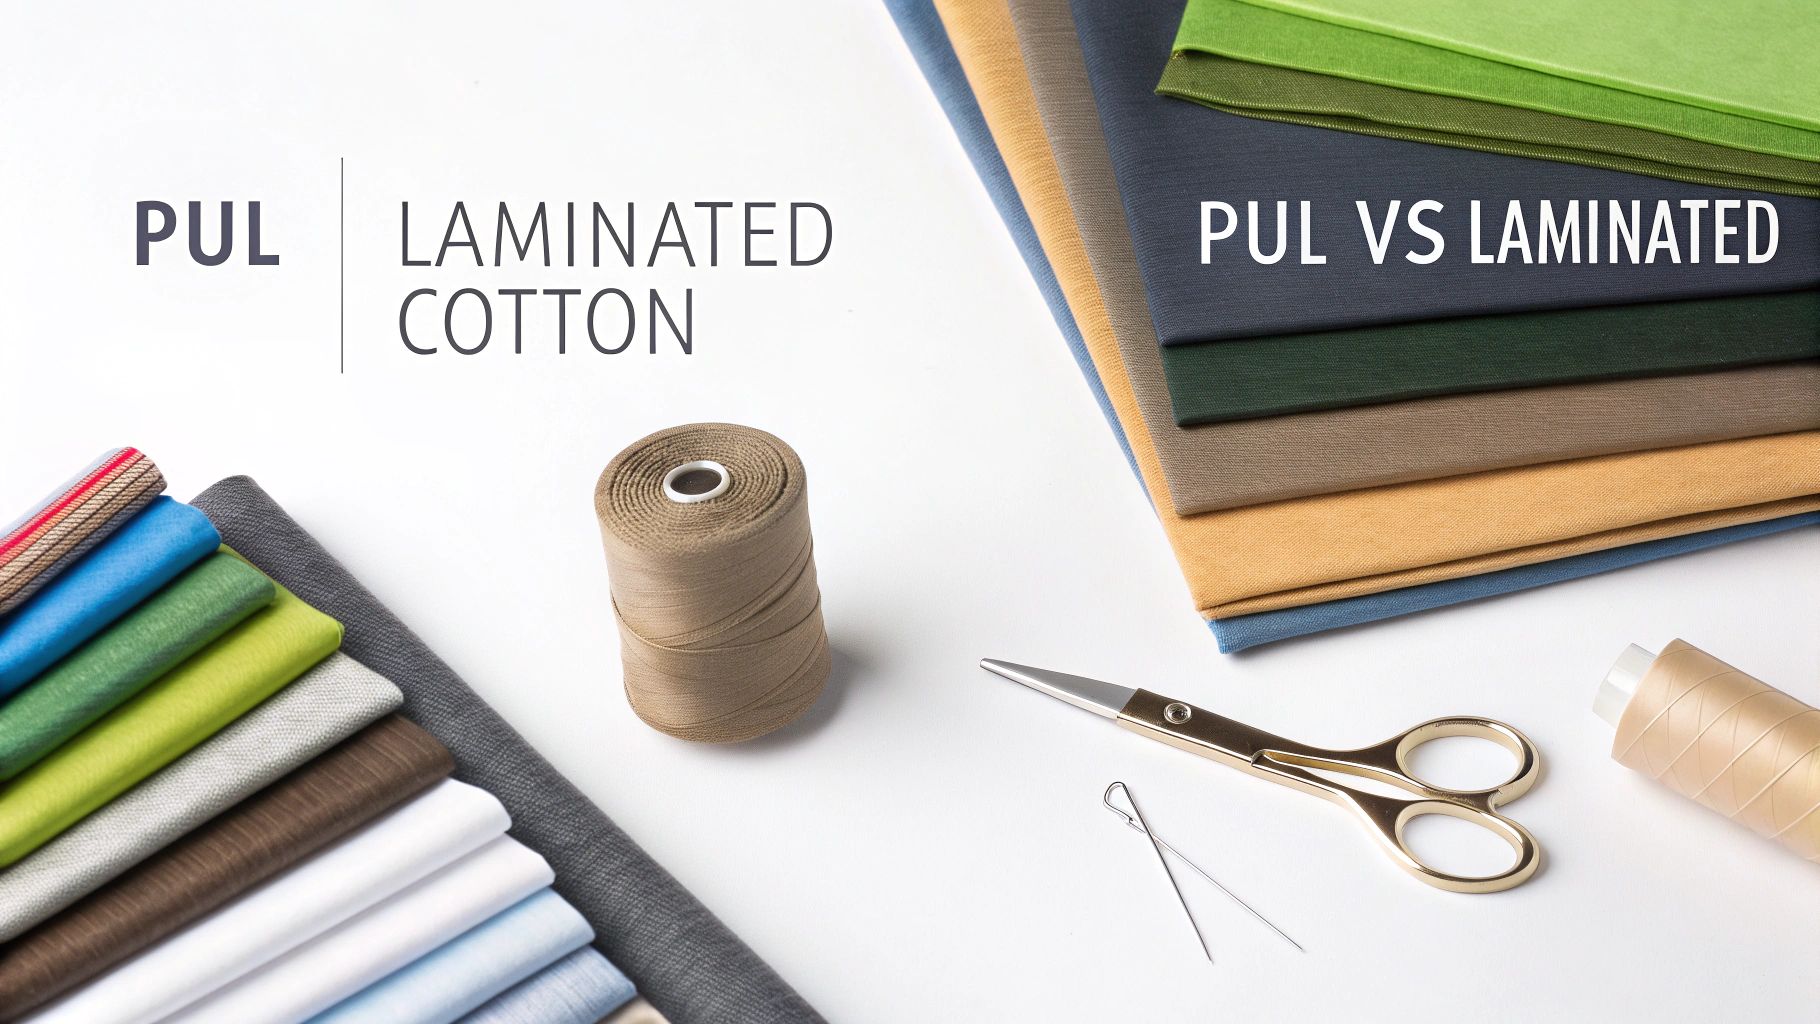
The biggest decision you'll make is the fabric itself. For a truly waterproof changing pad cover, your best bets are PUL (polyurethane laminate) and laminated cotton. They might sound similar, but they behave quite differently.
PUL is a soft, slightly stretchy knit polyester with a waterproof layer bonded to the back. On the other hand, laminated cotton is a regular woven cotton fabric that has a thin, wipeable laminate layer applied to the front, giving it a bit of a sheen.
Personally, I find PUL is often softer and more flexible, which feels great against a baby’s skin. But, the easy wipe-and-go surface of laminated cotton is fantastic for quick cleanups. If you anticipate a lot of full machine washes, PUL’s durability usually wins out.
To help you decide, here’s a quick rundown of what to expect from each.
Waterproof Fabric Comparison: PUL vs Laminated Cotton
| Feature | PUL (Polyurethane Laminate) | Laminated Cotton |
|---|---|---|
| Feel | Soft, flexible, and slightly stretchy. | Crisper, less drape. Feels like regular cotton on the back. |
| Waterproofing | Excellent. The waterproof layer is on the back. | Very good. The laminate is on the top, making it wipeable. |
| Breathability | Generally more breathable. | Less breathable due to the top laminate layer. |
| Sewing Difficulty | Can be slippery; requires a walking foot or Teflon foot. | Can stick to the presser foot; requires the same special feet. |
| Durability | Very durable and holds up to frequent, hot washes. | Durable, but the laminate may peel over time with very high heat. |
| Best For | Fitted covers, frequent washing, projects where softness is key. | Quick-wipe projects, flat covers, or when you want a specific cotton print. |
Ultimately, there’s no wrong choice here! It just comes down to whether you prioritize a softer feel or a wipeable surface.
Must-Have Tools for Sewing Waterproof Fabrics
Sewing with laminated fabrics isn't hard, but it does demand a few specific tools. These materials can get sticky under the presser foot and, more importantly, every pinprick is a permanent hole. Setting yourself up with the right gear from the start makes all the difference.
- Needles: A ballpoint or stretch needle (size 75/11) is a must. Its rounded tip gently pushes the fabric fibres apart instead of punching through them. This is crucial for maintaining that waterproof barrier.
- Thread: Go with 100% polyester thread. Cotton thread can absorb moisture and wick it right through your seams, defeating the whole purpose. Polyester is moisture-resistant and has a tiny bit of give.
- Fabric Holders: Ditch the pins! They will leave permanent, leaky holes in your fabric. Sewing clips or even small binder clips from a stationery shop are perfect for holding your pattern pieces together.
- Presser Foot: A walking foot or a non-stick Teflon foot will be your best friend. They are designed to glide over sticky fabrics instead of dragging and causing puckered, uneven stitches.
Trust me on this: gathering the right supplies before you start is like prepping your ingredients before you cook. It makes the entire process smoother and the result so much better. A ballpoint needle and polyester thread are your secret weapons for a truly leak-proof seam.
Finishing Your Shopping List
With the main items sorted, you just need a couple more things. To get that snug, fitted edge, you'll want about 1.25 metres (1.4 yards) of 1/2-inch wide elastic. And I highly recommend using a rotary cutter and mat for this project; you’ll get much cleaner and more accurate cuts on these slippery fabrics than you ever could with scissors.
While any standard sewing machine can absolutely handle this project, it's interesting to know how different machines work. If you're curious about the mechanics, you can learn more about the differences between a https://all-about-sewing-canada.myshopify.com/blogs/news/serger-vs-sewing-machine. And if you’re thinking about pairing your waterproof layer with a soft top fabric, this article comparing organic cotton versus bamboo fabrics is a great read to help you pick the coziest option for your baby.
Getting Your Measurements and Fabric Cut Just Right
A beautifully snug changing pad cover waterproof style starts well before you even sit down at your sewing machine—it all begins with the measuring tape. Nailing this first step is what makes the difference between a crisp, professional-looking cover and one that’s baggy or ill-fitting. The good news? It's much simpler than you might think.
You can skip the complicated paper patterns for this project. All you need are three measurements from your changing pad: its length, its width, and its height (or thickness). Most of the contoured pads you'll find are about 4 inches high along the sides.
Once you've got those numbers, the math is easy. For your fabric's length, just take the pad's length, add the height twice, and then add an extra 6 inches. This extra bit gives you enough fabric to wrap under the pad and create the casing for your elastic. You'll do the exact same thing for the width: pad width + (2 x height) + 6 inches.
The Simple Formula for a Perfect Fit
Let's walk through it with a common changing pad size. Imagine your pad measures 32 inches long, 16 inches wide, and 4 inches high.
- Fabric Length Needed: 32" (pad length) + 8" (for the 4" height on both ends) + 6" (for the wrap-under and casing) = 46 inches.
- Fabric Width Needed: 16" (pad width) + 8" (for the 4" height on both sides) + 6" (for the wrap-under and casing) = 30 inches.
So, for this standard pad, you would need to cut one rectangle of waterproof fabric measuring 46 by 30 inches. This little formula works like a charm for pretty much any rectangular or contoured changing pad out there.
To make things even easier, here are the fabric dimensions for a couple of standard changing pad sizes.
Standard Changing Pad Fabric Dimensions
This table gives you a quick reference for how large your fabric rectangle should be, including the necessary allowances for creating the cover's sides and the elastic casing.
| Pad Size (L x W x H in inches) | Fabric Cut (L x W in inches) |
|---|---|
| 32" x 16" x 4" | 46" x 30" |
| 30" x 16" x 4" | 44" x 30" |
| 34" x 17" x 4.5" | 49" x 32" |
Remember to always measure your own pad first! These are just common sizes, and your specific pad might be slightly different.
Pro Tip: I can't stress this enough—always, always measure your own changing pad before you cut anything. Even a half-inch difference can throw off the final fit. Double-check your numbers before that first slice!
How to Tame Slippery Waterproof Fabrics
Let's be honest, working with PUL or laminated cotton can sometimes feel like trying to herd cats. It just wants to slide and shift all over your cutting table. This is where your tools and a little patience really pay off.
You can use scissors, but you might find the fabric bunches up or leaves you with a slightly wonky edge. If you want truly clean, straight cuts, the dream team is a rotary cutter, a self-healing mat, and a clear quilting ruler. The ruler's weight pins the slippery fabric down, allowing the rotary cutter to glide through for a perfect cut every single time.
Pattern weights are also a lifesaver. You don't need fancy ones—I've used everything from soup cans to clean, flat rocks from the garden to hold my fabric still while I measure.
Marking Your Fabric (Without Leaving a Trace)
After cutting your main rectangle, the next step is to create the boxed corners that will hug your changing pad. To do this, you'll cut a square out from each of the four corners. The size of this square is simply the height of your pad plus half of that extra 6-inch allowance we added earlier (so, 3 inches).
For our example pad with a 4-inch height, the calculation is: 4" (height) + 3" (casing allowance) = a 7-inch square. You'll mark and cut a 7" x 7" square from each corner.
When it comes to marking, step away from the permanent markers. Tailor's chalk or a disappearing ink pen are good choices. For dark or busy prints, though, a water-soluble pencil is fantastic. It shows up clearly and vanishes with a dab of water. This Prym water-erasable white marking pencil is one of my favourites for projects like this; it gives you a crisp, clear line that washes away completely.
Bringing Your Waterproof Changing Pad Cover to Life
Alright, with your fabric cut and ready, it’s time for the fun part: heading to the sewing machine. This is where those flat pieces of PUL or laminated cotton start to look like an actual, functional changing pad cover. We'll walk through it step-by-step to make sure every seam is strong and leak-proof.
First things first, let's get your machine settings sorted. Waterproof fabrics can be a little fussier than regular cotton, so a couple of quick adjustments make a world of difference. I always recommend lengthening your stitch to about 3.0 to 3.5 mm. A longer stitch creates fewer perforations in the fabric, which is exactly what you want to keep that waterproof barrier intact.
Next, have a look at your tension. You're aiming for that sweet spot where the top and bottom threads interlock perfectly between the fabric layers, with no puckering. If you’re not sure, grab a small scrap of your fabric and run a quick test seam. It’s always better to take a minute to test than to unpick stitches later!
This simple measure-add-cut process is what sets you up for sewing success, giving you that perfect custom fit.
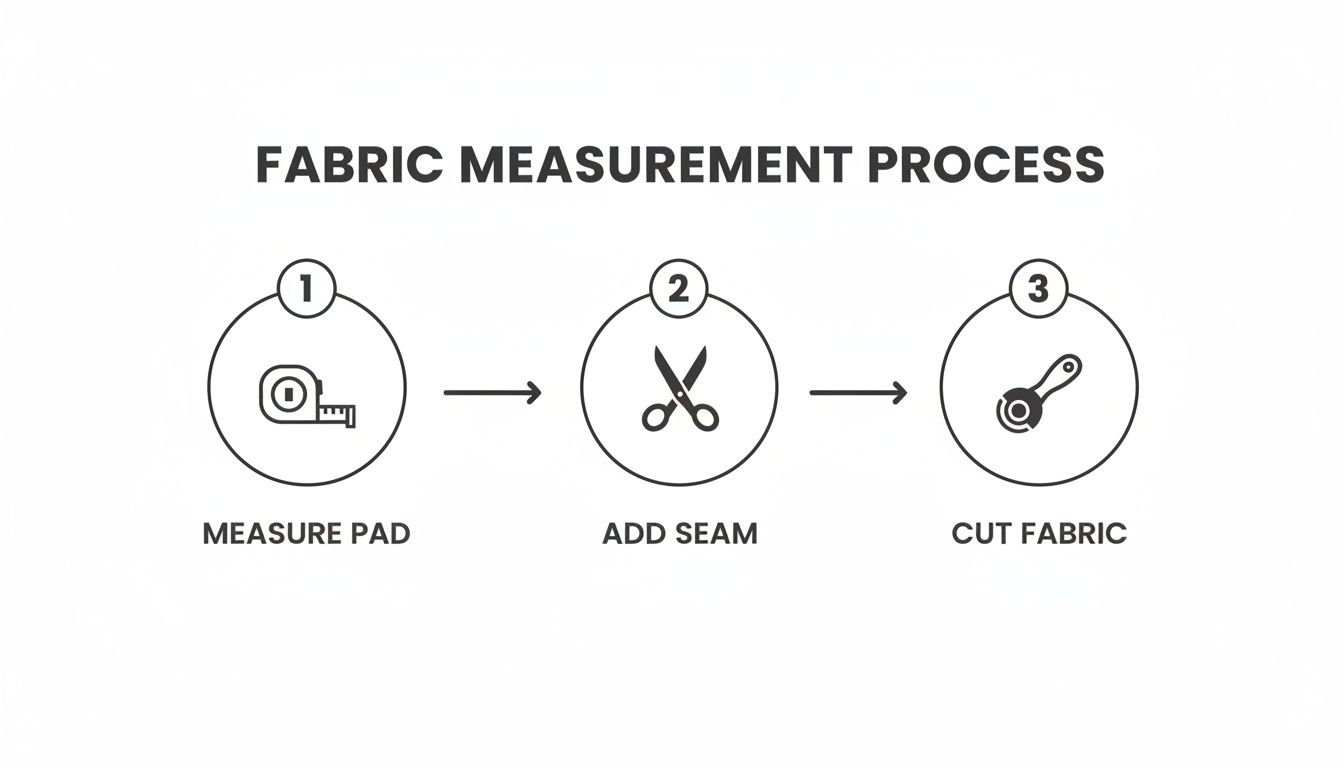
Taking the time to get this right at the start saves you the headache of a cover that’s baggy or, even worse, too small to get on the pad.
Stitching the Contoured Corners
Let's tackle those boxed corners. Pick up your fabric and focus on one of the cut-out squares. You’re going to bring the two raw edges of that cut-out together, with the right sides of the fabric facing each other. It’s a bit like pinching the corner of a paper bag to make it square.
Use your sewing clips to hold these edges together firmly. Remember, we're avoiding pins to prevent making any little holes in the waterproof layer.
Now, sew along this edge using a 1/2-inch seam allowance. A little tip from experience: always backstitch at the start and finish of each seam. These corners get a lot of wear and tear, and that little bit of reinforcement really helps them hold up over time.
Just repeat that for the other three corners. When you’re done, you’ll see the fabric has formed a nice, shallow box shape. It’s officially starting to look like a proper fitted cover!
Making the Elastic Casing
A good, snug fit comes down to the elastic casing. Start by folding the entire raw edge of your cover over by 1/4 inch toward the wrong side of the fabric. Give it a gentle press. Now, fold it over again, this time by 1/2 inch, to completely enclose that raw edge.
Press this second fold, but be careful. I suggest using a medium-heat setting and a pressing cloth to protect the laminate. As you work your way around, use clips to hold the hem in place.
Sometimes waterproof fabric can be a bit sticky and drag on your sewing machine plate, which is incredibly frustrating. An easy fix is to place a non-stick sheet under your project. Something like this Sewing Edge Reusable Vinyl works wonders, creating a slick surface that lets the fabric glide right through.
It’s time to sew that hem down. Stitch close to the inner folded edge, going all the way around the cover. But don't sew it completely shut! You need to leave a 2-inch opening to thread the elastic through. This channel you've just sewn is the casing.
To get the elastic in, attach a safety pin to one end and start feeding it through the casing. It can feel a bit slow, but just keep bunching the fabric and pulling the pin along. Once it comes out the other side of the opening, overlap the two ends of the elastic by about an inch and stitch them together securely. A zigzag stitch is great for this as it's strong and has a little give.
Finally, gently stretch the fabric near the opening to let the joined elastic snap back inside the casing. All that's left is to stitch that 2-inch opening closed. And just like that, you're finished! You’ve made a durable, custom-fit, and totally waterproof changing pad cover.
Great, you’ve sewn a beautiful waterproof changing pad cover! That’s a huge win. Now, let's talk about how to keep it looking and working like new through all those diaper changes.
Taking care of your cover is actually pretty simple, but a few key habits will make sure that waterproof layer stays intact for the long haul.
For little messes, you can usually just wipe the surface with a damp cloth and you're good to go. When it's time for a proper wash, toss it in the machine on a warm cycle with a gentle detergent. Just be sure to skip the fabric softener and bleach, as they can wear down the waterproof laminate over time.
You can tumble dry it on a low or medium heat setting. Whatever you do, avoid high heat! It's the number one enemy of waterproof fabrics and can ruin your hard work. A little bit of care goes a long way in keeping your cover soft, flexible, and completely leak-proof.
Troubleshooting Common Sewing Frustrations
Even seasoned pros hit a few bumps when working with laminated fabrics for the first time. If you run into a snag, don't sweat it. There’s almost always an easy fix. Let's walk through some of the most common hiccups.
Skipped stitches are probably the number one complaint I hear. Nine times out of ten, it’s the needle's fault. If your machine starts skipping, the very first thing to do is swap your universal needle for a ballpoint or stretch needle. The rounded tip on these is designed to slip between the knit fibres of PUL instead of piercing and snagging them.
Another classic issue is the fabric sticking to your presser foot, which creates ugly, puckered seams. The best tool for this job is a non-stick (Teflon) foot or a walking foot, as they're built to guide sticky fabrics through smoothly. In a pinch, a small piece of matte tape on the bottom of your regular presser foot can work wonders, too.
It's no surprise that so many parents are getting into DIY projects like this. The baby changing pad market in North America is valued at a whopping USD 180 million and is expected to keep growing, with Canada playing a big part. More and more Canadian parents are opting for waterproof covers for hygiene reasons, a trend that really took off during the pandemic. With over a million Canadian households with babies, the need for durable covers that can survive 500+ washes without a single leak is huge. You can discover more insights about the baby changing pad market growth if you're curious.
Fixing Puckers and Preserving Your Fabric
Seeing puckering along your seams can be frustrating, but it's usually just a tension issue. It often means your upper thread tension is a little too tight for the fabric. Try loosening it a bit and run a test on a scrap piece to see if it helps. I also recommend lengthening your stitch to around 3.0-3.5 mm. A longer stitch not only helps prevent puckering but also means fewer holes in your waterproof barrier.
My number one rule when sewing with waterproof fabrics? Avoid pins at all costs. Seriously. Every single pinhole creates a tiny, permanent leak. Instead, use sewing clips or even small binder clips to hold your fabric layers together. Your project will be much better for it.
Keep these tips in your back pocket, and you'll be able to tackle any issues that pop up. Every little challenge is just a chance to learn something new and become a more confident sewer.
Still Have Questions? Let's Troubleshoot
Even the most straightforward sewing project can throw you a curveball, especially when you're using a fabric like PUL for the first time. Here are some of the most common questions I get asked about making a changing pad cover waterproof.
Can't I Just Use Regular Cotton?
You certainly could, but you'd be missing the whole point! A regular cotton cover will act like a sponge, soaking up every little spill and mess. This means you’ll be washing it constantly to stop moisture from seeping into the foam pad itself.
The magic of using PUL or laminated cotton is that it creates a barrier. It protects the pad, keeps things sanitary, and honestly, saves you from an endless pile of laundry. The small extra cost for the right fabric pays for itself in convenience.
Is a Special Needle a Must-Have?
Yes, one hundred percent. This is a small detail that has a huge impact on your final project. A standard universal needle will poke permanent, tiny holes right through the waterproof coating. Over time, those little holes along your seams will start to leak.
I always recommend a ballpoint or stretch needle, size 75/11 or 80/12. Its rounded tip gently pushes the fabric threads aside instead of piercing them, keeping that waterproof layer intact. It’s a non-negotiable step if you want a truly leak-proof cover.
Should I Pre-Wash My PUL Fabric?
It's a great habit to get into, and waterproof fabrics are no different. Giving your PUL a wash before you cut into it gets rid of any manufacturing residue and, crucially, takes care of any initial shrinkage. This way, your finished cover won't end up too snug after its first wash.
Just toss it in the machine on a warm cycle and tumble dry on low or medium heat. This simple step ensures your cover fits perfectly from day one and stays that way.
My number one tip for sewing with laminated fabrics: deal with the stickiness! The shiny side can cling to your presser foot, leading to puckered seams and skipped stitches. A non-stick Teflon foot is the best tool for the job, but if you're in a pinch, a piece of matte tape on the bottom of your regular foot works wonders.
This little hack helps the fabric glide through your machine smoothly. Another trick is to lay a piece of tissue paper over your seam line as you sew, then gently tear it away when you're done.
Feeling ready to tackle your own custom waterproof changing pad cover? The team at All About Sewing has you covered with everything from high-quality PUL fabrics to the right ballpoint needles and durable polyester threads.


