How to Draft a Harem Pants Pattern From Scratch
Ready to make a pair of pants that feel like a dream and fit you perfectly? Drafting your own harem pants pattern is a fantastic project that lets you take a beautiful piece of fabric and turn it into something truly yours. Say goodbye to store-bought patterns that never seem to get the fit quite right.
Why Bother Drafting Your Own Harem Pants Pattern?
Sure, you could buy a pattern off the rack, but there's a special kind of magic in creating one from scratch, based on your unique measurements. When you draft your own harem pants pattern, you're the designer. You get to decide everything—the depth of the crotch drop, how billowy the legs are, and how the waistband sits.
This isn't just about getting a better fit; it's about unlocking your own creativity. Drafting opens up a whole new world of design possibilities that a pre-made template just can't match.
What You Gain by Doing It Yourself
- A Fit That’s Actually Yours: The pattern is built around your body, so you can skip the usual headache of adjusting a standard size that was never meant for you in the first place.
- Total Creative Freedom: Want to add deep, functional pockets? Prefer a different style of cuff or waistband? You’re in charge.
- A Great Skill-Builder: Harem pants are a brilliant starting point for learning the fundamentals of pattern-making without getting overwhelmed.
- Designed for Your Fabric: You can create your pattern with a specific fabric in mind, making sure the final garment hangs and moves exactly how you imagined.
It's no secret that comfy-chic clothing is having a moment, and harem pants are right at the centre of it all. Their relaxed silhouette has made them a go-to, especially here in Canada. In fact, sewing and crafting have seen a huge comeback, with over 1.2 million Canadians calling it a primary hobby in 2021—a boom driven by the desire for comfortable, custom-made clothes like these. If you're curious, you can read more about the interesting history of harem pants and see how they've changed over the years.
The best part? Once you've nailed your self-drafted pattern, it becomes your personal block. You can use it over and over again, playing with new fabrics and small design tweaks each time.
Ultimately, taking the time to draft your own pattern is an investment in your sewing skills. It's a step that moves you from simply following instructions to truly creating. You won’t just end up with an unbelievably comfortable pair of pants; you’ll gain the confidence to take on even bigger projects down the road.
Getting Your Supplies Ready: Tools and Fabrics
Alright, with a picture of your dream harem pants in your head, it's time to get practical and gather your supplies. Think of this as your mise en place for sewing. Getting everything you need together now means you won't be scrambling for a ruler or the right thread later. It makes the whole process smoother and way more enjoyable.
You don't need a fancy, professional setup. Just a few reliable tools will do the trick and make a huge difference in how accurate your final harem pants pattern turns out.
Your Pattern-Drafting Toolkit
First things first, clear a large, flat space to work. A clean floor or a big dining table is perfect. Now, let's grab the essentials for drawing and measuring.
- Pattern Paper: You have options here. You can get proper dot-and-cross paper, a big roll of medical exam paper, or honestly, just tape together some large sheets of packing paper if you're feeling resourceful. The goal is to have a surface big enough for a full pant leg.
- Flexible Measuring Tape: This is a must-have. You can't get accurate body measurements with a stiff ruler – it just doesn't work around curves.
- A Long, Straight Ruler: A metre stick or one of those clear quilting rulers is fantastic for drawing those long, straight side seams and grainlines.
- Hip or French Curve Ruler: This might seem a bit extra, but this is the secret to getting a beautifully smooth and professional-looking crotch curve. It's a game-changer!
- Pencils and a Good Eraser: A sharp pencil gives you nice, crisp lines. Plus, an eraser lets you tweak things as you go without making a mess.
Once your tools are within arm's reach, we can move on to the most exciting decision: the fabric.
How to Choose the Perfect Fabric
The fabric you pick is everything. It single-handedly determines the look, the feel, and the comfort of your finished pants. What you're looking for is a fabric with great drape—that's the magic word for how it hangs and flows. Anything too stiff will look boxy and strange, while a material with fluid movement will give you that classic, effortless harem pant style.
If you're new to sewing, I'd gently nudge you toward a lightweight woven fabric. Something like a cotton lawn or voile is fantastic because it’s stable, presses beautifully, and doesn't slide all over the place when you're cutting or sewing. They're also wonderfully breathable, perfect for summer.
Feeling a bit more adventurous? Here are some of my favourite options for that signature flowy look:
- Rayon Challis or Viscose: These are the undisputed champions of drape. They feel incredibly soft and create a liquid-like movement that is just gorgeous. Be warned, though: they can be slippery little things to work with, so pin generously and take your time.
- Jersey Knit: For the ultimate comfy, lounge-around pants, you can't beat a lightweight jersey. The stretch makes them so cozy. Just make sure you switch to a ballpoint needle on your machine to avoid putting holes in the fabric.
- Linen Blends: A linen-rayon blend gives you the best of both worlds. You get the lovely texture and breathability of linen, but the rayon softens it up and adds that necessary drape. This is my go-to for a pair of pants that look chic but feel casual.
Choosing the right fabric is a big part of the fun, but it can be tricky to know where to start. This little guide breaks down some common choices to help you decide.
Harem Pants Fabric Comparison Guide
| Fabric Type | Best For | Drape & Feel | Sewing Difficulty |
|---|---|---|---|
| Cotton Lawn/Voile | Beginners, structured look, warm weather | Light & crisp with some body | Easy |
| Rayon Challis/Viscose | Maximum flow & liquid drape | Silky, soft, and very fluid | Intermediate |
| Jersey Knit | Ultimate comfort, casual & lounge wear | Stretchy, soft, and clings slightly | Intermediate (needs a ballpoint needle) |
| Linen Blends | Everyday chic, breathability with drape | Softened texture, moderate flow | Easy to Intermediate |
| Silk or Satin | Luxurious feel, special occasion wear | Very slippery, smooth, and high sheen | Difficult |
No matter which beautiful fabric you land on, please don't skip the most important prep step!
Always pre-wash and dry your fabric before you even think about cutting! Natural fibres like cotton, linen, and rayon can shrink up to 10% in that first wash. If you skip this, you might end up with pants that are a full size too small after you wash them for the first time. Trust me on this one.
Lastly, grab your notions. You’ll need a spool of all-purpose polyester thread that matches your fabric, plus some elastic for the waistband and maybe the ankles. We’ll figure out the exact width and length you need in the next steps. Having it all ready now means that as soon as your pattern is drafted, you can jump right into the best part: the sewing
How to Draft Your Custom Pattern Pieces
Alright, this is where the fun really begins. We're moving from a pile of fabric and some numbers to a tangible plan for your perfect pair of pants. Drafting your own harem pants pattern isn't about complicated geometry; it's about translating your unique shape into a simple, two-dimensional map for cutting your fabric.
If you've never drafted a pattern before, don't sweat it. Harem pants are incredibly forgiving, which makes them the perfect first project. Their generous, roomy fit means that tiny imperfections in your drafting won't ruin the final look. Think of it as a built-in buffer while you're learning.
Taking Your Key Measurements
First things first: you need good data. Grab your flexible measuring tape and a notebook. To get the most accurate numbers, measure yourself while wearing something close-fitting, like leggings and a tank top, so you don't accidentally add extra bulk to your measurements.
You only need three key measurements to get started:
- Waist Measurement: Wrap the tape around the narrowest part of your waist, which is usually an inch or so above your belly button. You want it snug, but not tight—you should be able to slip a finger underneath comfortably.
- Hip Measurement: Find the fullest point of your hips and bum. This one is super important for harem pants because it dictates the beautiful drape and flow of the design.
- Desired Length (Outseam): Stand up straight and measure from your natural waistline right down the side of your leg to where you want the pants to end. This could be your ankle for a classic look, or a little higher if you're going for a cropped style. Jot this down as your "Outseam."
Once you have these numbers, you're ready to put pencil to paper. The process is really quite simple: measure, draft, then sew.
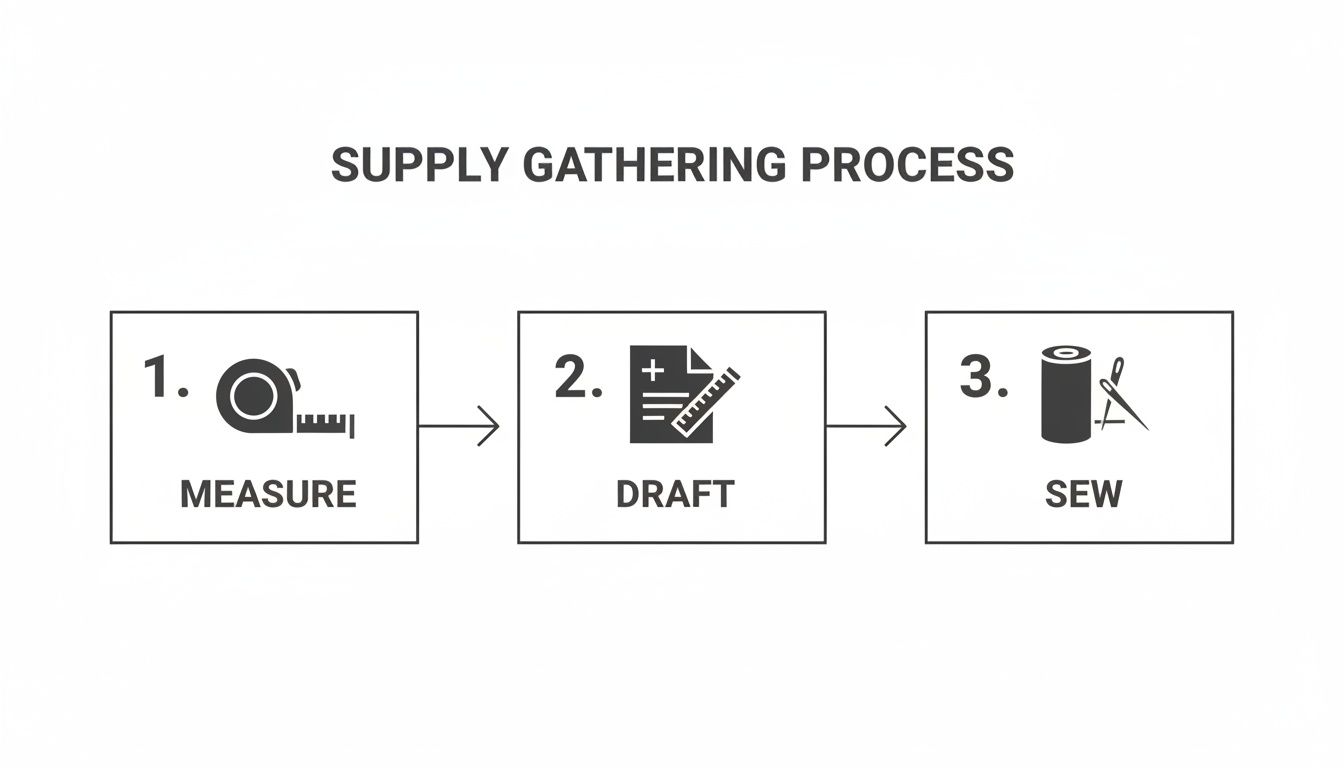
This little visual really captures the creative journey, showing how getting those measurements right is the foundation for a great pattern and a beautiful finished pair of pants.
Drafting the Main Pant Leg Piece
Let's get that main pattern piece drafted, which will work for both the front and back legs. Roll out your pattern paper and use a few weights or some tape to keep it from shifting around.
Start by drawing a long, straight vertical line down your paper. This line is your grainline and will be the centre of your pant leg. Make its length equal to your Outseam measurement.
Now for the width. This is where your hip measurement comes in. Here's a simple formula to figure out how wide your pattern piece needs to be:
(Your Hip Measurement ÷ 2) + Ease = Pattern Width
"Ease" is just the extra room that gives the pants their comfy, flowy feel. For a classic relaxed fit, adding 15 cm (about 6 inches) of ease is a great place to start. If you're dreaming of an extra-billowy, dramatic look, feel free to bump that up to 20-25 cm (8-10 inches).
At the very top of your vertical line, draw a horizontal line equal to your calculated Pattern Width, making sure to centre it. This top line is your waist. Do the exact same thing at the bottom of the vertical line. You should now have a big rectangle—this is the basic block for your pant leg.
Shaping the Crotch Curve
The dropped crotch is what makes harem pants, well, harem pants. That signature curve gives them their unique silhouette, and the best part is, you get to decide how low it goes.
- For a subtle drop: A good starting point is about 12-15 cm (5-6 inches) below where your natural crotch would sit.
- For a dramatic, low drop: You can go as low as 25-30 cm (10-12 inches), or even lower if you want!
From the top waistline, measure down one side of your rectangle by your chosen drop distance and make a mark. From that mark, you’ll draw the crotch extension. A good rule of thumb is to extend it horizontally by 10-12 cm (4-5 inches).
Now, grab your French curve ruler (or just eyeball it!) and draw a smooth, "L"-shaped curve that connects the end of that crotch extension line up to the waistline. This gets rid of the sharp corner and gives it a much more professional finish. Do the exact same thing on the other side of your rectangle. And just like that, you've created that iconic harem pant shape!
It’s this generous fit that makes the style a favourite among professionals. In fact, polls from the Tailors Guild of Canada show that 68% of tailors prefer altering harem patterns because the huge amount of hip ease—often 25 to 30 inches—makes adjustments a breeze. This forgiving design also means they often require 15-20% less fabric than traditional trousers, making them a smart and beginner-friendly choice. If you're curious, you can read more about their interesting backstory over at The Artyologist.
Finalizing Your Pattern with Markings
Your pattern piece is almost done! A few last-minute details will make the sewing process so much smoother. Think of these markings as your roadmap.
First, add your seam allowance. A standard 1.5 cm (5/8 inch) seam allowance is perfect for most home sewing projects. Use your ruler to draw this new line all the way around the outside of your pattern shape.
Next, label everything clearly. Write "Harem Pant Leg - Cut 2" right on the pattern piece. This simple note will save you from a headache later by reminding you to cut two mirrored pieces.
Finally, make sure that vertical line you drew at the very beginning is clearly marked as your grainline. When you lay this pattern on your fabric, you'll need to make sure this line is perfectly parallel to the fabric's selvedge (the finished edge). This is the secret to ensuring your pants hang beautifully and don't get all twisted after a wash.
And there you have it! A complete, custom-fit harem pants pattern piece, ready for cutting.
Putting Your Harem Pants Together
Alright, the design work is done, and your custom harem pants pattern is ready. This is where the real fun begins—transforming that paper pattern and flat piece of fabric into something you can actually wear. It’s time to bring your creation to life at the sewing machine.
Before you even think about threading your machine, let's talk about cutting. How you lay out your pattern pieces is more important than you might think. It can affect how the pants hang and drape, and a smart layout can save you a surprising amount of fabric.
Prepping and Cutting the Fabric
First things first: always pre-wash, dry, and press your fabric. This gets rid of any initial shrinkage and wrinkles. Now, lay your fabric out on a big, flat surface, folded in half lengthwise so the selvedges (the finished edges) line up perfectly.
Take your single pant leg pattern piece and place it on the folded fabric. Look for the grainline arrow you drew—it's crucial. This line needs to run perfectly parallel to the selvedge. I always use a ruler to measure from the grainline to the selvedge at a few different spots just to be sure it’s straight. Cutting off-grain is a recipe for twisted seams and pants that just feel wrong.
Once you're satisfied with the placement, pin the pattern down through both layers. Grab your sharpest fabric scissors or a rotary cutter and carefully cut around the pattern. You’ll be left with two identical, mirrored pant leg pieces—your left and right legs.
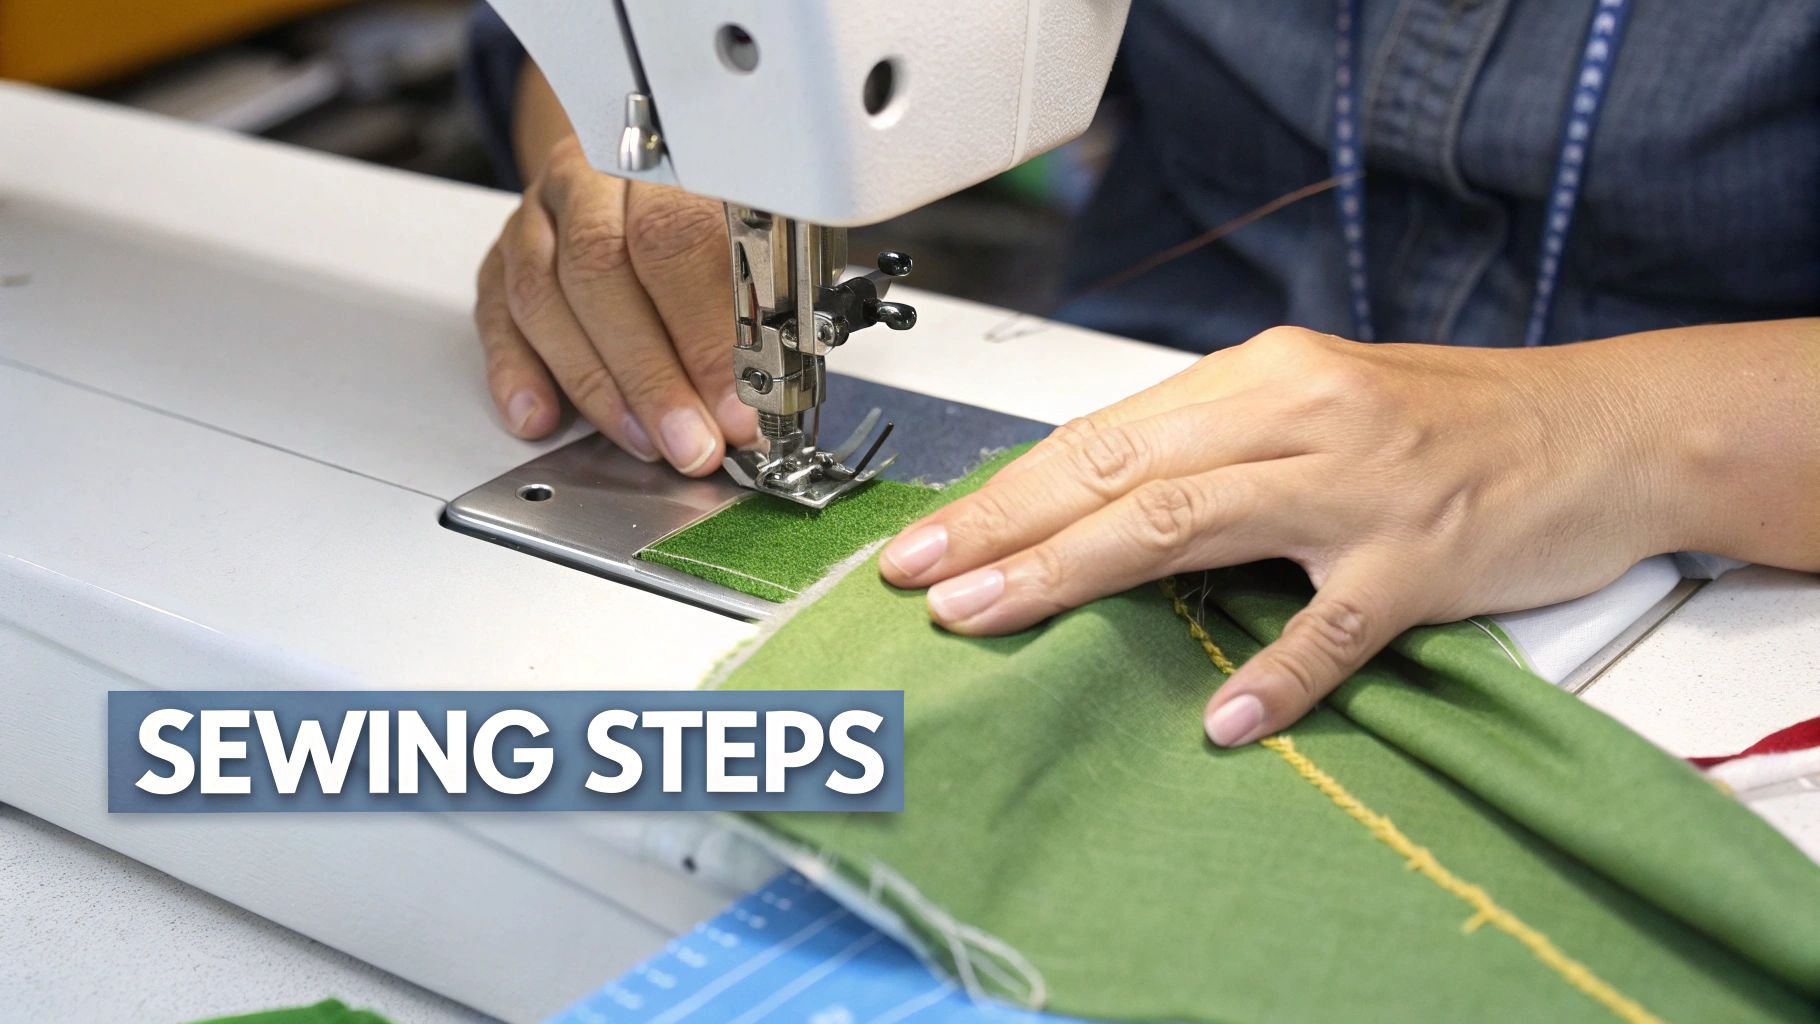
Sewing the Pant Legs
One of the best things about making harem pants is how simple the construction is. It's a really satisfying project. We’ll start by creating two separate leg tubes.
Pick up one of your fabric pieces. With the right sides of the fabric facing each other, fold it so the long, straight outer edges line up. Pin along this edge, and then sew a straight seam from the ankle right up to where the crotch curve starts. That’s your inseam done.
Do the exact same thing for the second piece of fabric. You should now have two separate, somewhat cone-shaped leg pieces. Take a moment to press the inseam allowances open or to one side. This little step makes a huge difference in getting a crisp, professional finish.
Joining the Legs at the Crotch
This is the key seam that turns two leg tubes into a pair of pants. It creates that signature dropped crotch, and while it might sound confusing, it’s quite straightforward if you go slow.
Keep one leg piece inside out. Now, turn the other leg piece right side out. The trick here is to slide the right-side-out leg inside the inside-out leg. It feels a bit like a magic trick, but doing this ensures the right sides of the fabric are together for sewing.
Carefully line up the curved crotch seams, matching them from the front waist all the way around to the back waist. The inseams you just sewed should meet perfectly at the bottom of the U-shape. Don't be shy with the pins here—pin generously along the entire curve to stop anything from shifting.
Pro Tip: The crotch seam takes a lot of stress. I always recommend sewing it twice for durability. Stitch your first seam, then sew a second line of stitching about 0.5 cm (1/4 inch) away from the first, inside the seam allowance. This reinforcement makes a world of difference.
With everything pinned, sew along the entire crotch curve. This single seam magically connects the two legs. Pull the inner leg out, and you’ll see your harem pants finally taking shape!
Finishing Your Seams Like a Pro
Before we get to the waistband, let's talk about finishing the raw edges inside your pants. This is absolutely essential for preventing fraying, especially if you're using a drapey fabric like rayon. A clean finish not only looks better but also makes your pants last so much longer.
You've got a few options:
- Serger/Overlocker: If you have one, this is the fastest and cleanest method. It trims and wraps the edge in one pass for a store-bought finish.
- Zigzag Stitch: A great alternative available on almost any sewing machine. Just run a wide zigzag stitch along the raw edge of your seam allowance.
- Pinking Shears: For a quick, no-sew solution on stable fabrics, trimming the edges with pinking shears will do a decent job of minimizing fray.
Using a serger can reduce fraying by as much as 90%, giving your simple harem pants pattern a high-quality feel. For more ideas on construction techniques, it can be helpful to learn about fashion week findings to see what's current.
Adding the Waistband and Ankle Cuffs
We're in the home stretch! To create the waistband, fold the top raw edge down by about 1 cm (3/8 inch) and give it a good press. Fold it down again, this time making the fold a little wider than your elastic. For a 2.5 cm (1 inch) elastic, I'd fold it down by about 3 cm (1.25 inches).
Stitch close to the edge of this fold all the way around the waist, but be sure to leave a small 5 cm (2 inch) gap. This is how you'll get the elastic in. Attach a safety pin to the end of your elastic and feed it through the casing. Once it’s all the way through, overlap the elastic ends, stitch them together securely, and then sew the little gap in the waistband closed.
You can repeat the same process for the ankles if you want an elastic cuff, just with a smaller casing and thinner elastic. Of course, you could also add a separate fabric cuff for a different look or simply hem the bottom for a breezy, open-leg style. Give the pants a final press, and you’re ready to show them off
Creative Variations and Custom Details
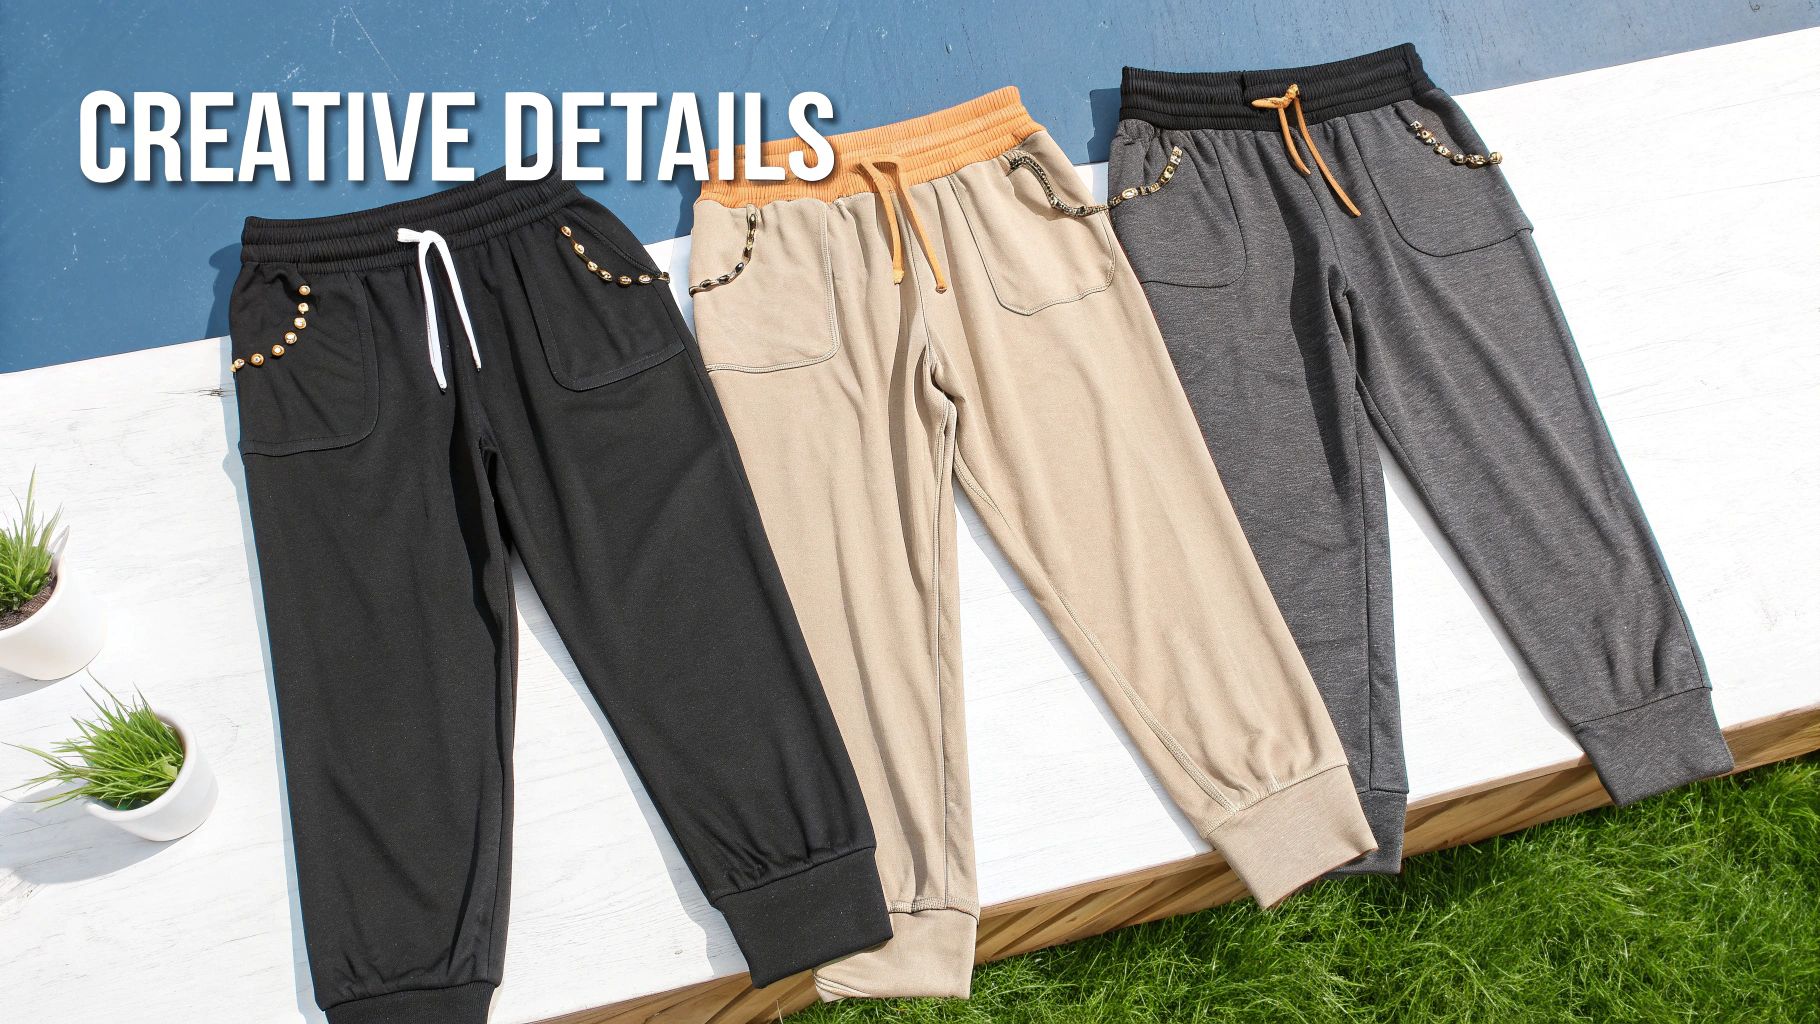
Once you’ve nailed your custom-fit harem pants pattern, don't just file it away. Think of it as your new best friend—a foundational "block" you can turn to again and again. With just a few simple adjustments, this one pattern can become the starting point for a whole wardrobe of unique pants.
This is the fun part, where you get to move beyond just following steps and start designing. By playing with things like the length, adding pockets, or switching up the waistband, you can adapt this single pattern for any season, occasion, or even for other members of your family.
Playing with Proportions and Length
Changing the length is probably the fastest way to get a completely different look. While the original pattern gives you a full-length pant, that's really just the beginning.
For a breezy summer style, why not shorten the pattern into a capri or even a culotte? Just figure out where you want the hem to hit on your leg, measure down from your waist, and chop your pattern piece to that length. The only thing to remember is to add your hem allowance back on!
You can also adapt the pattern for kids. You can't just shrink it down, as children's proportions are totally different. But by taking your child's waist, hip, and outseam measurements and applying the same drafting logic, you can whip up an adorable and comfy pair of pants that are perfect for playtime.
Adding Practical Side Seam Pockets
Let's be real—pockets make everything better. Adding them to your harem pants is surprisingly straightforward and instantly makes them feel more like a "real" garment and less like simple loungewear. And the best part? You can easily draft your own pocket piece.
Just sketch out a shape that feels comfortable for your hand; a gentle curve or a simple teardrop shape works great. A good starting size is about 15 cm (6 inches) wide by 20 cm (8 inches) deep.
Here’s the process, right before you sew the main leg seams:
- Cut four pocket pieces from your main fabric (or a fun coordinating print!).
- With right sides together, pin one pocket piece to each of the four side edges of your pant leg pieces. I usually place mine a few inches down from the waistline.
- Stitch the pockets to the pant legs along the straight pocket edge only.
- Press the pocket pieces so they face away from the pant legs.
Now, when you go to sew your main inseams, you'll simply sew around the curved edge of the pockets, leaving the top open. It’s a small extra step that makes a huge difference in how much you'll love wearing your pants.
Adding details like pockets is what transforms a basic harem pants pattern into a beloved, go-to piece. It’s these thoughtful additions that bridge the gap between a homemade item and a handmade, high-quality garment.
Customizing Waistbands and Cuffs
The simple elastic casing is a classic for a reason—it's comfy and easy. But it’s definitely not your only option. Changing up the waistband can completely alter the look and feel of your pants.
For a cleaner, more polished look, try a flat-front waistband. This technique uses a flat, non-gathered panel for the front of the waistband, with the elastic only running through the back. You get a smooth silhouette in the front but keep all the comfort of an elastic waist in the back.
Or, for ultimate comfort, you could add a wide, fold-over yoga-style waistband using a stretchy knit fabric. For more ideas like this, check out the community over at All About Sewing, a fantastic Canadian resource for project inspiration.
Beyond the waist, you can really let your personality shine with other details:
- Contrasting Cuffs: Use a different fabric for the ankle cuffs to add a pop of colour or pattern.
- Bohemian Tassels: Add a drawstring to the waistband and tie some small tassels to the ends for a free-spirited vibe.
- Embroidery: A small, hand-stitched design near the hem or pocket can make your pants truly one-of-a-kind.
These are the little things that make sewing your own clothes so rewarding. You end up with a garment that not only fits you perfectly but is also a genuine reflection of your personal style.
Common Questions About Making Harem Pants
Even with a great guide, it's totally normal to run into a few head-scratchers when you're bringing a harem pants pattern to life. Let's tackle some of the most common questions I hear, so you can get unstuck and back to sewing.
One of the biggest worries is getting the crotch drop just right. If you've finished your first pair and the drop feels way too low or pulls when you move, don't sweat it. This is a simple tweak for next time.
The crotch drop is all about personal preference, not a hard-and-fast rule. The easiest way to nail it is to grab a pair of comfy pants you already own, lay them flat, and measure from the waistband down to the crotch seam. That's your magic number for drafting.
I also get a lot of questions about fabric. A great one is, "How much ease should I add for a stretchy knit versus a woven cotton?" For wovens without much give, like cotton or linen, adding 15-20 cm (6-8 inches) of ease to your hip measurement is a solid starting point for that classic drapey look.
With a jersey knit, though, you have more flexibility. The fabric's natural stretch means you can get away with adding just 5-10 cm (2-4 inches) if you want a slimmer, more legging-style fit. Or, stick with the standard ease for a flowy feel.
What if My Pants Are Too Long or Short?
This is probably the simplest fix of all, and you can do it right on your paper pattern before you even touch your fabric.
If your first pair came out a bit long, just trim the extra length off the bottom edge of your pattern piece. Too short? No problem. Tape some extra paper to the bottom of the pattern and extend the side seam lines straight down to add the length you need.
Best Way to Pre-Wash Fabric
Trust me on this one: pre-washing is a must. It's the only thing standing between you and a pair of beautifully sewn pants shrinking down to a kid's size in the first wash. Each fabric needs slightly different handling.
- Cotton and Linen: I always give these a warm machine wash and a medium tumble dry. This gets the most shrinkage out of the way before you cut.
- Rayon/Viscose: These fabrics are a bit more delicate. Use a cool, gentle cycle and either hang them to dry or use the lowest heat setting on your dryer to protect the fibres.
- Jersey Knits: The golden rule here is to wash it now how you'll wash it later. A gentle cycle and low heat will do the trick and help keep pilling at bay.
Thinking about these little things ahead of time will make your harem pants pattern project feel so much smoother and more enjoyable.
At All About Sewing, we have all the high-quality fabrics, threads, and notions you need to bring your custom harem pants to life. Explore our collection at https://all-about-sewing-canada.myshopify.com.


