What Is a Seam Allowance: what is a seam allowance guide
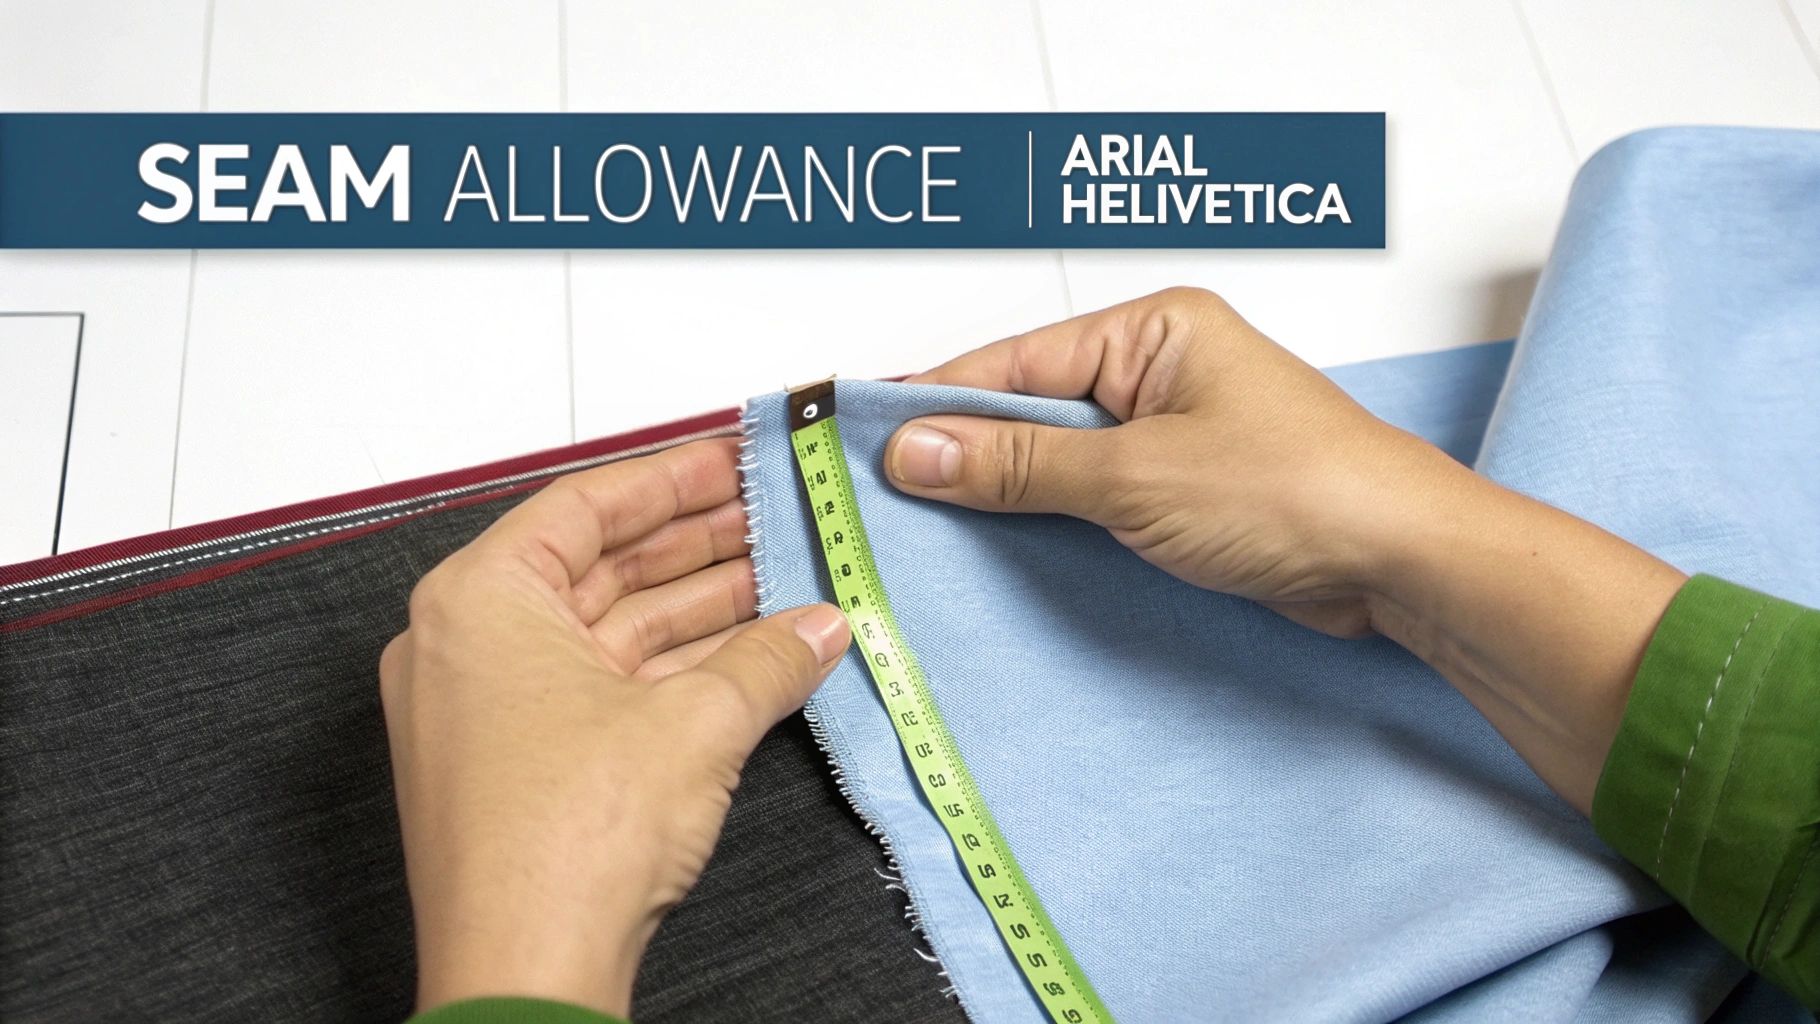
Ever looked at a sewing pattern and wondered about that extra bit of fabric around the edges of each piece? That, my friend, is the seam allowance.
It's the space between where you'll actually stitch (the seam line) and the raw, cut edge of the fabric. Think of it as your project's built-in safety net. This little strip of fabric is absolutely essential for creating clothes and quilts that not only look great but also last.
The Secret Blueprint of Sewing
Getting to grips with seam allowance is a game-changer. It's the key to making your projects fit properly and look polished instead of homemade. Just like margins on a page keep words from spilling off the edge, this buffer zone serves a few crucial roles.
It gives you the space you need to:
- Sew strong, durable seams that won't pull apart under stress.
- Neatly finish those raw edges to stop them from unravelling in the wash.
- Make small tweaks to the fit as you're putting the piece together.
If you don't stick to the pattern's specified seam allowance, things can go wrong fast. Your pattern pieces won't line up correctly, and the final garment just won't be the right size.
Thankfully, most modern sewing machines come with handy guides right on the needle plate, making it much easier to sew a perfectly straight and accurate seam every time.
Why Seam Allowance Is Your Most Important Sewing Rule
Think of your seam allowance as the foundation of a house. If you start laying bricks unevenly, the whole structure ends up wobbly and crooked. It's the exact same idea in sewing—if you don't keep your seam allowance consistent, your project is headed for trouble from the very first stitch.
This small strip of fabric might seem minor, but it's one of the most important rules you'll follow. It does way more than just hold two pieces of fabric together; it's the secret to turning a homemade project into a durable, handcrafted garment.
The Three Pillars of Seam Allowance
First off, seam allowance provides structural strength. That standard 5/8 inch you see on most commercial patterns isn’t just a random number. It’s designed to keep your stitches a safe distance from the raw edge of the fabric, which prevents them from pulling out or ripping when you're wearing and washing your finished clothes.
Next, it gives you room to finish the raw edges. Most woven fabrics will fray like crazy if left alone, and that's a recipe for disaster in the laundry. Your seam allowance is the "real estate" you need to add a zigzag stitch, run it through a serger, or sew a clean French seam. These finishing touches lock in the raw edges, making your garment last so much longer.
The seam allowance isn't just leftover fabric; it's a planned functional element that guarantees strength, prevents fraying, and allows for future alterations. Ignoring it is like building without a blueprint.
Finally, seam allowance is your built-in fit insurance. Is that skirt a little too loose? You can sew a slightly wider seam to take it in. A bit too snug? A narrower seam will give you some extra breathing room. This flexibility is a lifesaver for getting that perfect custom fit. Without a consistent allowance, your pattern pieces won't line up correctly, and you lose any chance of making those easy adjustments.
Choosing the Right Seam Allowance for Your Project
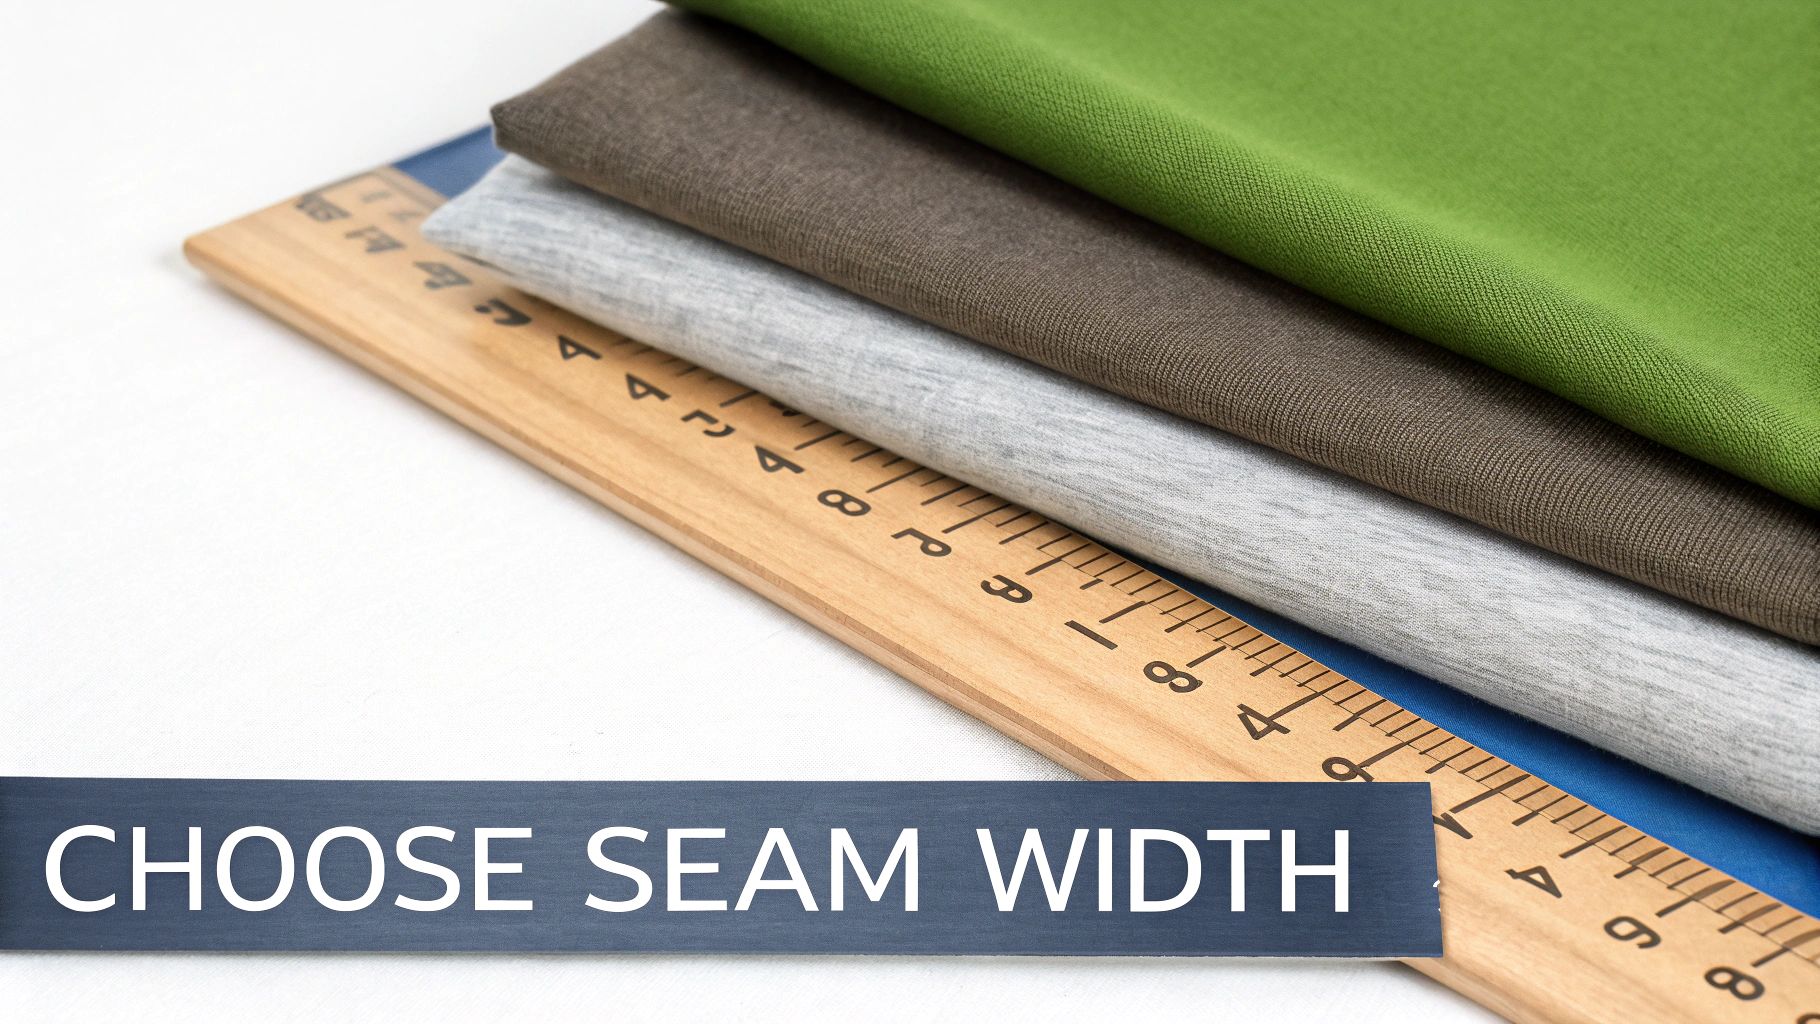
Not all seam allowances are created equal. Think of choosing the right width as picking the perfect tool for a job—it directly affects your project's strength, bulk, and how it looks in the end. Getting a feel for why certain measurements are used will help you build projects that are made to last.
For most commercial sewing patterns, especially for clothing, 5/8 inch (1.5 cm) is the undisputed standard. This generous width gives the stitches plenty of fabric to bite into, creating a strong, durable seam. It also leaves you enough room to properly finish the edges with a serger or a zigzag stitch, which is a must for stopping woven fabrics from unravelling.
This focus on strength has always been vital. In Canada's textile industry, which saw manufacturing revenues of $1.9 billion in 2023, proper seam allowances are non-negotiable for creating clothing that can handle real life. This is especially true for the kind of heavy-duty outerwear needed for a tough Canadian winter—you simply can't have a seam give out in the cold. You can find more details about durable materials in the Canadian market over on grandviewresearch.com.
The Quilter's Go-To: The Quarter-Inch Seam
Quilters, however, operate in a different world. For them, the 1/4 inch (0.6 cm) seam allowance is everything. When you're stitching together dozens—sometimes hundreds—of tiny fabric pieces, keeping the seams from getting bulky is the top priority. A wider allowance would create thick, lumpy intersections, making it impossible for quilt blocks to lie flat or for those sharp points to match up perfectly.
Sticking to a consistent 1/4 inch seam is the secret sauce for getting that crisp, professional patchwork finish. In fact, many sewing machines come with a special 1/4 inch presser foot that has a little guide to help you sew a perfect line every single time.
Other Common Seam Allowances
While 5/8" and 1/4" are the big two, you'll definitely come across a few others depending on what you're making.
- 3/8 inch (1 cm): This is a popular choice for enclosed seams, like on a shirt collar or cuff, where the raw edge is hidden inside. It’s also the go-to when sewing with a serger, as the machine stitches and trims the edge all in one go.
- 1/2 inch (1.25 cm): A great all-rounder, this width is common in home decor projects like cushions or curtains. It provides good strength without adding too much unnecessary bulk.
The Bottom Line: Choosing a seam allowance is a trade-off between strength and function. Garments need wider allowances for durability, while quilting requires narrow ones for precision. The golden rule? Always, always check your pattern's instructions before you even think about cutting your fabric.
Tools and Tricks for Sewing Perfect Seam Allowances
Nailing a consistent seam allowance isn't some magical skill you're born with. It really comes down to having the right tools for the job and a few clever tricks up your sleeve. Whether you use a simple marker or a special add-on for your machine, you can get straight, accurate, and professional-looking seams every single time.
Often, a perfect seam starts before you even power on your machine. Grabbing a simple tool like tailor’s chalk or a disappearing ink pen to draw the seam line right onto your fabric gives you a clear, visible path to follow. This is a game-changer for beginners or when you're tackling tricky curves.
Using Your Sewing Machine as a Guide
Your sewing machine is your best friend when it comes to accuracy. Take a look at the metal plate under the needle—most machines have lines etched on it for common seam allowances like 1/4", 3/8", and 5/8". All you have to do is keep the raw edge of your fabric lined up with the correct mark as you sew.
For an even more foolproof guide, lots of sewists swear by a magnetic seam guide. This little gadget sticks right to your machine’s throat plate, creating a physical ridge for your fabric to butt up against. Just position it at the right width, and you can sew with confidence, knowing your seam will be perfectly straight.
In Canada's thriving $1.0 billion fabric and sewing supplies market, having the right gear can make all the difference, for pros and hobbyists alike. For quilters, a 1/4-inch foot isn't just a luxury—it's essential for the incredible precision their craft demands. You can read more about the growth in sewing supplies from these insights at ibisworld.com.
Pro Tip: Don't have a special guide? No problem! Stack a few sticky notes or place a strip of painter's tape on your machine at the correct measurement. This creates a simple raised edge that works just as well.
Specialized Presser Feet
If you’re after ultimate precision, specialized presser feet can do all the heavy lifting for you. A 1/4-inch quilting foot is practically a non-negotiable for quilters, thanks to its built-in guide that makes sewing narrow seams almost automatic.
Other feet, like an edgestitch foot or an adjustable guide foot, offer similar perks for different sewing tasks. These tools are fantastic for building confidence and transforming wobbly lines into flawless seams on every single project.
How to Finish Your Seams for a Professional Look
Anyone can sew a straight line, but it's what you do with the seam allowance inside the project that really makes a difference. Finishing those raw fabric edges is the secret to creating garments that last and look beautifully made, not just thrown together.
Think about it: without a proper finish, those edges will fray and unravel, especially after a couple of tumbles in the washing machine. This step is what separates a truly handcrafted piece from something that just looks… homemade.
The good news is, you don't need a bunch of fancy equipment to get started. There are plenty of techniques out there for every skill level and type of fabric.
Simple and Effective Finishes
If you're just starting out, the easiest way to tackle fraying is with a pair of pinking shears. Those zig-zaggy blades do a surprisingly good job of minimizing loose threads on stable woven fabrics like cotton.
Another go-to method for beginners is the classic zigzag stitch on a standard sewing machine. All you have to do is run a wide zigzag stitch right along the raw edge of your seam allowance. It neatly catches the threads and keeps them from unravelling.
Of course, any good finish starts with an accurate seam. This simple workflow shows how it all comes together.
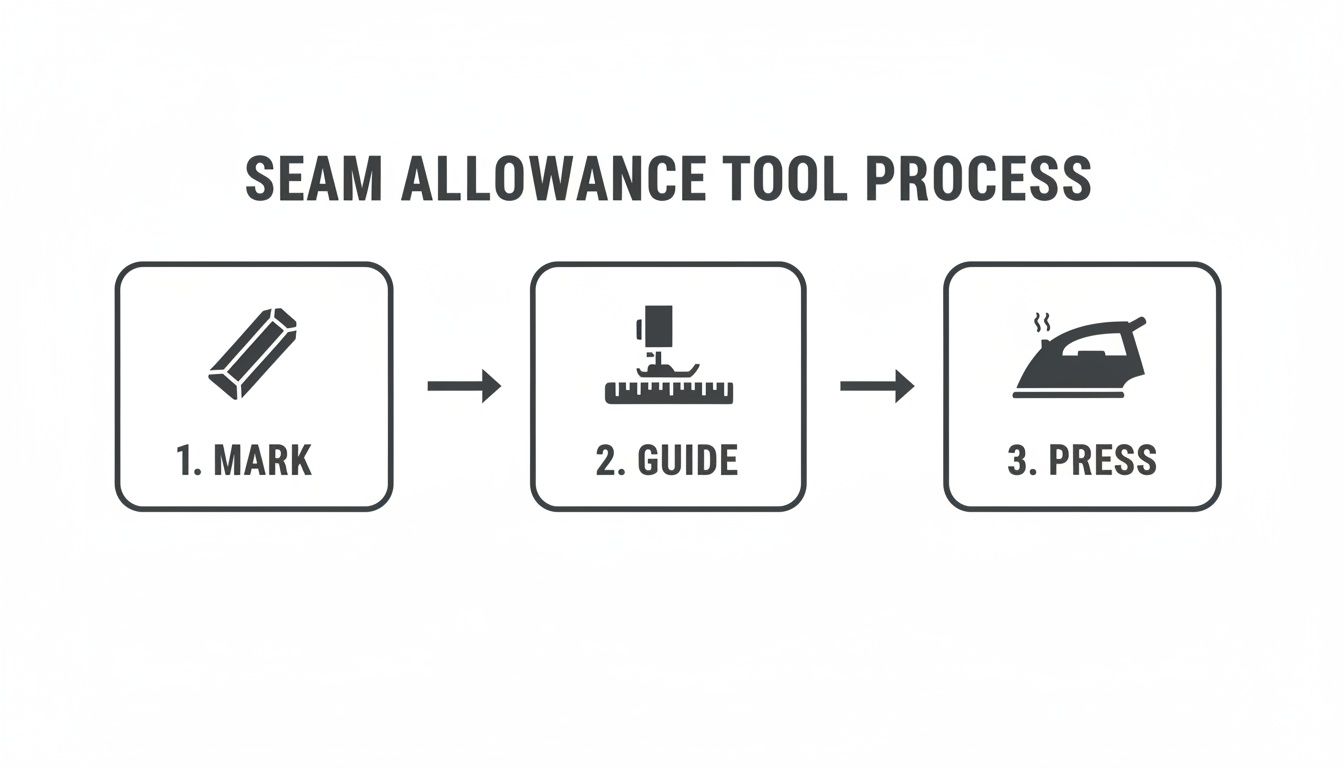
As you can see, getting it right begins with proper marking and guiding before you even start sewing.
Advanced Seam Finishes
Once you've got the basics down, you can move on to more elegant techniques that completely hide the raw edges for an incredibly polished look.
A French seam is an absolute game-changer for lightweight or sheer fabrics like chiffon and silk. It encloses the raw edge within another seam, creating a flawless finish where you see no messy threads on either the inside or the outside.
For something a bit more rugged, there's the flat-felled seam. You've seen this one a million times—just look at the seams on your favourite pair of jeans. It's a super strong, enclosed seam that’s perfect for heavy-duty projects that need to stand up to a lot of wear and tear.
Learning to match the right finish to the right project is a skill that will seriously elevate the quality and lifespan of everything you make.
Your Seam Allowance Questions Answered
Even with the best instructions, sometimes you just hit a snag in the middle of a project. Let's tackle some of the most common questions and practical problems that pop up when you're working with seam allowances. Think of this as your go-to troubleshooting guide.
Is Seam Allowance Always Included in Sewing Patterns?
Great question! For almost all commercial sewing patterns, the answer is yes. The seam allowance is already built right into the pattern pieces.
You’ll find the specific amount—usually 5/8 inch for clothing—listed on the pattern envelope or in the first few pages of the instructions. It's a good habit to double-check this before you even think about cutting into your fabric.
Occasionally, you might find that some independent or European patterns ask you to add your own seam allowance, but they will state this very clearly. And if you're a quilter, you can count on that standard 1/4-inch allowance being included almost universally.
How Can I Adjust Fit by Changing the Seam Allowance?
This is one of my favourite tricks for getting that "just right" fit. It's a simple way to make small adjustments without a full-blown pattern alteration.
If you need to make a garment a little smaller, just sew with a slightly wider seam allowance. For example, sewing at 3/4 inch instead of the recommended 5/8 inch will subtly take the garment in. To add a bit of extra room, you can do the opposite and sew a narrower seam, like at 1/2 inch.
Keep in mind, this works best for minor tweaks. For any major changes in fit, it’s always a better idea to alter the paper pattern pieces first.
Uneven seam allowances are a common source of sewing frustration. They can cause seams to pucker, prevent pieces from aligning properly, and will ultimately alter the final fit and dimensions of your project.
What Happens If My Seam Allowance Is Uneven?
An inconsistent seam allowance is a sneaky problem that can throw off your whole project. When your seam line wanders, it becomes nearly impossible to line up connecting pieces, which often leads to puckering, mismatched details, and a finish that doesn't look quite right.
More importantly, it directly changes the finished size of your garment. In quilting, for instance, even a tiny deviation from your 1/4-inch seam can result in blocks that are all slightly different sizes. This is what causes a quilt top to not lie flat and those beautiful points to not match up. Using a seam guide on your machine is the easiest way to keep things straight and accurate.
Do I Need a Special Presser Foot for a Perfect Seam?
While you don't need one, specialized presser feet can make getting a perfect seam almost effortless. A 1/4-inch quilting foot, for example, is considered a must-have by most quilters because it has a built-in guide that your fabric edge just glides along.
Other helpful options include an edgestitch foot or an adjustable guide foot. That said, you can absolutely achieve a great seam with the standard presser foot that came with your machine. Just take a look at the markings on it and learn to line up your fabric edge with the correct one.
Whether you need a new presser foot, expert machine advice, or the perfect fabric for your next project, All About Sewing has the tools and expertise to help you succeed. Explore our collection at https://all-about-sewing-canada.myshopify.com.


