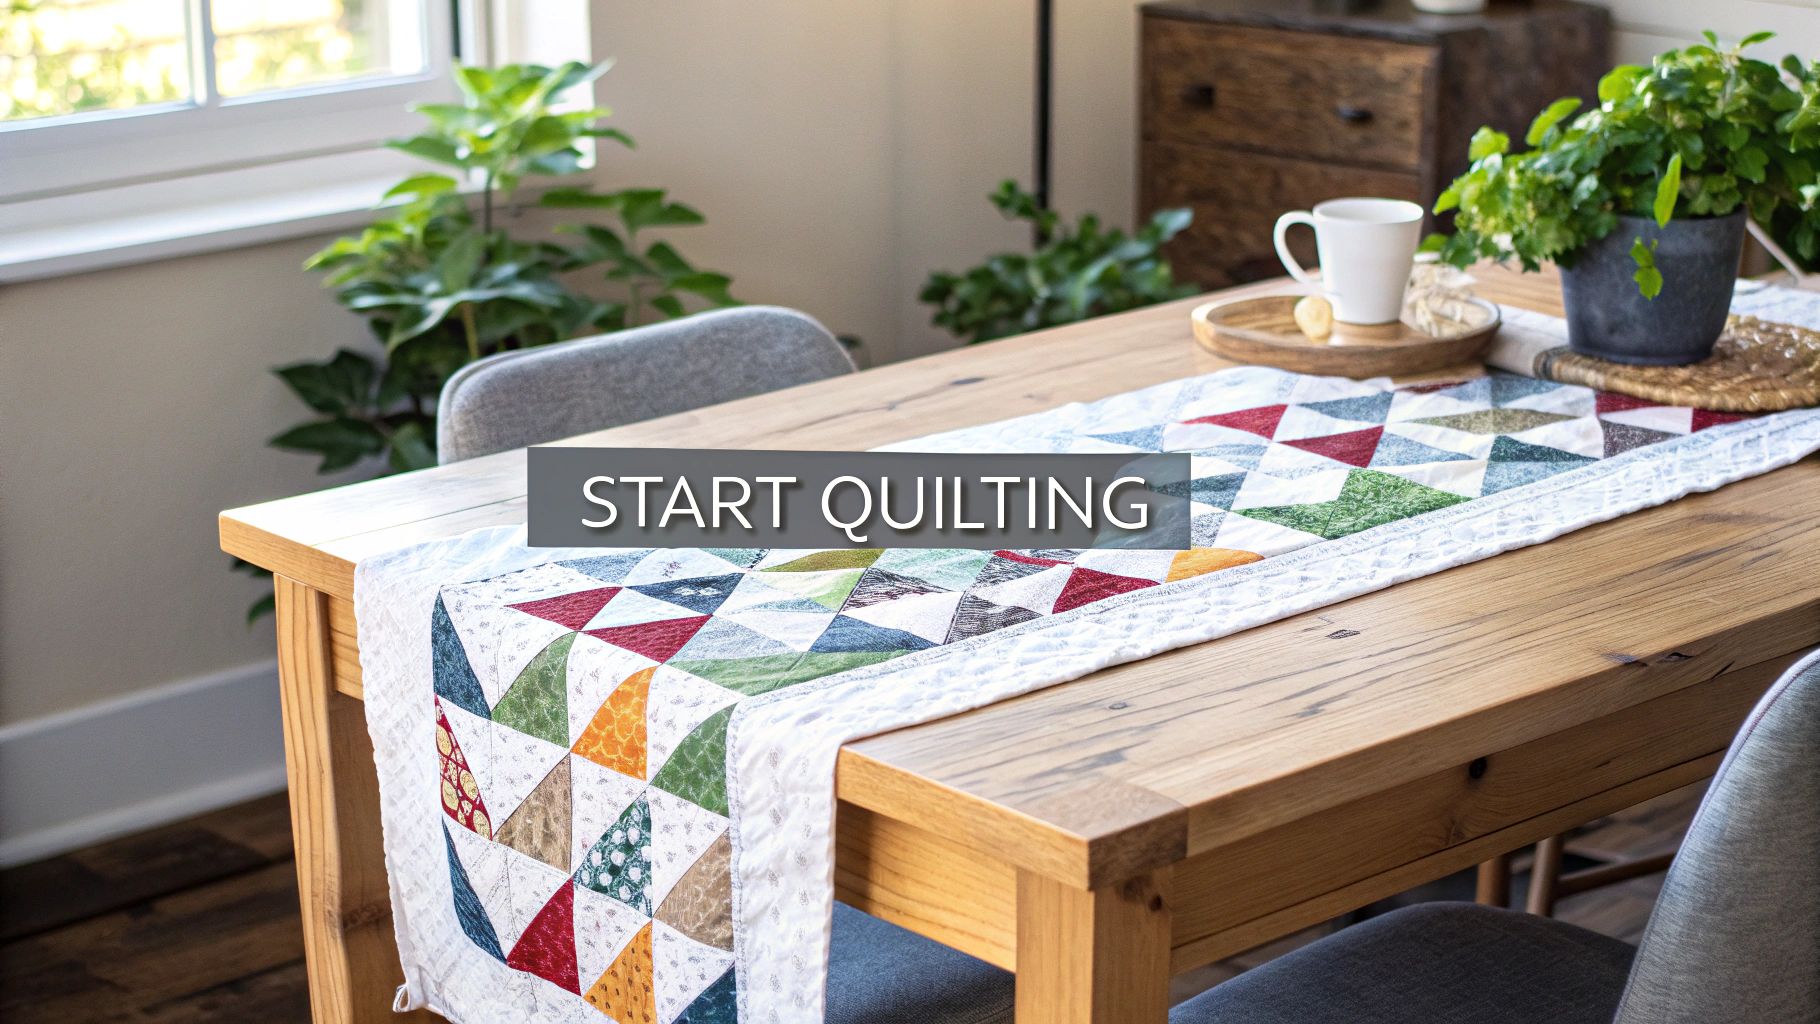
Create a Stunning Quilt Table Runner From Start to Finish
A quilt table runner isn't just a piece of fabric; it's a small work of art for your home that’s surprisingly fun to make, no matter your skill level. It's the perfect project for a quick creative fix, letting you sharpen skills like piecing, quilting, and binding without the commitment of a full-size quilt.
Think of it as a chance to add a truly personal, handmade touch to your dining room or coffee table.
Your Journey to Crafting a Quilted Table Runner
Ready to turn a few pieces of fabric into a gorgeous centrepiece? Making your own quilted table runner is one of the most rewarding ways to dip your toes into quilting or to test out a new block design you've been eyeing. A big quilt can feel like a marathon, but a table runner is a weekend sprint—you get that amazing feeling of a finished project in just a day or two.
This little project is your playground. It’s the perfect excuse to experiment with that bold colour palette you’ve been nervous about or to finally use those precious fabric scraps you couldn’t bear to throw away. The end result is something you can show off in your own home or give as a heartfelt, custom gift for a housewarming, birthday, or holiday.
Why Start with a Table Runner?
If you're new to quilting, a table runner is the ideal place to start. The smaller scale makes it feel much less daunting and a whole lot friendlier on your wallet than a bed-sized quilt. It lets you really hone in on the core skills without feeling overwhelmed. It's like a mini-masterclass in quilting where you can build your confidence.
You'll get hands-on practice with:
- Accurate Cutting: Getting comfortable and precise with a rotary cutter and ruler.
- Consistent Seam Allowances: Nailing that all-important quarter-inch seam.
- Basic Quilting Techniques: Trying out simple straight-line quilting or other easy patterns.
- Binding Application: Learning to finish your edges for a clean, professional look.
Consider this guide your friendly quilting companion. I'll walk you through every single step, from picking your materials to putting in that final stitch, sharing practical advice and little tips I've learned along the way.
It’s a great time to be a quilter! The community is growing like crazy, with more and more people discovering the joy of creating with fabric. The North American quilting market now includes an estimated 10-12 million active quilters, and the industry is on track to hit nearly $5 billion. You’re joining a wonderful community of makers, and this guide is the perfect place to start. If you're curious, you can find more details in the quilting market survey results from 2021.
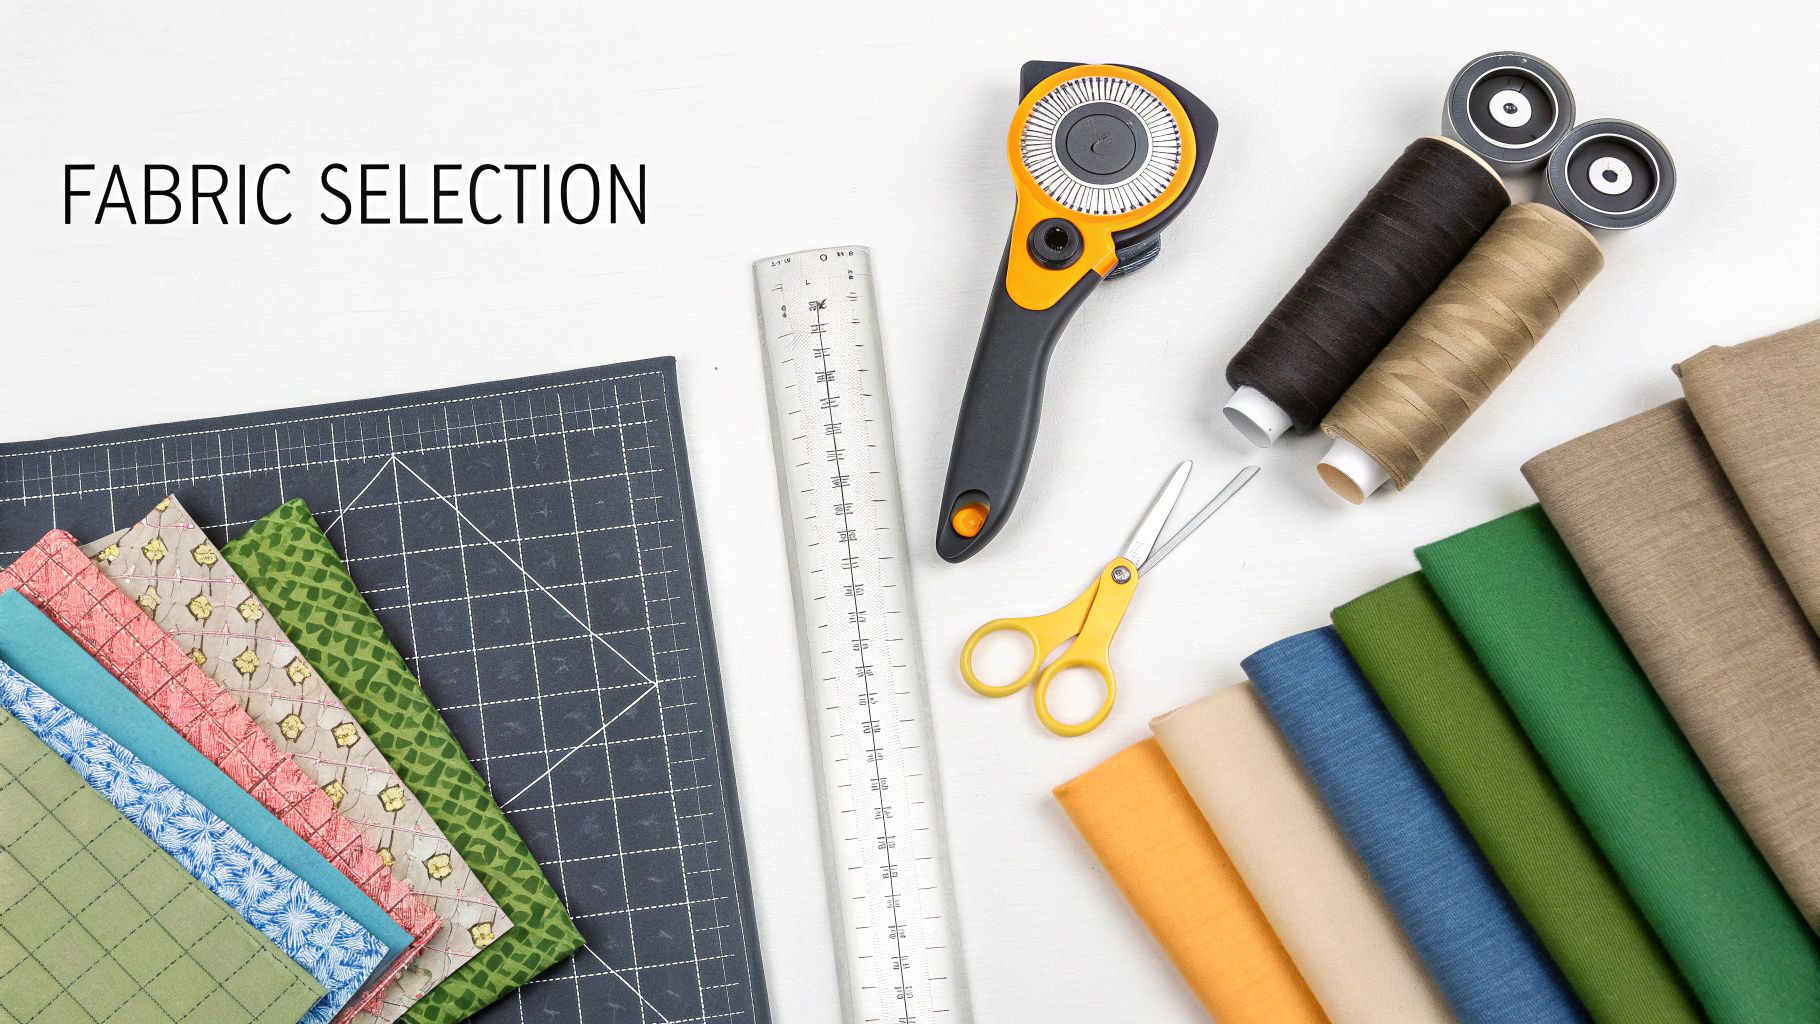
Choosing Your Fabrics and Essential Supplies
This is where the real fun begins. Picking out the fabric is your chance to give your table runner its personality. Are you matching your dining room decor, celebrating a holiday, or just playing with colours that make you happy? Think of it as curating a little work of art for your table.
The fabrics you choose set the entire mood. A handful of well-chosen prints and solids can transform a simple design into something truly special, whether you're going for a bright spring look or a cozy autumn vibe.
Selecting The Perfect Fabric
Walking into a fabric shop can feel a bit overwhelming, but for a table runner, there's one clear winner: 100% quilting cotton. It's designed specifically for what we're doing. It holds a press beautifully, has a stable weave that doesn't stretch out of shape, and is a dream to sew with.
Plus, the sheer variety is incredible. You can find anything and everything. For a modern farmhouse look, you might grab some neutral solids, a classic gingham, and a few subtle floral prints. Making a Christmas runner? That's your green light to go for those fun prints with metallic gold accents.
Don't be shy about mixing and matching. A great way to build a fabric collection for a project is to start with one "hero" print—that one fabric you just absolutely love. From there, pull coordinating solids, blenders, and smaller prints that pick up on the colours in your main fabric. It’s a foolproof way to get a look that’s cohesive but still visually interesting.
Understanding Batting Choices
Batting is the unsung hero of your quilt project. It's the middle layer you don't see, but it completely dictates the weight, warmth, and final texture of your table runner. What you pick really depends on the look and feel you're after.
Here are the most common options you'll run into:
- 100% Cotton Batting: This is my personal favourite for table runners. It drapes nicely, has a low loft (meaning it’s thin), and lets the runner lie flat on the table. After the first wash, it shrinks just a tiny bit, giving you that classic, crinkly quilt texture we all love.
- Polyester Batting: If you want a bit more puffiness, poly is a good choice. It's lightweight, resists wrinkles, and is usually a bit cheaper. It doesn’t shrink, so your runner will keep a smoother, more modern look over time.
- Cotton/Poly Blends (80/20): This is a fantastic all-rounder. You get the soft, natural feel of cotton with the stability and slightly higher loft of polyester. It’s a reliable choice that works for just about anything.
- Wool Batting: For a runner with a truly luxurious, soft feel and beautiful loft, wool is a wonderful option. It creates gorgeous stitch definition when you quilt it, though it’s a bit of a specialty choice.
Pro Tip: For a table runner, you almost always want a low-loft batting. A puffy, high-loft batting can create an unstable surface, which is bad news for wine glasses and vases. Stick with cotton or an 80/20 blend to ensure your runner is both beautiful and functional.
Your Essential Supply Checklist
Gathering your tools before you start makes the whole process so much more enjoyable. While you can get by with just the basics, a few specific tools will make a huge difference in how professional your finished runner looks.
The Non-Negotiables:
- Rotary Cutter and Self-Healing Mat: This combo is the key to getting fast, perfectly straight cuts. A sharp 45mm rotary cutter is the workhorse of most quilters' toolkits.
- Quilting Ruler: A clear 6" x 24" acrylic ruler is essential. It lets you see the fabric underneath, making it easy to cut long strips and square up your work accurately.
- Sewing Machine: No need for a fancy machine! As long as it can sew a reliable straight stitch and is in good working order, you're all set. Pop in a new needle before you start.
- Quality Cotton Thread: A good 50-weight 100% cotton thread is perfect. It’s strong enough for piecing but won’t add extra bulk to your seams. A neutral colour like grey, cream, or off-white works with almost anything.
Tools That Make Life Easier:
- Walking Foot: If you plan on quilting the runner yourself on your machine, a walking foot is a game-changer. It evenly feeds all three layers of your quilt sandwich through the machine, preventing those dreaded puckers and shifting.
- Iron and Ironing Board: You'll be pressing your seams constantly. A good steam iron is your best friend for getting those seams perfectly flat and crisp.
- Fabric Scissors: Even with a rotary cutter, a sharp pair of scissors is a must-have for snipping threads and trimming small bits.
- Seam Ripper: Let's be real, mistakes happen! A sharp seam ripper will help you undo stitches cleanly without damaging your precious fabric.
Once your fabrics are chosen and your tools are ready to go, you're all set for the really exciting part: cutting your fabric and starting to piece your design together.
Cutting and Piecing Your Quilt Top with Confidence
With your beautiful fabrics picked out and your tools at the ready, it’s time for the magic to happen. This is where we bring your design to life, transforming individual fabric pieces into a stunning, cohesive quilt top. A little precision and patience here will pay off big time, laying the foundation for a professional-looking quilt table runner.
If there's one skill to truly master, it's sewing an accurate quarter-inch seam allowance. It might sound like a tiny detail, but it affects everything—from how your points match up to whether your finished runner lies flat. Think of it as the secret ingredient that makes patchwork click together perfectly.
Mastering Accurate Fabric Cutting
Before you even think about sewing, your project’s success begins with the cut. I’ve learned the hard way that imprecise cuts lead to serious frustration down the line, causing blocks to be the wrong size and seams to go wonky. Let’s make sure that doesn’t happen to you.
First things first: always use a sharp blade in your rotary cutter. A dull blade is your enemy—it will drag, skip, and leave you with jagged edges and inaccurate pieces. If you find yourself pressing harder than usual or the blade isn't slicing cleanly on the first pass, it's definitely time for a new one.
When you're cutting, always trust the lines on your ruler, not just the ones on your cutting mat. Your quilting ruler is the source of truth here. Line up your fabric edge with a ruler line, and make your cut right along the ruler’s edge. For smaller pieces like squares, the most efficient and accurate method is to cut your fabric into strips first, then sub-cut those strips into squares.
The All-Important Quarter-Inch Seam
In the quilting world, the standard seam allowance is a scant quarter inch—which is actually just a hair less than a true ¼ inch. Nailing this measurement consistently is what makes or breaks a pieced project. If your seams are too wide, your blocks will shrink; too narrow, and they'll end up too big.
So, how do you get it right every single time?
- Use a Quarter-Inch Foot: This is the easiest, most reliable way. Most sewing machines have an optional presser foot with a built-in guide that runs along the edge of your fabric, doing the work for you.
- The Tape Trick: No special foot? No problem. You can make your own guide. Just place a quilting ruler under your machine's needle and lower it until it rests on the ¼-inch line. Then, stack a few layers of painter's tape or washi tape right up against the ruler's edge. Voilà—you've got a raised guide to run your fabric against.
My Personal Tip: Before you start sewing your actual project pieces, always run a test seam with a couple of scraps from your project fabric. Grab a ruler and measure the result to make sure your setup is giving you the right size. This five-minute check can honestly save you hours of ripping out seams later.
Piecing a Simple Patchwork Top
Let's walk through putting together a simple patchwork design, which is a fantastic starting point for any quilt table runner. We’ll assume you're working with simple squares arranged in rows.
First, lay out all your cut squares on a design wall, a flannel sheet tacked to the wall, or even just a large, clean patch of floor. This lets you see the whole design at once and play around with the placement before you commit. This part is pure creative fun, so take your time until you have a layout you absolutely love.
Once you’re happy with the arrangement, you'll start sewing the squares into rows. I like to work one row at a time, moving from left to right. Place the first two squares with their right sides together and sew your quarter-inch seam along the right edge. Now, without cutting the thread, just feed the next pair of squares through your machine. This technique is called chain piecing, and it's a game-changer for saving time and thread.
After you’ve sewn all the pairs in a row, snip the threads connecting them. Now, it's time to head to the ironing board.
The Art of Pressing Seams
How you press your seams is just as critical as how you sew them. Good pressing habits reduce bulk, help your points match up perfectly, and ensure your quilt top lies beautifully flat. For most patchwork, the standard is to press seams to one side.
Here’s a trick I swear by: when joining the squares in a row, I press all the seams in one direction (say, all to the right). Then, for the very next row, I’ll press all the seams in the opposite direction (to the left).
Why bother? When you go to join these two rows, the seams will "nest" together. You’ll literally feel them lock into place, which is the secret to getting those perfect four-corner intersections where all your points meet flawlessly. Remember to press the fabric by lifting and setting the iron down; avoid ironing by dragging it back and forth, as that can easily stretch your carefully cut pieces out of shape.
Finally, you’ll join your completed rows. Place two rows with their right sides together, nesting the seams as you go. I always pin at each intersection to make sure nothing shifts. Sew a long, straight seam to connect the rows, then press this new seam open or to one side. Repeat this process until all your rows are joined, and just like that, you have a gorgeous quilt top for your table runner.
You've pieced your top, and it looks fantastic. Now for the magic trick: turning that flat patchwork into a real quilt. This is where we build the "quilt sandwich," which is just quilter-speak for the three layers that give your runner its classic texture and squishiness. Getting these layers properly secured is the secret to smooth, pucker-free quilting that really lets your design shine.
The quilt sandwich is simple. You’ll have three layers stacked in a very specific order: first, your backing fabric (pretty side facing down), then the batting in the middle, and finally, your pieced quilt top (pretty side facing up). That’s it! This little stack is the foundation for everything that comes next.
Assembling the Quilt Sandwich
Before you start pinning or gluing these layers together—a process called basting—a little prep work will save you a world of headaches. Find a big, flat surface, like a clean floor or a large dining table. Lay your backing fabric down first. Using painter's tape, gently pull the fabric taut and tape it down at the corners and along the sides. You want it smooth and flat, but not stretched out of shape.
Next, centre your batting on top of the secured backing. Smooth it out with your hands, working from the middle outwards to get rid of any sneaky wrinkles. Finally, place your pieced quilt top on top of the batting, again smoothing it from the centre to the edges. Your quilt sandwich is now ready for basting.
Picking a Basting Method
Basting is what holds all three layers together so they don't shift around while you're quilting. There are a few ways to do it, and each has its fans. For a manageable project like a quilt table runner, you’ve got options.
- Pin Basting: This is the old-school, tried-and-true method. You use special curved safety pins made for quilting and place one every few inches through all three layers. It's cheap and effective, but it can be tough on your fingers, and you have to remember to pull the pins out as you sew.
- Thread Basting: Some quilters swear by using a big needle and thread to make long, loose stitches across the quilt sandwich. It holds things incredibly securely, but it’s probably the most time-consuming method.
- Spray Basting: This is my absolute favourite for smaller projects like this. A temporary spray adhesive made for fabric holds the layers together like a dream, with no pins to get in the way. It’s fast, gives you a perfectly smooth surface for quilting, and just makes the whole process easier.
For a table runner, I really recommend spray basting. It gives you a nice, even hold across the whole surface, which is exactly what you want for crisp, straight quilting lines. Just make sure you do it in a well-ventilated space and put some newspaper down to protect your floor from overspray.
Getting Your Machine Ready to Quilt
With your quilt sandwich basted and secure, it's time to head to your sewing machine. The quilting stitches are what permanently join the layers and add that gorgeous texture. Don't feel pressured to do something complicated; simple, straight lines often look the most elegant.
A few quick machine tweaks will make a world of difference.
- Attach a Walking Foot: Honestly, this is the most important tool for straight-line quilting. A walking foot has its own set of feed dogs on top that work with your machine's feed dogs to grip and pull all three layers through at the same time. It's your best weapon against puckers and shifting fabric.
- Use a Fresh Needle: Always start with a new needle. A size 80/12 or 90/14 quilting needle is perfect for punching through the cotton and batting without any trouble.
- Lengthen Your Stitch: A slightly longer stitch looks much better for quilting. I usually set my machine to a stitch length of 2.5 mm to 3.0 mm. It defines the stitches nicely and handles the bulk of the quilt better.
Quilting Beautiful, Simple Straight Lines
Straight-line quilting is a timeless choice for a table runner. It adds lovely texture without fighting with your patchwork design. You can stitch lines that echo your seams, or create a modern-looking grid by quilting on a diagonal.
My go-to trick for perfectly spaced lines is using painter's tape as a guide. It sounds too simple, but it works! Lay a strip of tape right where you want your first line of stitching. Sew right along the edge of the tape. When you're done, just peel it off and place it next to the line you just sewed to guide your next one. It’s a low-tech hack that delivers incredibly professional results.
Another great option is "stitch-in-the-ditch" quilting. This is where you sew directly in the seam lines—the "ditch"—of your piecing. It’s a very subtle approach where the quilting stitches almost disappear, letting the patchwork be the star of the show.
As you quilt, just focus on guiding the runner with your hands, not pushing or pulling it. Let the walking foot do the hard work. Support the weight of the fabric and keep a gentle, even pace. With every line you stitch, you'll see your flat patchwork transform into a beautifully textured, finished quilt.
Giving Your Runner a Professional Finish with Binding
Alright, we're on the home stretch! The final touch for any quilt project is the binding. Think of it as the picture frame for your beautiful patchwork—it neatly encases all the raw edges and gives your table runner a durable, polished look that’s ready for its debut.
Before you even think about attaching the binding, your first job is to square up your runner. This means trimming off all the excess batting and backing fabric. Grab your long quilting ruler and a sharp rotary cutter, and carefully slice along the edges until they're perfectly straight and flush with your quilt top. A truly square project is the secret to a flawless binding every single time.
This image below gives a great overview of the "quilt sandwich" stage, which comes right before you trim and bind.
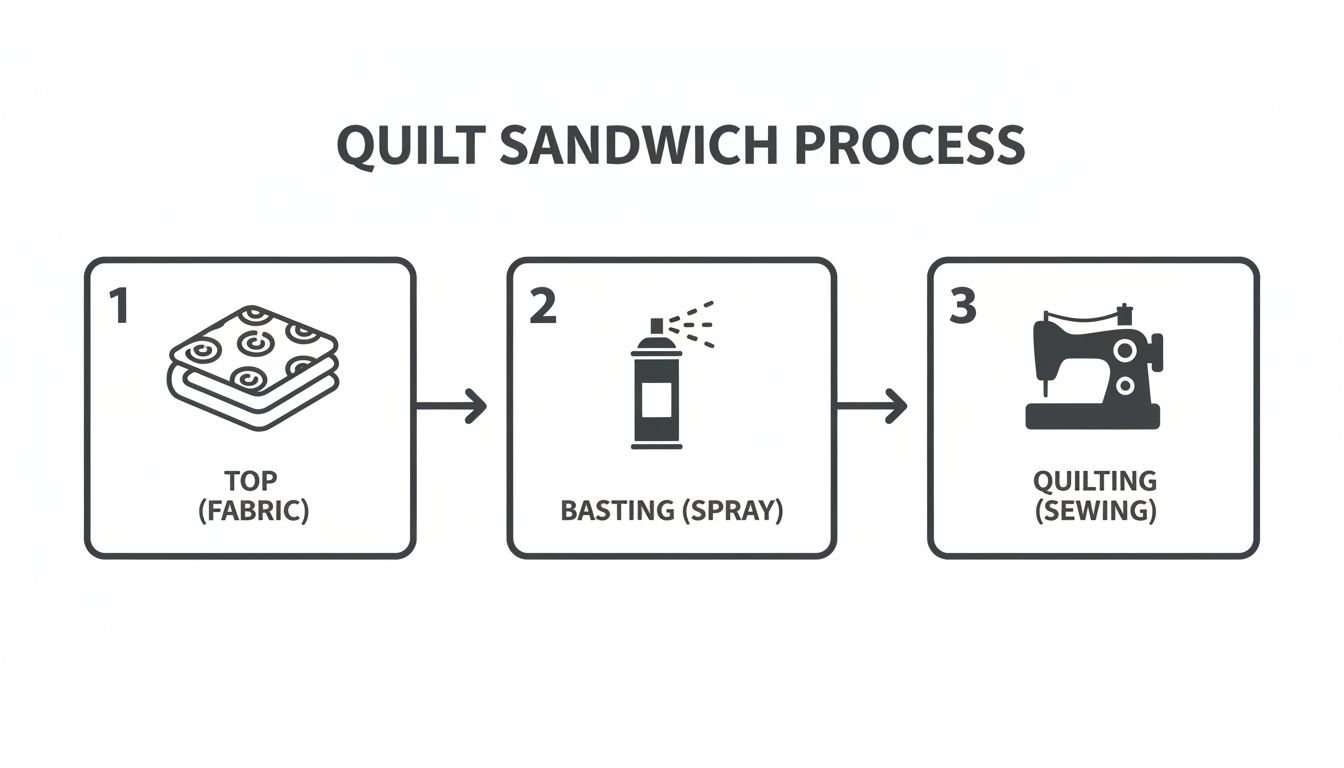
You can see how the top, batting, and backing are layered and then quilted together. This creates the stable foundation you'll be working with now.
Getting the Binding Ready to Attach
For a project like a table runner, a binding strip width of 2.5 inches is my go-to. To figure out the total length you'll need, just measure the entire perimeter of your runner (all four sides added together) and then add an extra 10-12 inches to be safe. This little bit of extra fabric is crucial for joining the ends and neatly turning the corners without any stress.
Next, cut enough 2.5-inch strips from your binding fabric to match that total length. You'll join these shorter strips together end-to-end with a diagonal seam to create one continuous piece. Why diagonal? Because it distributes the bulk of the seam, so you don't get a lumpy, obvious bump on the edge of your finished runner.
Once your long strip is pieced together, press it in half lengthwise with the wrong sides of the fabric facing each other. This folded strip is your binding! Now, you're ready to attach it to the front of your table runner. Just line up the raw edges of the binding with the raw edge of your runner. I can't recommend a walking foot enough for this step—it pulls all the layers through your machine evenly, preventing any puckering.
How to Get Those Perfect Mitered Corners
Those crisp, professional-looking corners might seem tricky, but they're surprisingly simple. It all comes down to stopping at the right spot and making one simple fold.
Here’s the method that's never failed me:
- Stop before the edge: As you approach a corner, stop sewing exactly a quarter inch before you hit the edge. Backstitch once to lock in your stitches.
- Fold up: Take the runner out from under the needle. Fold your binding strip straight up and away from the runner, creating a neat 45-degree angle at the corner.
- Fold down: Now, fold the binding strip straight back down so it lines up with the next side of your runner. The fold you just made should be tucked right underneath, and the top edge of your binding should now be flush with the raw edge of the new side.
- Start sewing again: Begin sewing right from the very top edge of this new side. That little tucked-in fold is what magically creates the perfect miter when you flip the binding to the back later on.
Your beautiful handmade runner is more than just a creative outlet; it's part of a massive global market. The table linen industry was valued at nearly $12.94 billion USD in 2024, and it's expected to keep growing. North America is a huge player in this market, which shows just how much we appreciate quality textiles in our homes. You can dig into more details by checking out the global table linen market projections on zionmarketresearch.com.
The Final Finishing Touches
With the binding stitched to the front of your runner, it's time for the very last step: wrapping it around to the back and securing it down. You've got two great options here, and your choice really just depends on the look you want and how much time you have.
For a classic, invisible finish, hand-stitching is the way to go. You’ll use a simple blind stitch (sometimes called a ladder stitch) to tack the folded edge of the binding to the backing fabric. It takes a little longer, for sure, but the result is a gorgeous, heirloom-quality finish where you can't even see the stitches.
For a faster, super-durable finish, you can use your machine. Simply "stitch-in-the-ditch" from the front. This means you’ll sew directly in the seam line where the binding meets the quilt top, which catches the edge of the binding on the back. It creates a strong, clean line and is perfect for a runner that’s going to get a lot of love, use, and washes.
Your Top Quilt Table Runner Questions Answered
When you first start a new project like a quilted table runner, it's natural to have a few questions pop up. I’ve been there! I've put together answers to some of the most common queries I get from fellow quilters to help you sidestep any little hiccups and get straight to the fun part.
Think of this as a chat with a friend who’s made a few of these before. We'll cover everything from sizing it just right to keeping those quilting lines perfectly straight.
What’s the Perfect Size for a Quilt Table Runner?
A great starting point is to make your runner about one-third the width of your table. As for the length, I like to have it hang over each end by about 6 to 12 inches. So, for a 60-inch table, a runner that’s anywhere from 72 to 84 inches long usually looks fantastic and well-proportioned.
But remember, these are just guidelines! Don't be afraid to play with the dimensions. Your runner should fit your table and your personal style, so feel free to make it your own.
Should I Pre-Wash My Fabric?
In a word: yes. I’m a big believer in pre-washing quilting cotton. It gets rid of any potential shrinkage that could warp your finished runner after its first trip through the laundry. Pre-washing also rinses out any factory chemicals and, crucially, helps prevent vibrant colours from bleeding onto your lighter fabrics.
A little tip I swear by: toss a colour catcher sheet in the wash, especially with bold reds or deep blues. It’s a cheap bit of insurance that has saved my projects more than once!
It's a great time to be making handmade decor, too. The global table runner market hit about $3.388 billion USD in 2024 and is only getting bigger, with North America leading the charge. If you're curious, you can read a detailed table runner market analysis on marketresearchfuture.com and see just how popular these projects are becoming.
How Do I Keep My Quilting Lines from Wiggling?
Ah, the quest for straight lines! Your best friend here is a walking foot. It’s an absolute must-have because it grips all three layers of your quilt sandwich and feeds them through your machine evenly, which prevents bunching and shifting. For perfectly spaced lines, a quilt guide bar that attaches to your presser foot is another fantastic tool.
If you're looking for a simpler trick, I often just use painter's tape. Lay a strip down on your fabric as a visual guide, stitch right along the edge, and then just peel it off. Easy and surprisingly effective!
At All About Sewing, we have all the tools and beautiful fabrics you'll need to bring your quilt table runner idea to life. Explore our collection of quilting cottons, notions, and high-quality sewing machines to get started on your next project today!


