

Upcycling Old Shirts Into Something New: Quick DIY Fashion Wins
That pile of old shirts shoved in the back of your closet? It's not just clutter—it's a treasure trove of possibilities waiting to happen. The idea of upcycling old shirts into something new is a simple yet brilliant way to breathe life back into garments you no longer wear. It’s more than just a crafty weekend project; it's a real, hands-on way to cut down on waste and create pieces that are uniquely you.
Giving Your Old Wardrobe a Second Life
Before we get our scissors and sewing machines out, let's talk about why reimagining what you already own is such a powerful move. Upcycling isn't just recycling; it's transforming something old into something of higher value. You’re not just saving a shirt from the bin—you're turning potential waste into a beautiful, functional item.
This is especially important with textiles. It’s pretty shocking, but here in Canada, we throw away around 500 million kilograms of textiles every single year. Research has shown that less than 1% of this fabric gets recycled, but over half of it could easily be reused, and another quarter could be turned into new materials. If you’re curious, you can learn more about Canadian textile waste and its untapped potential.
The Real Benefits of Upcycling
When you choose to upcycle your old shirts, you're doing more than just making something neat. You're making a statement against the endless cycle of fast fashion that pushes us to constantly buy new things.
The upsides are pretty clear:
- A Win for the Planet: You’re personally keeping clothes out of the landfill, which saves resources and shrinks your carbon footprint.
- Unleash Your Style: This is your chance to create truly one-of-a-kind pieces that you can't find in any store. It’s all about your personal taste.
- Build Real Skills: Every project, big or small, sharpens your sewing skills. You’ll get more confident with everything from basic stitches to working with tricky fabrics.
- Save Your Money: Why buy new fabric when you have a whole stash of it in your closet? It’s the most budget-friendly way to update your wardrobe or home.
Upcycling is the ultimate expression of creative sustainability. It’s not just about saving an old shirt from the landfill; it's about seeing the hidden potential in everyday objects and having the vision to turn it into something beautiful and useful.
What to Expect From This Guide
I’ve designed this guide to give you the confidence to start your own upcycling adventure. We're skipping the fluff and diving straight into practical, step-by-step tutorials that show you exactly what to do.
You'll learn how to turn a beat-up t-shirt into a sturdy tote bag or transform a beloved flannel into a cozy pillow cover. Think of each project as a building block for even more ambitious creations down the road. You absolutely don't need to be a professional tailor to start turning your old shirts into something amazing.
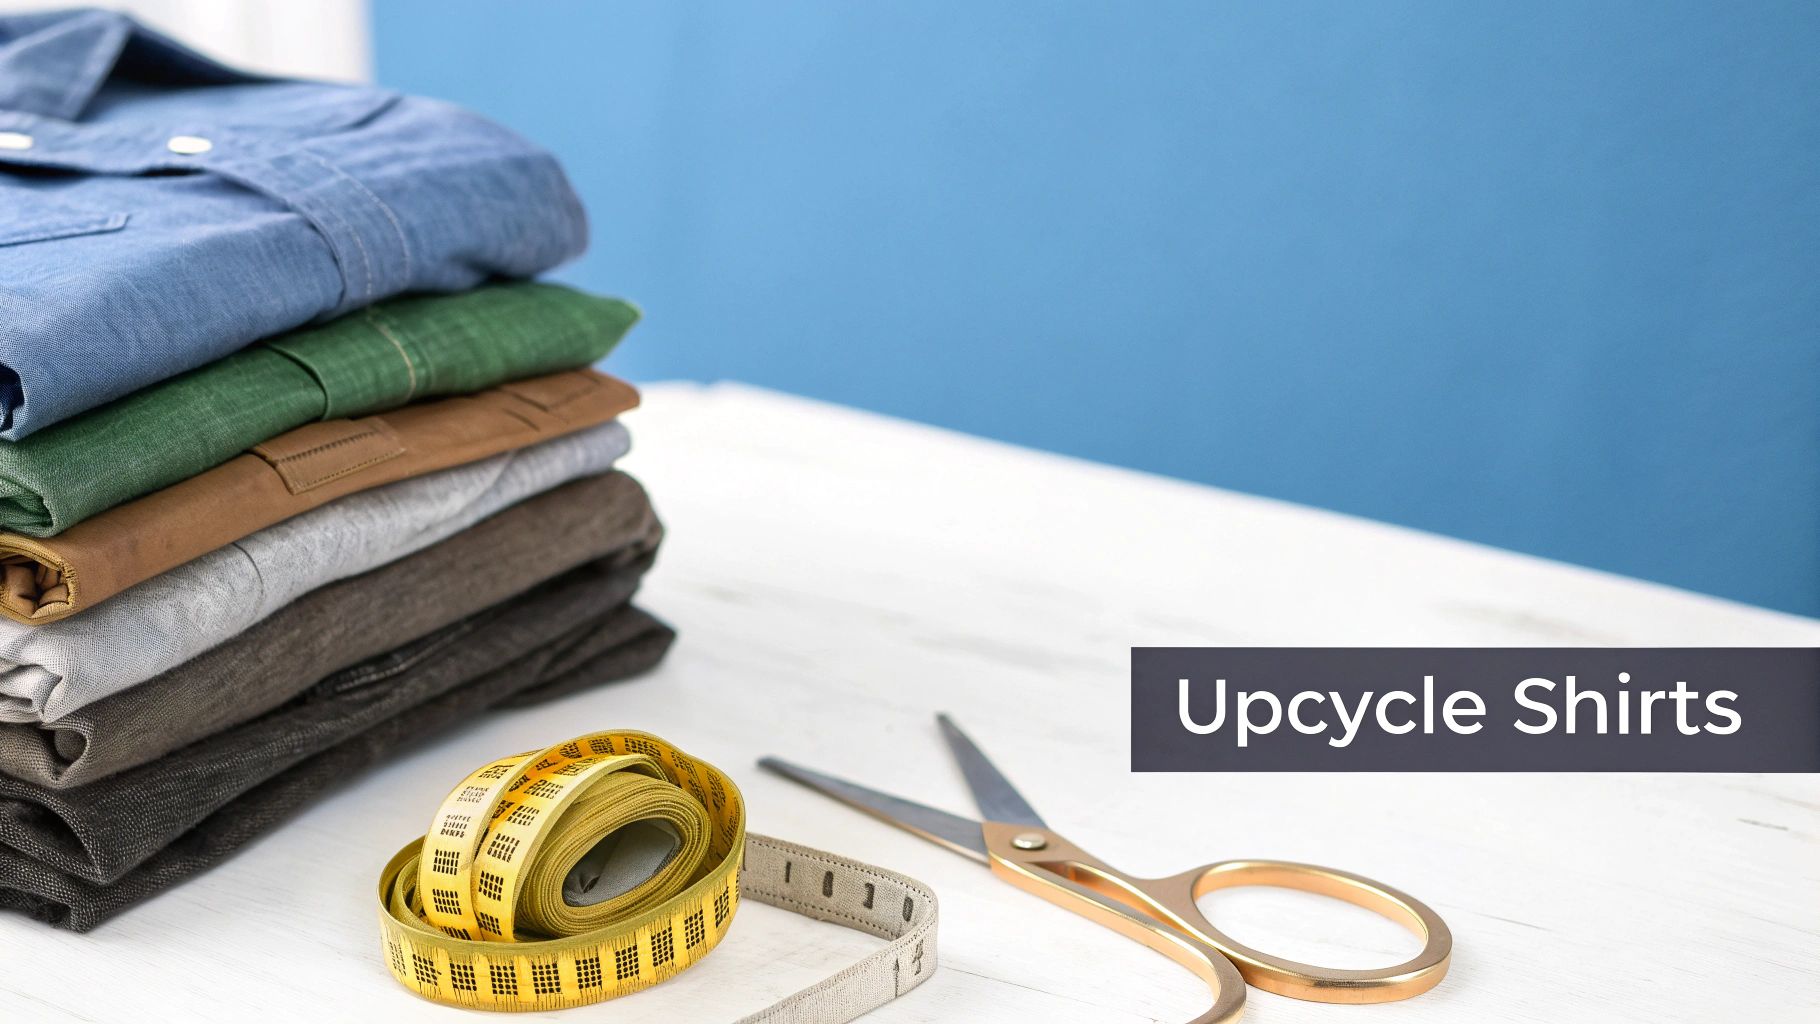
Getting Your Upcycling Workspace Ready
Before you make that first exciting snip into an old shirt, taking a few minutes to get your space sorted will make all the difference. Honestly, a well-organised workspace isn't just about saving time—it makes the whole creative process so much more enjoyable.
You don’t need a huge studio! A clean corner of your dining table works perfectly well. The real goal is just to have what you need within easy reach so you’re not breaking your creative flow to hunt for a pair of scissors.
The Essential Upcycling Toolkit
Every upcycling project, big or small, rests on a foundation of a few core tools. My best advice? Invest in quality basics from the get-go. Fighting with dull scissors or a wonky measuring tape is a surefire way to get frustrated and end up with a project you're not happy with.
Here’s a list of the absolute must-haves:
- Sharp Fabric Scissors: Keep these sacred! Use them only for fabric, as cutting paper or anything else will dull them in a heartbeat. A dedicated pair is key to getting those clean, satisfying cuts.
- A Reliable Measuring Tape: You'll need a flexible tape measure for everything from sizing up a garment to measuring curved pattern pieces accurately.
- Good Quality Pins or Clips: I love using sewing clips for thicker layers or fabrics I don't want to pierce (like vinyl or leather). But for standard cotton t-shirts, classic pins work just fine.
- A Seam Ripper: Let's be real, mistakes happen to all of us. A sharp seam ripper is your best friend for taking out stitches without wrecking your fabric.
These four items will see you through most of my beginner-friendly projects, from whipping up a simple tote bag to sewing some new pillow covers.
Taking Your Sewing to the Next Level
Once you get a few projects under your belt, you might start itching to tackle more ambitious designs or achieve that really polished, professional look. This is where a few extra tools come in handy, especially when you're working with the stretchy knit fabric that most t-shirts are made of.
A serger, for example, is a total game-changer. It trims the fabric edge and wraps it in a stretchy, durable seam all in one go—it’s that neat finish you see inside store-bought clothes. It’s fantastic for preventing fraying and making your upcycled items last so much longer.
Having the right setup transforms upcycling from a simple craft into a satisfying skill. A tidy workspace and the proper tools empower you to turn your creative vision into a tangible, well-made item you can be proud of.
Your sewing machine setup is just as crucial. For t-shirt material, always swap to a ballpoint or stretch needle. A standard needle can actually shred the delicate knit fibres, causing holes and runs. You'll also want to use a narrow zigzag stitch or a designated stretch stitch; this allows your seams to stretch right along with the fabric, so you don't hear that dreaded pop of a broken thread.
If you’re looking for more ways to create a great sewing nook, I’ve gathered some fantastic workshop bench ideas that you can adapt for any size of space.
To give you a better idea of what to get now versus what you can aim for later, I've put together a little comparison.
Your Essential vs. Advanced Upcycling Toolkit
This table breaks down the basic tools you need to get started on your upcycling journey versus the gear that will help you tackle more complex projects with a professional finish.
| Tool or Material | Beginner's Must-Haves | Seasoned Sewist's Gear |
|---|---|---|
| Cutting Tools | Fabric Scissors, Seam Ripper | Rotary Cutter, Self-Healing Mat |
| Sewing Machine | Standard Sewing Machine | Serger (Overlocker) |
| Needles | Universal Needles | Ballpoint/Stretch & Jean Needles |
| Pressing Tools | Standard Iron & Ironing Board | Tailor's Ham, Seam Roll |
Think of the "Beginner" column as your starting lineup. As you grow more confident and want to refine your techniques, you can slowly start adding items from the "Seasoned Sewist" side to your collection.
Project One: The Easiest T-Shirt Tote Bag
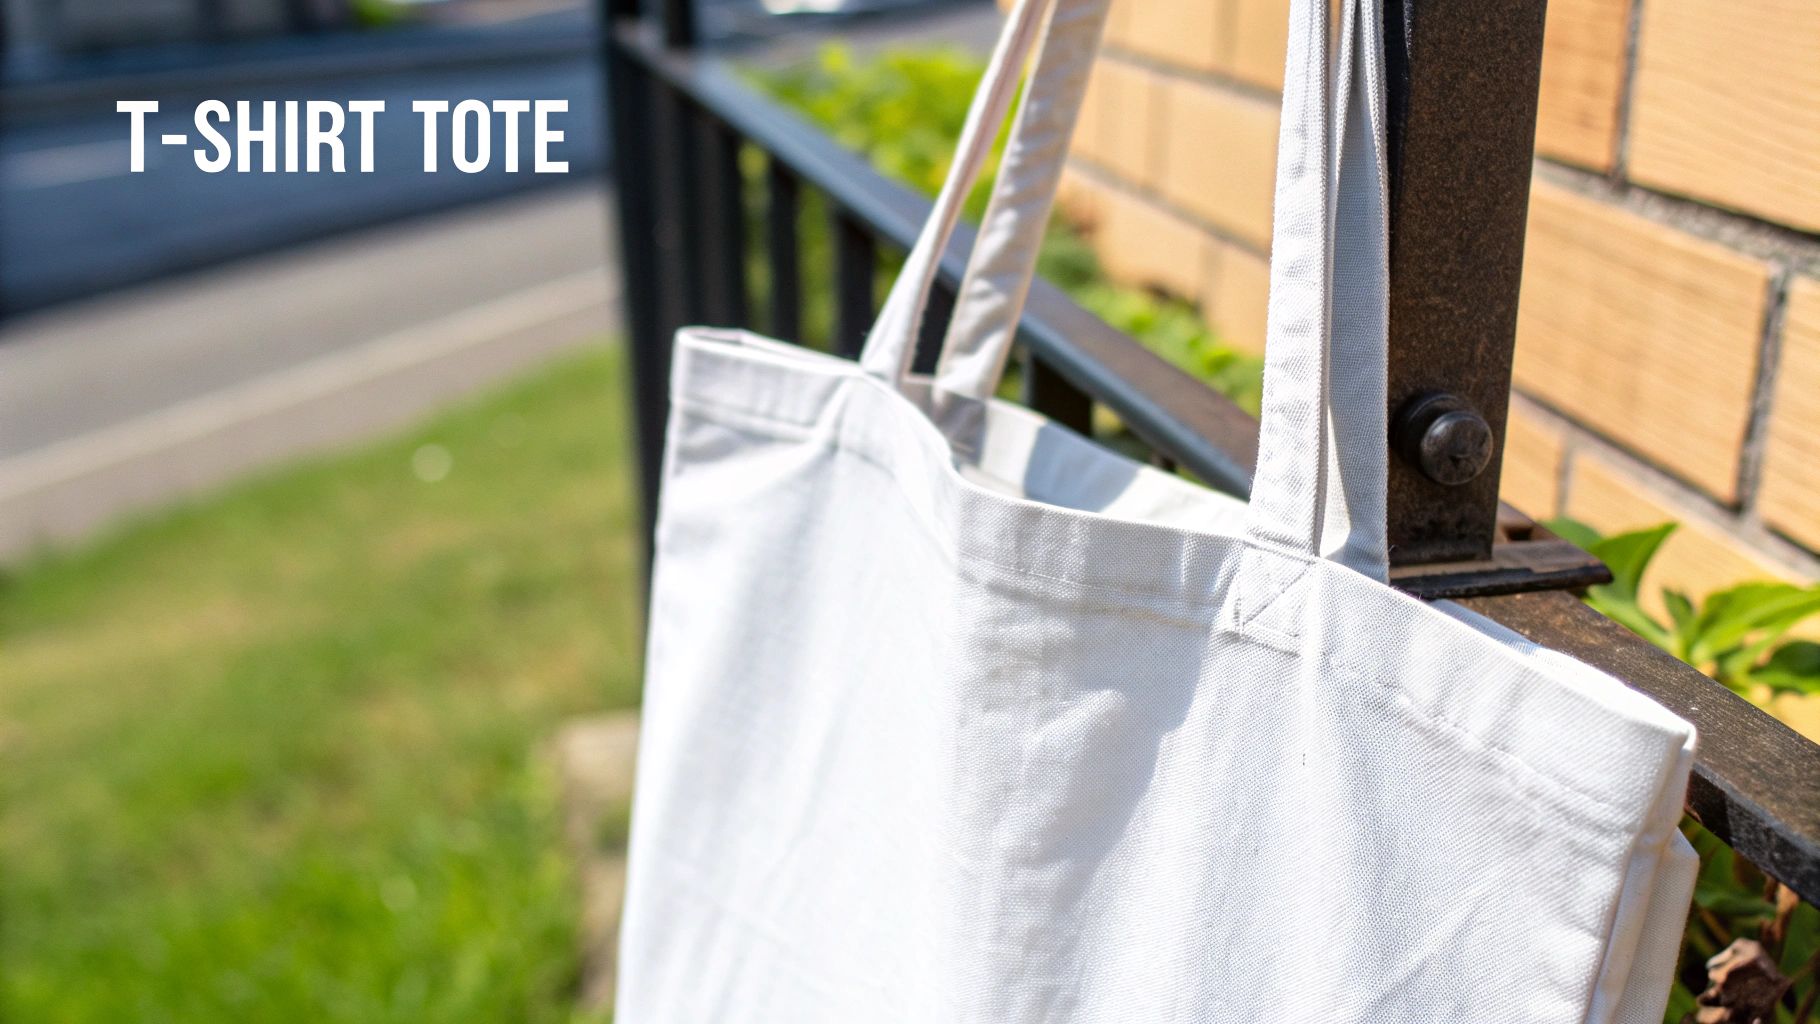
If you're looking for a project that delivers instant satisfaction, this is it. Transforming an old t-shirt into a functional tote bag is one of the quickest and most rewarding ways to begin upcycling old shirts into something new. It's the perfect way to spend a lazy afternoon and a fantastic method for giving a cool graphic tee a second life outside your closet.
This tutorial is designed to be incredibly simple, even if you’re new to sewing. We'll be making just a few strategic cuts and one strong seam to create a bag that’s surprisingly sturdy. It's an excellent confidence booster and will leave you with a practical item you can use for groceries, library books, or your daily essentials.
Selecting the Right T-Shirt
First things first, you need to pick your canvas. Not all t-shirts are created equal when it comes to making a durable bag, so a little thought here goes a long way. You’ll want to choose a shirt made from a medium to heavyweight cotton jersey.
Think about those old band t-shirts or souvenir tees that have a bit of structure to them. A thicker material holds its shape much better and provides more strength, which is exactly what you need for a bag that will carry more than just a feather.
Try to avoid using very thin, overly stretchy, or worn-out shirts. While they might seem soft and easy to work with, they can result in a floppy bag with handles that stretch out of shape the moment you put anything inside. A shirt that’s 100% cotton or a high-cotton blend usually works best.
Preparing and Cutting Your Fabric
Once you've picked the perfect t-shirt, lay it flat on a smooth surface and smooth out any wrinkles. Being precise now will make the sewing process much easier later. Your main goal is to create the bag's body and handles from the existing shape of the shirt.
Here's the cutting plan:
- Remove the Sleeves: Cut right along the seam of each sleeve to remove them completely. These cuts will create the openings for your tote bag handles.
- Widen the Neckline: Cut off the collar by trimming a deeper, wider scoop shape from the neckline. This makes the top opening of your bag nice and wide.
- Determine the Bag Depth: Decide how deep you want your bag to be and draw a straight line across the bottom of the shirt with a fabric marker or chalk. Remember to leave a few extra centimetres for the seam allowance!
My go-to tip for this part is to fold the shirt in half vertically before cutting the neckline and armholes. This simple trick ensures both sides are perfectly symmetrical, giving your finished tote a much more polished and professional look.
After these cuts, your fabric should look like a tank top. The two shoulder straps will become your handles, and the body of the shirt will form the main compartment of the bag.
Sewing Your Tote for Strength
With your t-shirt cut and ready, it's time to create the bottom seam. This is the most important part of the project because this seam will bear all the weight. Turn the shirt inside out so the wrong side of the fabric is facing you.
Line up the bottom edges you cut earlier, making sure they are perfectly even. I like to pin them together to stop the fabric from shifting while I sew. Since t-shirt fabric is a knit, you should use a ballpoint needle in your sewing machine to avoid snagging the fibres.
Set your machine to a narrow zigzag stitch or a stretch stitch. This is crucial because it allows the seam to stretch with the fabric, preventing the thread from snapping under pressure. Sew a straight line across the bottom edge, about 1.5 to 2 centimetres from the edge.
For extra durability, I highly recommend sewing over this seam a second time. A double-stitched bottom gives you peace of mind when you're carrying heavier items like a bottle of water or a few books. Once sewn, turn your bag right-side out, and it's ready to use!
This simple tote is just one of many possibilities. As your skills grow, you can discover more about the different types of bags you can create.
Project Two: The Cozy Flannel Cushion Cover
We all have one—that soft, worn-in flannel shirt that’s just too comfortable and full of memories to ever throw away. Let's give it a new lease on life by turning it into a charming, cozy cushion cover. It’s a beautiful way to keep a special garment close, transforming it into a piece of home decor that adds a rustic warmth to any sofa or bed.
The best part? We’re going to be clever about this. The shirt's original button placket will become the opening for the cushion. This little trick gives you a clean, professional-looking closure without the headache of sewing a zipper. It’s the perfect shortcut for a polished result and a great next step in your journey of upcycling old shirts into something new.
Choosing the Perfect Flannel
The heart of this project is the shirt itself, so pick one that feels right. I find a medium-weight flannel works best—it's soft enough for snuggling but durable enough to handle life on the couch. Before you commit, give the shirt a once-over for any really weak spots or holes that might not hold up.
But don't toss a shirt just because of a stained cuff or a frayed collar! We're only using the main body of the shirt, so damage in those areas won't matter at all. This is exactly what upcycling is about: seeing the potential in imperfect, well-loved items.
A Guide to Cutting Your Pieces
For this tutorial, we’ll be making a cover for a standard 45cm x 45cm (that’s about 18" x 18") square cushion insert. Before you even think about picking up your scissors, make sure to wash, dry, and iron the shirt. A smooth, pre-shrunk surface is your best friend for accurate cuts.
For the Front Panel
- First, button up the flannel shirt and lay it completely flat, front side up.
- Next, carefully measure and mark a 48cm x 48cm square. Take a moment to ensure the button placket runs perfectly down the centre.
- Once you’re happy with the placement, cut it out. This size includes a 1.5cm seam allowance on all sides.
For the Back Panel
- Now, flip the shirt over and use the back for this piece.
- Simply measure and cut another 48cm x 48cm square.
You should now have two identical squares: one with the button placket down the middle, and one solid piece.
Want to know the secret to a plump, professional-looking cushion? Always make the cover just a tad smaller than the insert. Our measurements create that perfect snug fit that banishes saggy corners for good, leaving you with a full and inviting pillow.
Assembling Your Cushion Cover
With your two fabric squares ready to go, it's sewing time. This part is quite straightforward, but moving slowly and deliberately will pay off with crisp corners and strong seams.
First things first: unbutton the top two or three buttons on your front panel. Trust me, you’ll thank yourself later when you're trying to turn it right-side out! Now, place the front and back pieces with their right sides facing each other. Line up all the edges neatly and pin them securely in place.
Using a simple straight stitch, sew around all four sides with a 1.5cm seam allowance. When you get to a corner, here's a handy trick: stop with the needle down in the fabric, lift the presser foot, pivot the fabric 90 degrees, lower the foot, and then continue sewing. This is the key to getting those perfectly sharp corners.
Finishing Touches for a Polished Look
You’ve sewn all four sides—now for the finishing touches that make all the difference. To get sharp corners, trim the fabric diagonally across each of the four points, being careful not to snip your stitches. This simple step removes extra bulk and helps the corners poke out nicely.
Flannel has a tendency to fray, so I always recommend finishing the raw edges inside. If you have a serger, now’s its time to shine! If not, don't worry. A simple zigzag stitch along the raw edges on your regular sewing machine will do a beautiful job of keeping everything tidy and durable.
Finally, the big reveal! Reach through the unbuttoned opening and carefully turn the cushion cover right-side out. You can use something blunt, like a knitting needle or a chopstick, to gently push out each corner until it's perfectly square. Give the whole thing a final press with your iron, stuff your cushion insert inside, button it up, and step back to admire your work. You've just turned an old favourite into a cozy new accessory for your home.
Project Three: T-Shirt Blocks for a Memory Quilt
Alright, let's move on to something truly special: a memory quilt. This is the perfect project for that pile of meaningful t-shirts you can’t bear to part with—the ones from concerts, old sports teams, or unforgettable holidays. We're going to transform them from closet clutter into cherished quilt squares, turning personal stories into something warm and tangible.
A t-shirt quilt is so much more than a blanket; it’s a tapestry of your life's highlights. This project requires a bit more precision than the others, but the result is a beautiful heirloom. We’ll focus on the single most important technique for getting it right: stabilizing the fabric.
The Non-Negotiable Step: Stabilizing Knit Fabric
T-shirt material, or jersey knit, is wonderfully soft and stretchy, which is great for wearing but a total nightmare for quilting. As soon as you cut it, the edges curl. When you try to sew it, the fabric stretches and warps, leading to wonky, uneven quilt blocks. This is where fusible interfacing becomes your best friend.
Applying a lightweight, fusible woven interfacing to the back of your t-shirt fabric is an absolute must. It bonds a stable, non-stretchy layer to the knit, essentially making it behave like regular quilting cotton. This simple step eliminates the stretch, stops the curling, and makes cutting precise squares a breeze.
Think of interfacing as a temporary scaffold for your fabric. It provides the structure and stability needed to build your quilt blocks perfectly, ensuring all your pieces fit together without puckering or distortion. Trust me, don't skip this—it’s the foundation of a great t-shirt quilt.
Taking the time for this prep work is the difference between a frustrating sewing session and a smooth, enjoyable one. It’s what ensures your finished quilt top will lay flat and look professional.
Preparing and Cutting Your Quilt Blocks
Once your t-shirts are stabilized, it’s time to cut them into uniform squares. Precision here is key to making sure all your blocks line up perfectly when you start piecing the quilt together.
First, pick out the t-shirts you want to feature. Give them a good wash, dry, and press to create a smooth surface. Then, following the manufacturer’s instructions, iron the fusible interfacing onto the back of each shirt, focusing on the areas with the graphics you want to keep.
Next, decide on the size of your quilt blocks. A common and manageable size is 30 cm x 30 cm (about 12" x 12"), but feel free to adjust this based on the graphics on your shirts.
- Use a Rotary Cutter and Mat: For perfectly square cuts, nothing beats a rotary cutter, acrylic ruler, and self-healing mat. They give you clean, accurate cuts every time.
- Centre the Design: Place your ruler over the graphic, making sure the design is perfectly centred before you cut. You only get one shot!
- Cut with Confidence: Press down firmly on the ruler and glide the rotary cutter along the edge. Repeat for all four sides to create your block.
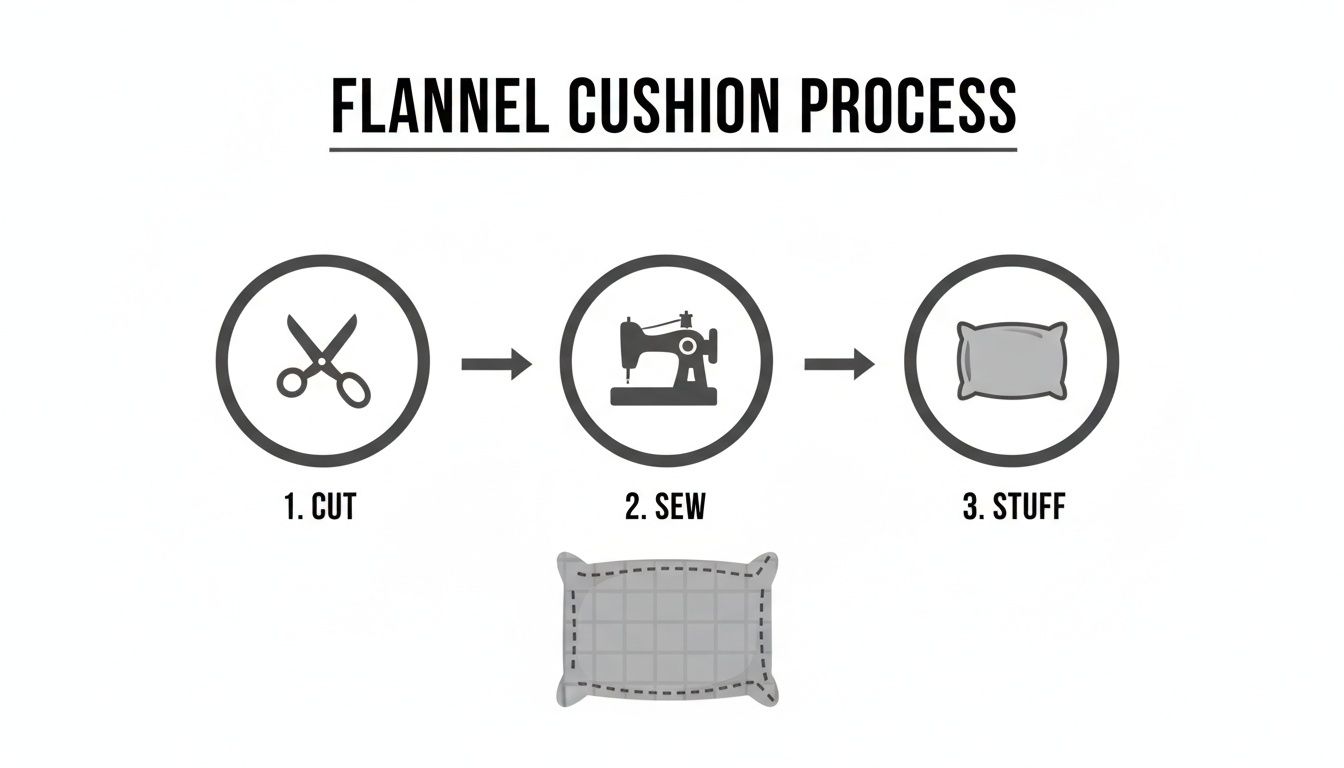
This simple flow of cutting, sewing, and finishing is what turns forgotten materials into treasured new items.
Arranging Your Quilt Top and Sewing
With a beautiful stack of memory-filled squares, the fun really begins. It's time to design your quilt top! Lay all your blocks out on a large, flat surface—the floor works great for this. Play around with the arrangement until you have a layout that feels balanced and tells the story you want.
Consider the colours, themes, and visual weight of each graphic. You could arrange them chronologically, group them by colour, or create a cool checkerboard pattern. Once you love it, snap a photo with your phone so you can refer back to it while you sew.
When you're ready, start sewing the blocks together row by row using a standard 1 cm (about 1/4 inch) seam allowance. Press the seams, then sew the rows together to form the complete quilt top. If you're new to quilting, our detailed guide on binding a quilt can help you master that beautiful finishing touch.
Projects like these have a huge impact. In 2021 alone, Canada's apparel industry consumed 1.3 million tonnes of textiles, and a shocking 84% of that ended up in landfills. By upcycling about 20 old shirts to make one quilt, you’re personally diverting waste and creating something beautiful from it.
Keeping Your Upcycled Creations Looking Great
You’ve put in the work and turned an old shirt into something truly special. Now, how do you make sure it lasts? Proper care is the final, and most important, step to ensure you can enjoy your new piece for a long, long time.
Your handmade items need a little extra TLC, especially if you’ve mixed and matched different fabrics. Think about that tote bag you made from an old cotton tee and a bit of flannel—each material has its own quirks. When in doubt, a gentle touch is always the right call.
The Best Way to Wash and Dry
For most things you’ll make from old t-shirts or flannel, your best bet is a gentle machine wash on a cold cycle. This will keep the colours from fading and prevent any more shrinking, which is especially important for protecting graphics or your own careful stitching.
Here are a few tips I've picked up over the years:
- Turn everything inside out. This is a non-negotiable for anything with a print or appliqué. It’s the single best way to stop graphics from cracking or peeling off in the wash.
- Stick with a mild detergent. Harsh soaps can be really tough on older, pre-loved fabrics. A gentle detergent will do the job without damaging the fibres.
- Air dry whenever you can. A hot dryer is the enemy of handmade seams and can cause unexpected shrinking. I always prefer to lay my pieces flat or hang them up to dry.
Taking care of your upcycled clothing is more than just maintenance; it's a continuation of the sustainable mindset that inspired the project. Each gentle wash and careful repair honours the materials and the creativity you invested.
Creating these one-of-a-kind pieces is part of a much bigger picture. Did you know North America currently holds 30.72% of the global upcycled apparel market? That’s a slice of a sector valued at USD 5.73 billion. It just goes to show how many people are looking for unique designs made from pre-loved clothes. If you're curious about this trend, you can explore more upcycled apparel market insights to see how it's growing.
Your Top Questions About Upcycling Shirts Answered
Jumping into a new sewing project is exciting, but it's natural to have a few questions before you start snipping away at that pile of old shirts. Let's clear up some of the most common things people ask so you can get started with confidence.
What Kind of Shirts Work Best for Upcycling?
If you're just starting out, you can't go wrong with 100% cotton t-shirts. The fabric is a dream to work with—it’s stable, doesn't slip around too much, and is perfect for making things like tote bags or simple quilt squares.
Once you're more comfortable, try grabbing some old flannel or denim shirts. Their sturdier nature makes them brilliant for projects that need a bit more durability, like cushion covers or work aprons. I'd recommend holding off on silky or rayon fabrics for now; they can be frustratingly slippery and tricky to sew neatly.
My best advice? Start with a fabric you feel comfortable with. A basic cotton t-shirt takes the technical struggle out of the equation, letting you just enjoy the creative process and build up your skills.
How Do I Prep an Old Shirt for a New Project?
A little bit of prep work makes a huge difference in how your finished project looks. The first, non-negotiable step is to wash and dry every shirt you plan to use. This gets rid of any grime, but more importantly, it pre-shrinks the material so you don't get any nasty surprises after your first wash.
Next, get your iron out. Pressing the shirts until they're completely smooth is crucial for cutting accurate pattern pieces. If you're working with a stretchy t-shirt, consider adding a lightweight fusible interfacing to the back. This simple step stabilizes the knit, stopping it from stretching out of shape while you cut and sew.
And if you get really good, you might even think about selling your creations! It's worth looking into the costs of opening an Etsy shop if you want to turn your new passion into a side business.
At All About Sewing, we have all the tools and supplies you need to bring your upcycling ideas to life, from the right needles to expert advice. Explore our collection at https://all-about-sewing-canada.myshopify.com and start your next project today.


