

A Simple Guide to Your DIY Halloween Costume
There’s nothing quite like a DIY Halloween costume. It’s your chance to create something totally unique, perfectly fitted, and often easier on the wallet than you'd think. When you make it yourself, you step away from the generic store-bought racks and take full creative control.
Your DIY Halloween Costume Journey Begins Here
So, you’ve decided to make your own costume this year? Fantastic! This guide is your new best friend, designed to help you bring any character to life. We’re leaving the pre-packaged ideas behind and diving into a world of pure imagination.
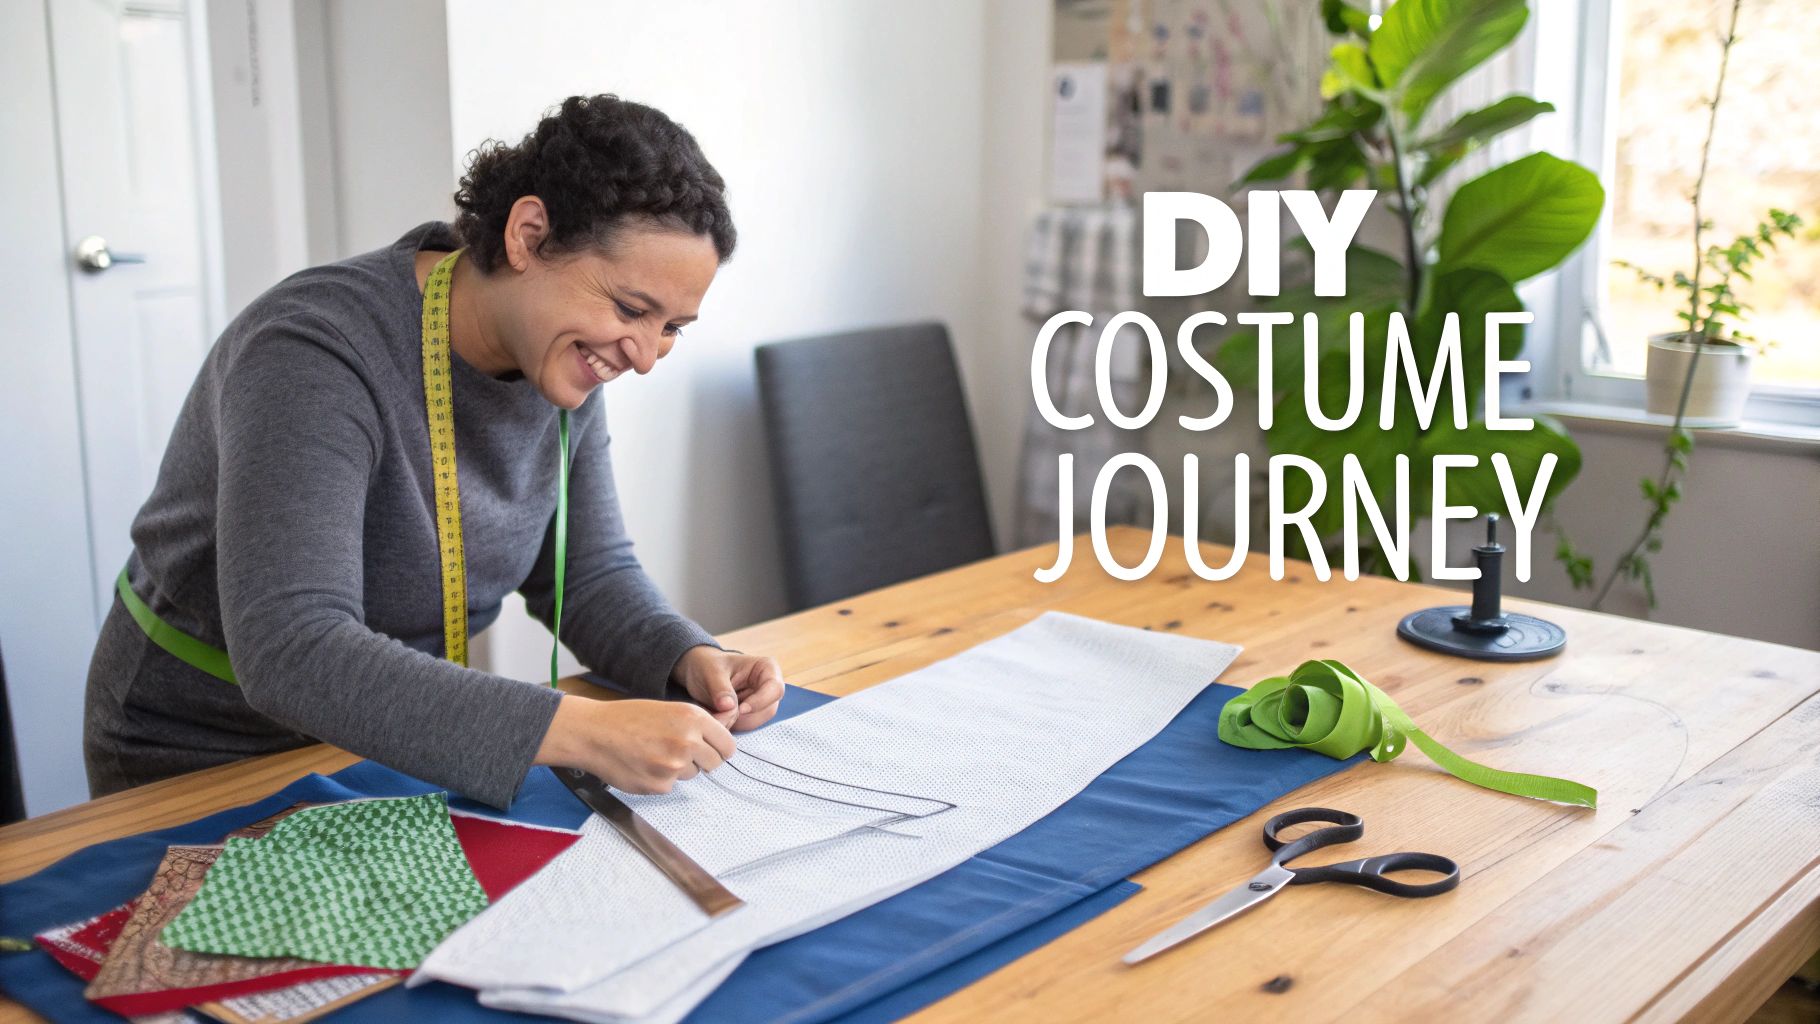
Choosing to make your costume is a rewarding journey. Just picture it: the fun of picking out the perfect fabrics, the satisfaction of a custom fit that feels just right, and the pride of wearing something truly one-of-a-kind.
Why Choose a Handmade Costume
Making your costume from scratch has some serious perks compared to just grabbing one off the shelf. It’s a chance to learn a new skill, let your creativity run wild, and make sure your outfit is exactly what you envisioned.
Here’s why it’s worth the effort:
- Complete Creative Freedom: You’re not stuck with what’s in stores. If you can dream it up, you can sew it.
- A Perfect, Comfortable Fit: Let's be honest, store-bought costumes come in vague sizes like "Small" or "Large." When you sew your own, you tailor it to your exact measurements for a costume you can actually move and have fun in.
- Higher Quality Materials: You get to pick the fabrics and notions. This means your creation will not only look better but will also be durable enough to last.
- Cost-Effective Creativity: With some smart shopping for materials, a DIY Halloween costume can be much more affordable than a fancy retail version, especially for more elaborate designs.
Creating a costume is about more than just the finished look; it's about the entire process. It’s a chance to learn, solve little puzzles along the way, and feel a sense of accomplishment that a store-bought outfit can never give you.
I’ll walk you through every stage, from brainstorming and picking a pattern to the final stitch, making sure even total beginners feel confident. If you're brand new to sewing, a great place to start is with a practical beginner's guide to sewing.
Think of this as your friendly sewing adventure. Let's get started
Choosing Your Character and Crafting a Plan
Every great DIY Halloween costume starts with that first spark of an idea. This is the fun part—the daydreaming stage where you decide who or what you want to be. Your imagination can run wild, but tethering that vision to a solid plan is what turns a cool concept into a fantastic, wearable reality.
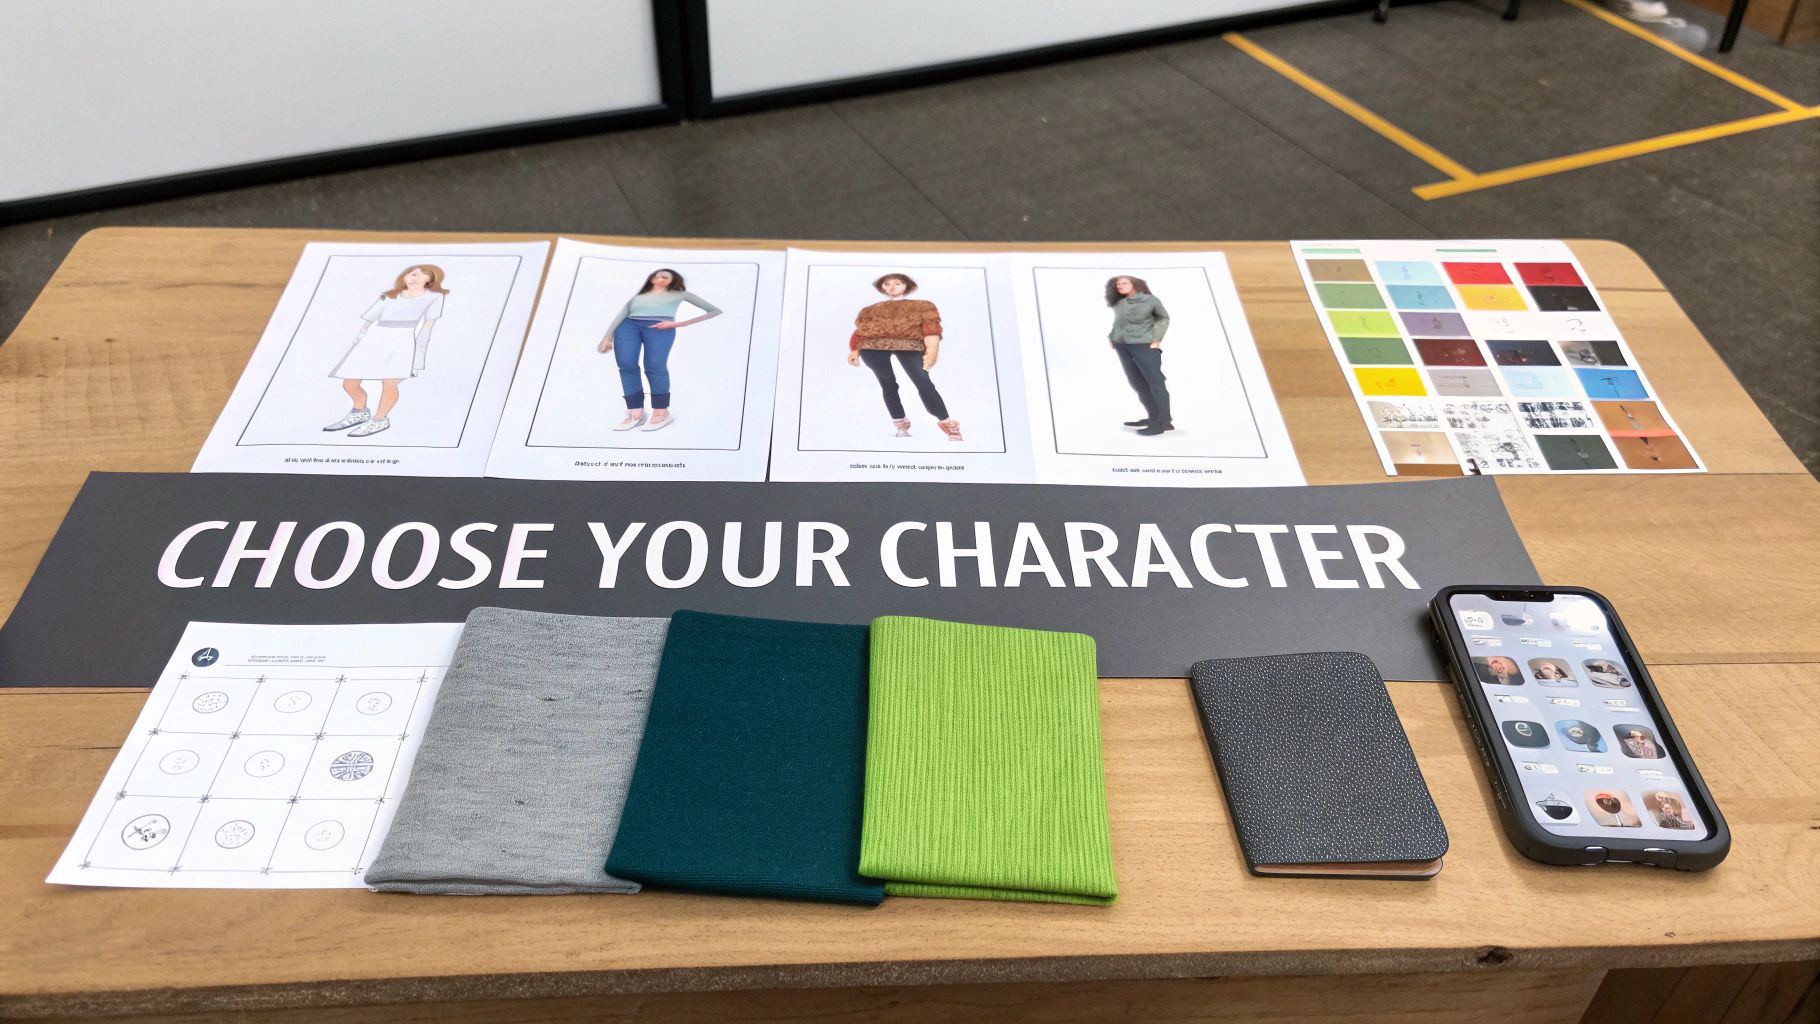
First things first, you need some inspiration. You could look at what’s trending in movies and TV, or maybe you'd prefer a timeless classic like a fairy tale princess or a spooky monster. I always find the best projects come from your own passions. Are you a history buff? A video game fanatic? A lover of folklore? Leaning into what you already love makes the whole process so much more enjoyable.
And you wouldn't be alone in this creative pursuit. An Angus Reid poll found that most British Columbians would rather make their own costumes than buy them. With 80% of people aiming to keep their spending under $50, there's a real drive for unique, budget-friendly outfits. Simple ideas like Rapunzel or a mermaid can come together beautifully with just a few core materials. For more on this, you can check out the full report on Halloween stats and marketing tricks.
Finding the Perfect Pattern
Once you've settled on a character, you need a blueprint. A sewing pattern is your roadmap, translating that image in your head into actual pieces you can cut and stitch together. You’ve basically got two choices here:
- Commercial Patterns: You'll find these in fabric stores, packaged in envelopes with printed tissue paper pieces and detailed instructions. They’re a fantastic starting point for beginners because they take a lot of the guesswork out of the equation.
- Digital PDF Patterns: These are all over the internet, sold by independent designers. You just buy, download, and print at home. I love them because you can find incredibly unique and modern designs that you’d never see in a big-box store.
When you're looking at a pattern, read the back of the envelope or the online description carefully. It will tell you the skill level, what fabrics work best, and a list of all the notions—that’s the sewing term for things like zippers, buttons, or elastic—you’ll need to buy.
Quick tip from experience: Take your body measurements before you choose a pattern size. Sizing for sewing patterns is a whole different world from retail clothing. Your usual "medium" might not translate, so always, always trust the measurement chart on the pattern. It will save you a world of frustration!
Outlining Your Project Plan
A little organization now will save you a massive headache later. Before you even touch your scissors, sketch out a rough plan for your project. This simple step keeps you on track, helps you manage your time, and makes sure you have every little thing you need before you start sewing. Think about the colours of your character's outfit and how different fabrics might drape or layer. If you're stuck on colour combinations, our guide on using colour mixing charts for your sewing projects can be a huge help.
A simple project planner can honestly be a lifesaver. I've created a template below to help you map out your costume from start to finish.
DIY Costume Project Planner
| Project Stage | Key Tasks | Materials Needed | Estimated Time |
|---|---|---|---|
| 1. Concept & Planning | Finalize character, find pattern, take measurements | Inspiration images, measuring tape, notebook | 1-2 hours |
| 2. Materials Gathering | Purchase fabric, thread, notions, and any accessories | Shopping list, pattern envelope | 2-4 hours |
| 3. Preparation | Pre-wash & iron fabric, print & cut pattern pieces | Sewing machine, iron, scissors | 1-3 hours |
| 4. Cutting & Marking | Lay out pattern on fabric, cut pieces, transfer markings | Fabric scissors/rotary cutter, pins, fabric chalk | 2-3 hours |
| 5. Construction | Sew main seams, attach sleeves, collars, etc. | Sewing machine, thread, needles, seam ripper | 4-8 hours |
| 6. Fitting & Finishing | Try on, make adjustments, hem, add closures & details | Pins, hand-sewing needle, thread | 2-4 hours |
Using a planner like this creates a clear path from that initial spark of an idea to your finished costume. It makes the entire process feel less chaotic and a lot more fun. Now that you've got your character chosen and your plan in place, you're officially ready to start bringing it to life.
Gathering Your Tools and Terrific Textiles
Alright, you’ve got your costume concept mapped out. Now for the fun part: shopping! Pulling together the right fabrics and tools is where your vision really starts to take shape. Getting everything in order before you start sewing will save you from those frantic, mid-project dashes to the store.
The Heart of the Costume: Fabric
The fabric you choose is everything. It sets the entire mood. For a simple ghost costume for a little one, you can't go wrong with classic white cotton broadcloth—it's cheap, cheerful, and easy to handle. But if you’re creating something more dramatic, like a sorcerer's cape, you'll want the weight and drape of a rich velvet or the shimmer of a dark satin. Think about the character, but also think about who's wearing it. Comfort is key!
It seems like more and more people are catching the DIY bug. A recent survey from Michaels found that 60% of people are planning to make their own costumes this year. That’s a huge jump, and it’s no surprise when you see a 290% increase in searches for 'Halloween Fabric'. With 62% of Canadians saying budget is a big reason for their switch to DIY, choosing the right material is a smart move for both your wallet and your creativity. You can read more about how Canadians are embracing DIY for Halloween and see just how popular this trend has become.
Your Essential Sewing Toolkit
Before you even think about plugging in your sewing machine, let’s make sure your basic toolkit is ready. You don’t need every fancy gadget on the market, but these few items are absolute must-haves.
- Sharp Fabric Scissors or a Rotary Cutter: A good pair of fabric scissors is non-negotiable. And please, hide them from anyone who might use them on paper! For super straight, clean cuts, a rotary cutter and a self-healing mat are a game-changer.
- Quality Pins or Fabric Clips: These little guys are your best friends for holding pattern pieces in place while you cut and sew. No more slipping and sliding.
- Measuring Tape: You'll need this for everything from taking body measurements to double-checking your pattern pieces. It’s an absolute essential.
- Fabric Marker or Chalk: This is how you'll transfer all those important little markings from your pattern—like darts and notches—onto your fabric.
Here's a pro-tip that will save you a world of heartache: pre-wash and iron your fabric! Just about every fabric shrinks a bit on its first wash. If you skip this, that perfectly-fitted costume might be a size too small after Halloween night.
Choosing Threads and Notions
The little details are what elevate a costume from "homemade" to "handmade." We're talking about notions—the threads, buttons, zippers, and trims that pull the whole look together.
Believe it or not, the thread you choose really matters. A good rule of thumb is to match your thread to your fabric. Polyester thread for synthetic fabrics, and cotton thread for natural fibres like, well, cotton. You want them to wear and wash the same way. If you want to get into the nitty-gritty, our guide on how to choose the right thread types for sewing is a fantastic resource.
Don’t forget to check your pattern for any other notions you'll need:
- Zippers and Buttons: The closures that make getting in and out of your creation possible.
- Elastic: A lifesaver for comfy waistbands or puffy, gathered sleeves.
- Interfacing: This is a stiffener you iron onto the back of your fabric to give structure to things like collars, cuffs, and waistbands.
If you're using a machine, having a couple of extra presser feet can make your life so much easier. A zipper foot is essential for getting a clean, close stitch, and a gathering foot can create perfect ruffles in a fraction of the time. The right tool really can make a tricky task feel simple.
The Core of Creation: Cutting and Construction
Alright, you've got your fabric washed and your tools laid out. This is where the magic really starts to happen—turning a flat piece of cloth into a real, recognizable DIY Halloween costume. My best advice? Take your time here. A little patience now saves a lot of headaches later.
First things first, find a big, flat surface to work on. Don't be shy about using the floor; it's often the best spot! Smooth out your fabric, chasing away every last wrinkle and bump. Grab your pattern's layout guide—that little map is your secret weapon for fitting all the pieces on your fabric without wasting any.
Pay close attention to the grainline arrow on each pattern piece. It must be parallel to the selvage (the finished edge of the fabric). This isn't just a suggestion; it's what ensures your costume will hang properly instead of twisting or pulling weirdly.
Once you’ve got the layout just right, pin everything down. I find placing pins about every 10 centimetres, perpendicular to where you'll cut, works best. It keeps the fabric from shifting and prevents the delicate pattern paper from tearing.
From Flat Fabric to Formed Garment
Deep breath. It’s time to cut. Whether you’re using your sharpest fabric scissors or a rotary cutter, the key is to be steady and precise. The more accurate you are now, the more beautifully your pieces will line up later.
After cutting, transfer all those little markings—the darts, dots, and notches—from the pattern to your fabric. A bit of tailor's chalk or a fabric marker will do the trick. Think of these marks as your construction roadmap.
Now for the fun part: heading to the sewing machine. The most crucial skill here is sewing a straight seam. Pin two matching pieces with their "right sides" facing each other. Following your pattern's seam allowance (usually 1.5 cm or 5/8 inch), guide the fabric through the machine. Just steer it; let the feed dogs do the heavy lifting of pulling it through.
Let's say you're making a simple wizard's cape. You'd likely start by sewing the long shoulder seams together. Once a seam is sewn, it's a great habit to finish the raw edges to stop them from fraying. A simple zigzag stitch works fine on a regular machine, but for a really clean look, nothing beats a serger. If you're wondering what the difference is, our guide on a serger vs. a sewing machine breaks it all down.
Getting your materials prepped properly is half the battle, as this little workflow shows.
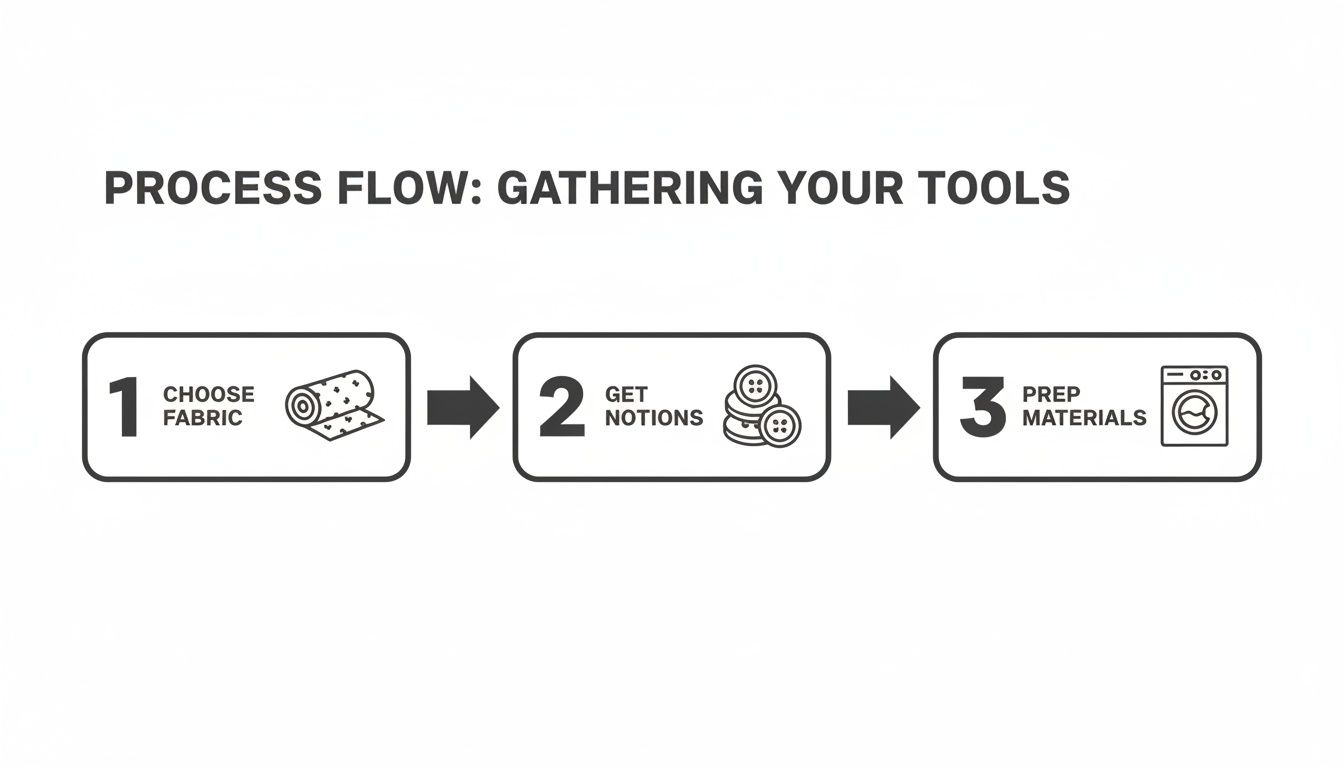
Having everything ready to go before you even think about cutting makes the entire process so much smoother.
Troubleshooting Common Sewing Snags
Even after years of sewing, I still run into the occasional hiccup. If your thread starts creating a "bird's nest" underneath your fabric, it's almost always a threading issue. Stop, take a breath, unthread the top thread completely, and re-thread it from scratch. Just make sure the presser foot is up when you do it!
If your stitches are loopy or uneven, the culprit is probably your machine's tension. A perfectly balanced stitch looks identical on both the top and bottom. My go-to trick is to always test my stitches on a scrap of my costume fabric before I sew the actual garment.
As you assemble your costume—sewing the main seams, setting in sleeves, or attaching a collar—you’ll see it all come together. There’s no better feeling! And don’t forget the most important pro tip: press every single seam with an iron as you go. It’s a tiny step that makes a world of difference in giving your costume a polished, professional finish.
Dialing in the Fit and Adding the Final Flourish
You've done the heavy lifting and your DIY Halloween costume is starting to look like, well, a costume! Now comes the part that truly elevates it from a homemade project to something spectacular: perfecting the fit and adding those final, polished touches. This is where the magic really happens.
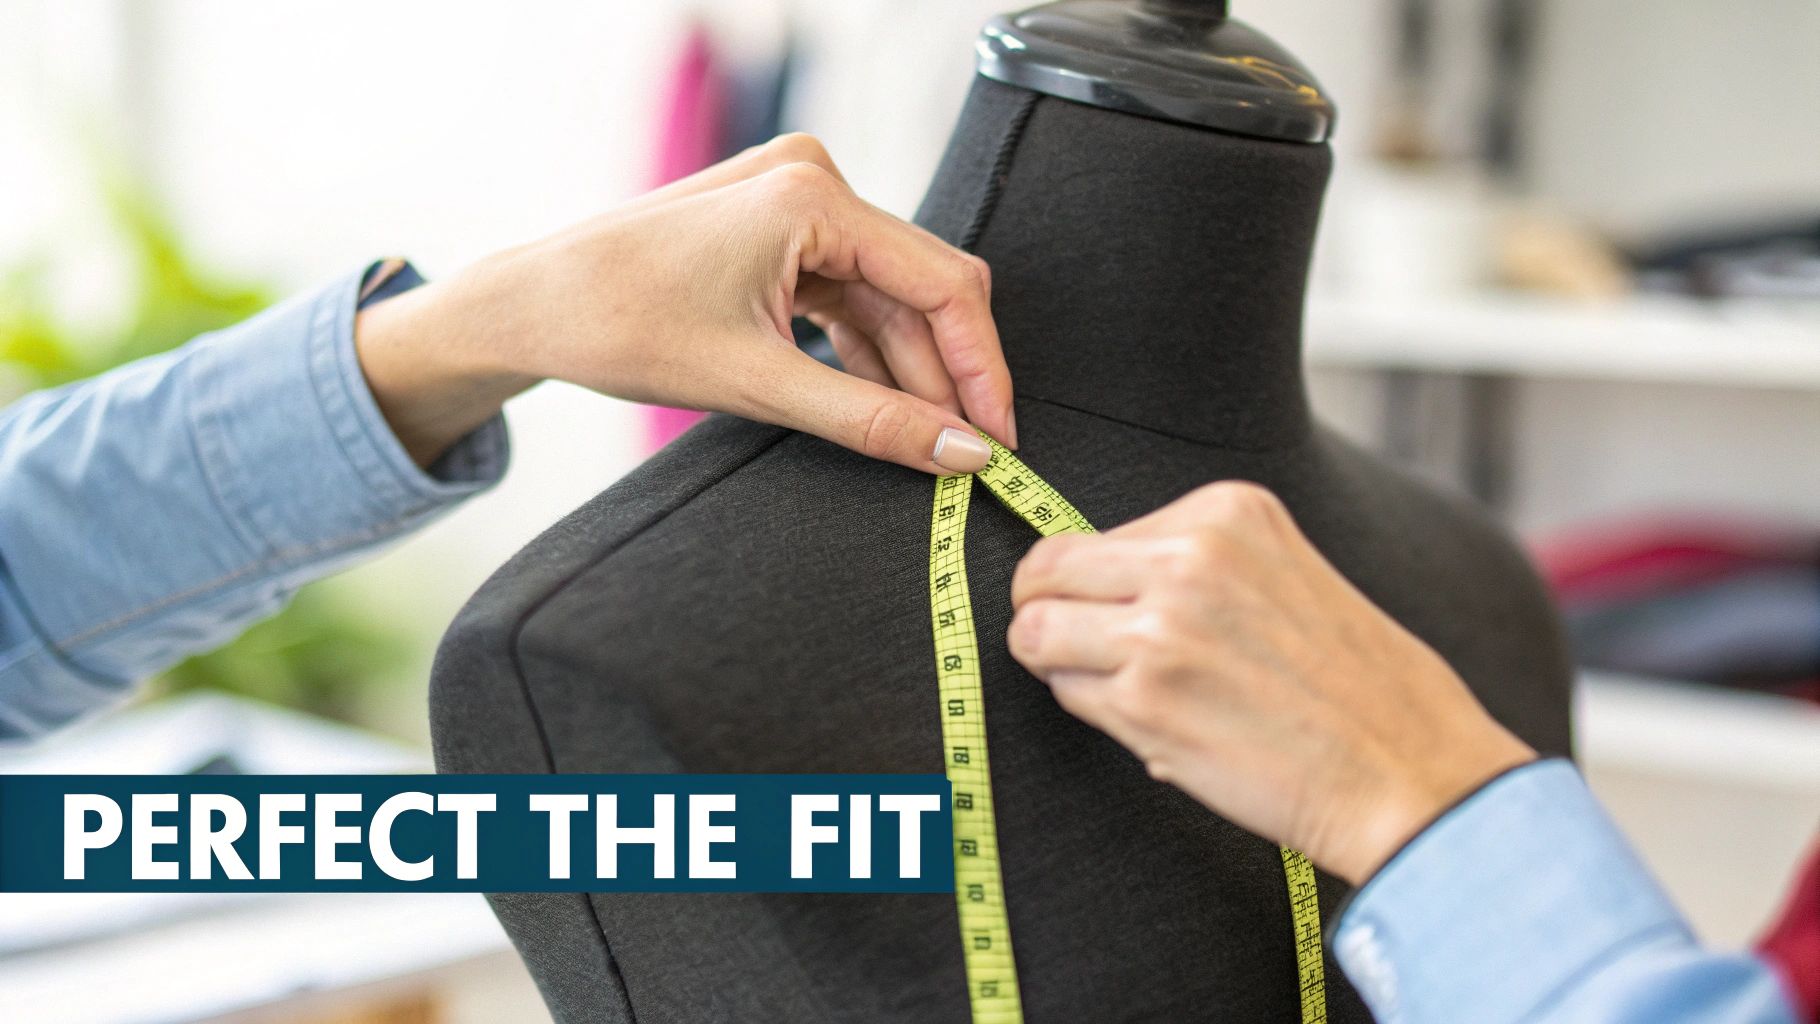
Time for the first fitting. Get the costume-wearer to try it on, but here's a pro tip: have them put it on inside out. This simple trick makes it so much easier to see and pin any spots that need a little adjustment. Keep an eye out for common problem areas like pulling across the shoulders or extra fabric bunching at the waist.
Tackling Common Alterations
Alterations can sound scary, but most are surprisingly straightforward. Once you've used pins to mark what needs to change, you're ready to dive in.
- Taking in Seams: Is the costume a bit baggy? This is the easiest fix. Just sew a new seam slightly inside your pinned line, making sure to follow the natural curve of the original seam.
- Letting out Seams: If it's a tad too snug, grab your seam ripper. Carefully unpick the original stitches and re-sew the seam with a smaller seam allowance to give a little extra room.
- Adjusting Hemlines: To get the length just right, have the person stand on a low stool or a thick book. This helps you pin the hem evenly all the way around. Before you sew, give that new hemline a good press with an iron for a super crisp, professional-looking edge.
The best part about a DIY project is getting a custom fit. Store-bought costumes are made to be "one-size-fits-most," but your handmade creation can be perfectly tailored for comfort and movement. That means a fun night without any dreaded wardrobe malfunctions.
Those Professional Finishing Touches
With the fit nailed down, it's time to add the polish. I always say "press as you go," but a final, thorough press once the whole thing is assembled makes a world of difference.
Take a moment to neatly hem any sleeves and bottoms, add sturdy closures like buttons or hook-and-eye clasps, and snip away every last loose thread. These little details are what signal a high-quality, lovingly made garment.
And don't forget the accessories! As you wrap up your masterpiece, you might want to explore different styles of Halloween jewelry to find that perfect final accent.
A Quick Word on Safety
Especially when making costumes for kids, safety has to be top of mind. With over 6.2 million trick-or-treaters across Canada, visibility is key.
A recent survey showed that 38% of people prioritize comfort, which is closely linked to safety. Think about adding a few strips of reflective tape to the design or choosing fabrics in brighter colours. Make sure any masks don't block vision and that the costume is short enough to prevent tripping. This is another huge advantage of sewing your own—you can build safety right into the design from the start.
Your DIY Halloween Costume Questions Answered
Even the most carefully planned sewing project throws you a curveball now and then. Making a DIY Halloween costume is definitely no exception, but don't sweat it—most roadblocks are a lot easier to navigate than you might think. Let's tackle some of the most common questions I hear from sewers of all skill levels.
What Are the Best Fabrics for a Beginner?
If you're just starting your sewing journey, you'll want to work with fabrics that are stable and easy to handle. Basically, anything that won't try to slither right off your cutting table is a great choice.
Here are my top recommendations for beginners:
- 100% Cotton Broadcloth: This fabric is a dream to work with. It's breathable, inexpensive, comes in every colour under the sun, and behaves perfectly under the needle.
- Felt: A fantastic option for accessories or no-sew projects. Why? Its edges don’t fray. You can just cut your shape and you're done.
- Fleece: Wonderfully forgiving and warm, fleece has a bit of stretch that can hide small imperfections. It's perfect for those cozy animal costumes on a chilly Canadian Halloween night.
My advice? Hold off on slippery satins or delicate chiffons for now. They can be a real handful and might lead to more frustration than fun until you have a few more projects under your belt.
Can I Make a Costume Without a Sewing Machine?
Absolutely! A sewing machine is a fantastic tool, but it’s far from the only way to create an amazing costume. So many incredible looks can be put together without a single stitch.
Fabric glue and fusible bonding web (that's the iron-on adhesive stuff) are your best friends for no-sew projects. They can create surprisingly durable seams and hems. You can also get creative with clever layering, strategic pinning, and tying. A classic toga, for instance, is really just a well-draped sheet, and a wizard's robe can be made from a big rectangle of felt with holes cut out for the head and arms.
Never underestimate the power of a glue gun for attaching details or building accessories from scratch. I’ve seen incredible masks, capes, and hats assembled entirely with glue, opening up costume-making to absolutely everyone.
How Can I Make My Child’s Costume Safe?
Safety is always priority number one, especially when little ones are out trick-or-treating in the dark. First things first: make sure the costume fits well and isn't a tripping hazard. Hems should be high enough off the ground that they can't get caught underfoot.
Visibility is also key. A great trick is to add strips of reflective tape to the front, back, and sides of the costume. Choosing lighter-coloured fabrics can also make a big difference in helping drivers see your child. Lastly, check that any masks or headpieces don't block their vision or make it hard to breathe. Sometimes, using non-toxic face paint instead of a full mask is a much safer and more comfortable alternative.
What if I Made a Cutting Mistake?
Take a deep breath and don't panic! A slip of the scissors almost never means your project is ruined. Most cutting mistakes are completely fixable.
If you’ve cut a piece just a smidge too small, you can often just sew on an extra strip of fabric to make it bigger. You can even turn it into a cool design element, like adding a contrasting cuff to a sleeve or a decorative border to a hem. If you've made a little nick in the fabric, a small patch on the inside with a scrap of fabric and some fusible interfacing will make it disappear. Just remember, Halloween costumes are all about fun and creativity—a clever patch might just add to your character's unique charm.
At All About Sewing, we have all the fabrics, notions, and expert advice you need to bring your costume vision to life. Explore our collection and get started on your project today.


